FTP is a very popular choice for uploading files to web servers. It’s not the only file transfer technology, but it does the job well and is easy to use.
There are many FTP clients out there, and they all have different interfaces and workflows. Behind the scenes, they all do the same thing.
For this tutorial, we’re using the most popular FTP client – Filezilla. You can follow along with your preferred FTP app, but some of the details will be different.
Here’s what we’re going to do:
It’s a pretty straightforward process because WordPress is designed to be simple. WordPress will recognize it if the plugin is saved in the right directory.
1 Find the WordPress Installation Directory
This is where things get a little tricky. Web servers are flexible beasts, and they can be configured in many ways. Usually, it’s the hosting company that configures your web server.
WordPress is normally installed inside the top level of the “document root” – this is the directory that holds your site’s web content.
Your server has many directories to store other types of files – configuration files, executable programs, logs, and other random things. They’re not in the document root, so they aren’t visible over the web.
The simplest type of website is a static one-page, HTML-only site. These sites only have a single file – it’s usually called “index.html”, and it’s stored directly inside the domain root.
Single-page static sites aren’t very powerful – and WordPress is a mighty CMS (Content Management System). It’s made up of hundreds of files in dozens of directories.
Unlike a static site, these files are not served directly to people reading your site. WordPress files are executable – they contain code. The web server reads them, and PHP executes them to build your website.
As we mentioned, WordPress is made of many files. Luckily, you don’t need to understand all of them (or any of them) to install a plugin.
You just need to know how to locate the plugin folder.
We said that WordPress is usually installed in the document root. Sometimes, a WordPress installation is put into a sub-folder. For instance, if you added WordPress to an existing site, you may have decided to install it into a “/blog/” directory.
So, if the “document root” was “/var/www/”, the WordPress file would be “/var/www/blog”.
“/var/www” is a fairly common document root, by the way. It’s the default location for Ubuntu servers. But that doesn’t mean that every Ubuntu server uses that location. The web server can be configured to use almost any directory in the machine’s filesystem – and it can use a different one for each domain name.
If you have multiple domains on your server, you probably have multiple “document roots.” Each site has to keep its content separate; the normal way to do that is with a different document root for each domain name.
The important question is – where is the domain root for my WordPress installation?
It would be great if we could give you a simple path to cut and paste, but it may not be right for your server.
Most web hosts use cPanel – if your host uses it, you’re in luck. cPanel uses a predictable path for “add-on domains” (extra domain names that you add to your account). They follow this pattern:
public_html/domain-name/
For instance, if your add-on domain is “example.com”, the document root would be:
public_html/example.com/
Other hosting panels use different conventions. Fortunately, you can usually find the installation path inside your hosting account’s admin panel.
Usually, the information is listed together with the domain name – click on the section that says “manage domains” or something similar.
If you can’t find the document root, check out your hosting company’s knowledge base. And if that doesn’t help, reach out to their support team.
The next hurdle is accessing the directory through FTP. You need to use an FTP account with permission to access the WordPress installation folder. FTP accounts can be set up to only access certain areas of the filesystem (for security).
Usually, your hosting service comes with a pre-built FTP account that can access all your directories and files.
That’s great, but it’s a good idea to use a different FTP account for each site. It prevents accidents – you can’t accidentally edit files from the wrong site. And, if you ever share the FTP account (with a freelancer or employee), they can only access the files they’re supposed to be working with.
In fact, you would ideally create an FTP account for each person, and remove it when they have finished working.
Just make sure you use the right FTP account when you log on!
2 Unzipping Rank Math’s Zip File
As we mentioned, you’ll need to unzip the plugin zip before you can start uploading it to your server.
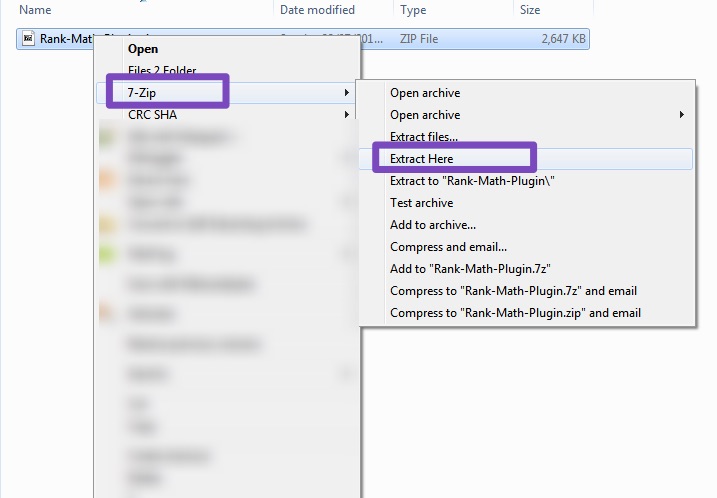
To unzip the plugin file, you can use any utility that supports zipping and unzipping zip files. There are plenty of them out there, but we recommend 7-zip for Windows users as it’s free and open-source. Mac users can use Keka.
Once you have the appropriate utility installed, select the plugin zip file and open the context menu. Select the “Extract” or “Extract Here” option from the context menu.
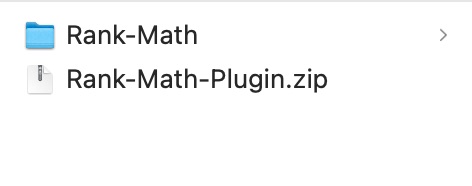
You’ll see that a new folder will be created just along the zip file. You’ll need to copy that folder to your server to install Rank Math.
3 Log on to Server
Let’s walk through the process of logging onto a server using FTP. First, you must collect the information we need – the FTP credentials (username and password), the FTP server address, and the document root directory.
And the directory we’re interested in is:
/var/www/public_html/www/
Naturally, you should use more secure usernames and passwords in real life! But these are fine for an example.
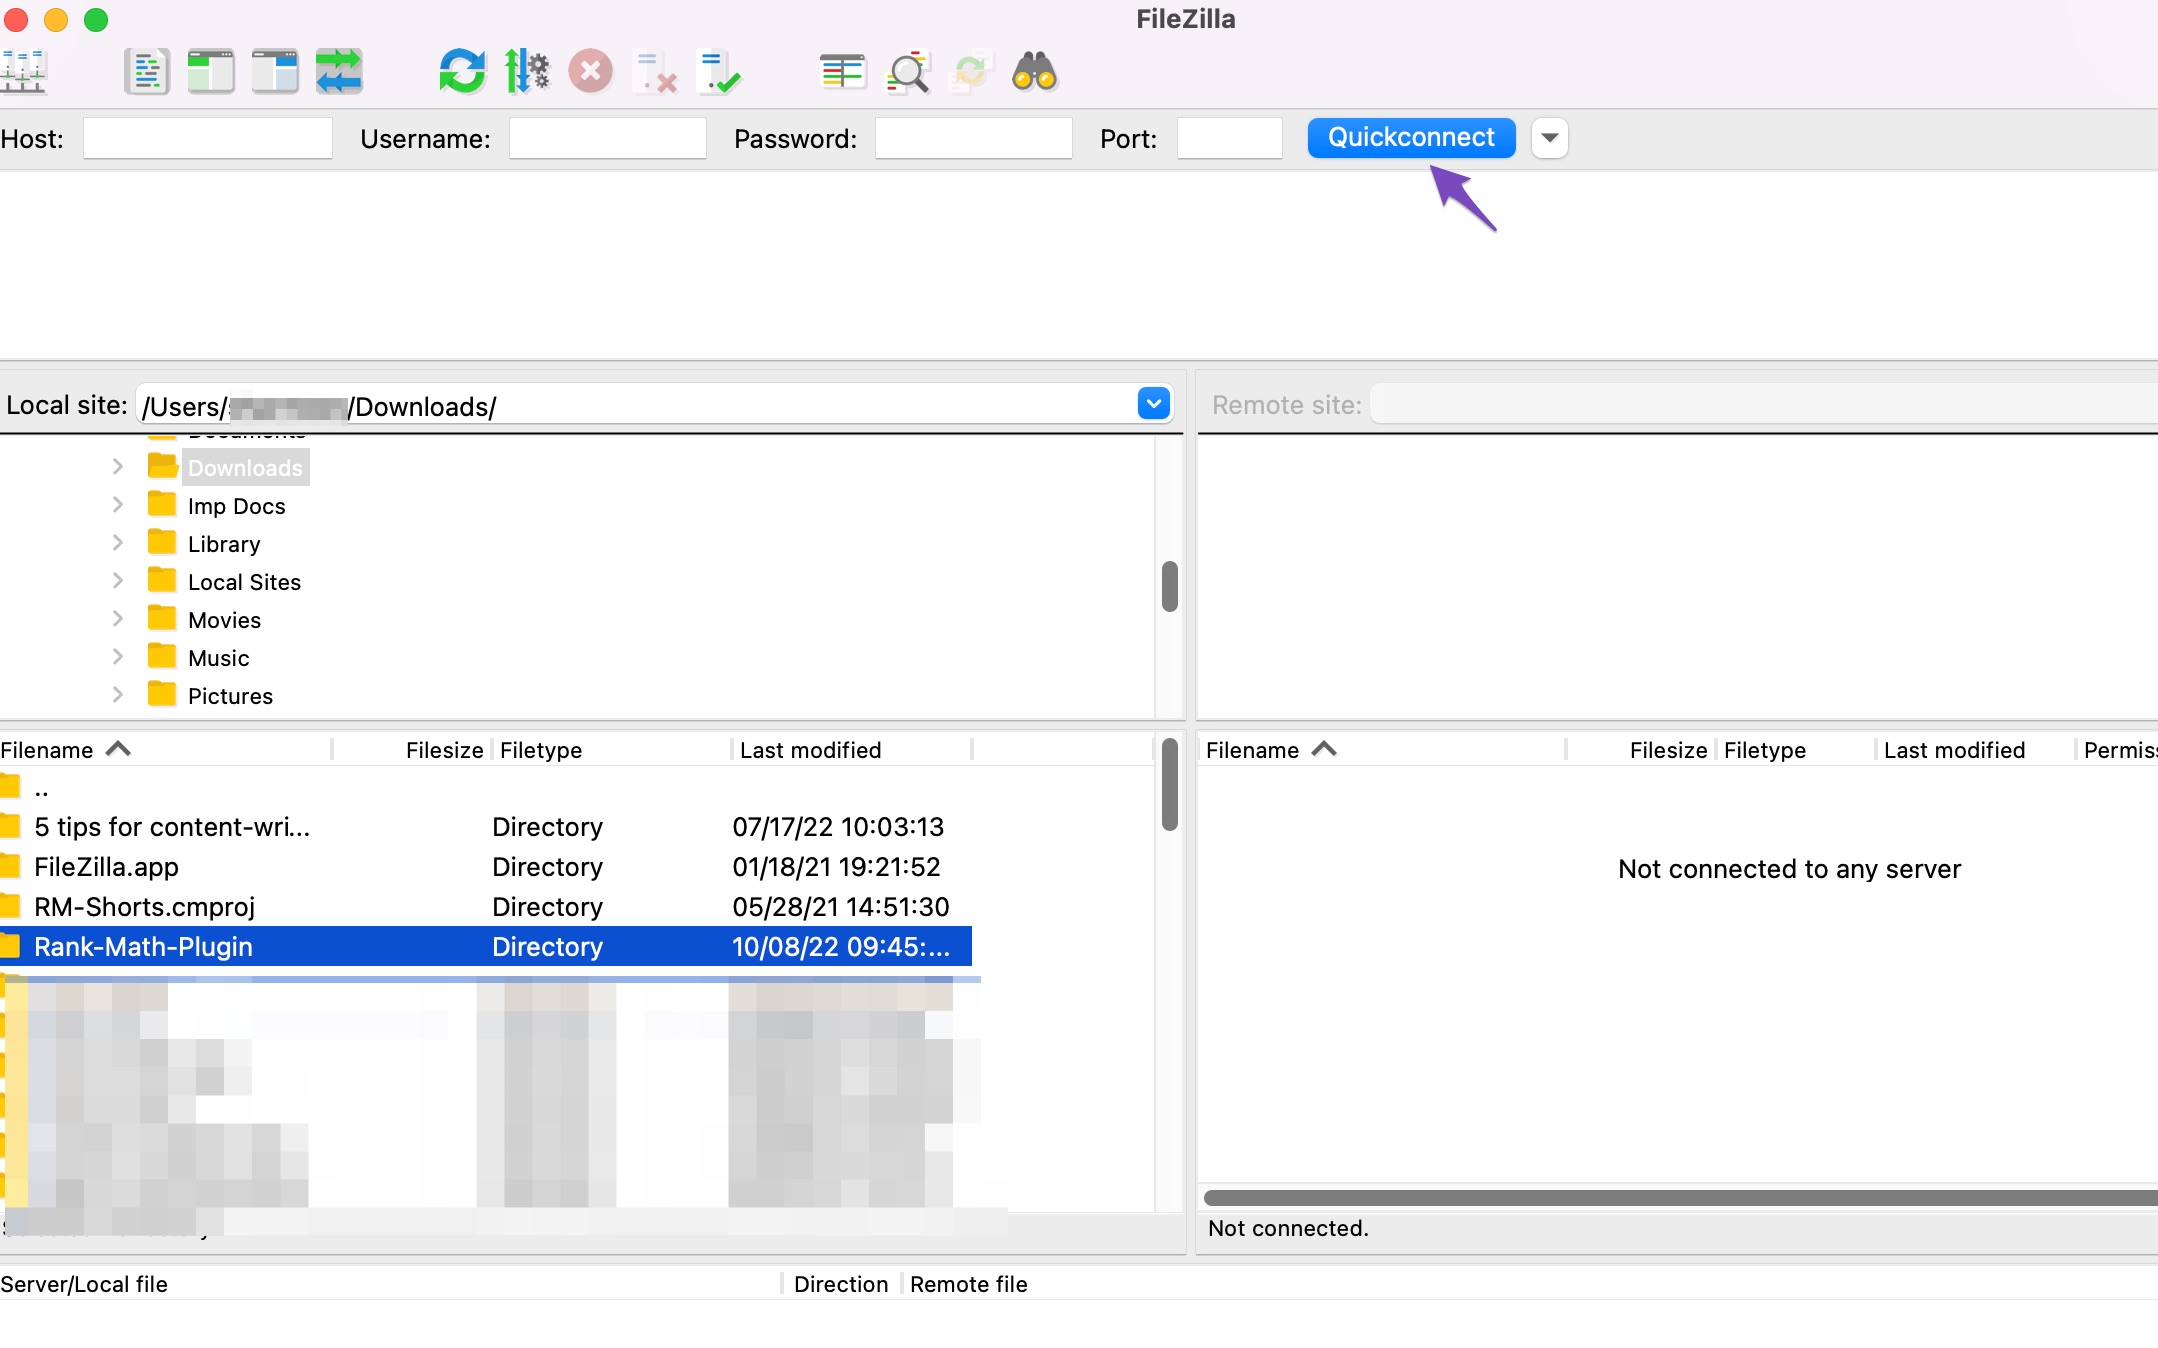
Let’s fire up Filezilla and log on!
By the way, if you don’t have Filezilla, you can download it for free from the project’s site. It’s available on all platforms, and it doesn’t install any malware or ads.
We’re going to use the quick-connect feature. This is a quick and easy way to connect to an FTP server in Filezilla. It’s fast, but the server details and user credentials are deleted when you close Filezilla.
If you need to use Filezilla often, you can save the log-on details in the application as a remote site. We’ll skip that step in this tutorial.
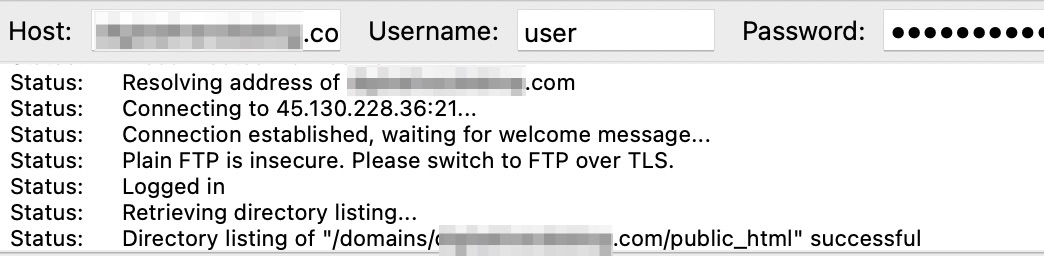
Here you can see the Quick connect bar at the top of the window. We’ve filled in all the details, and the password is hidden.
Next, we click on the button labeled “Quickconnect.” Watch what happens in the log panel just below the Quickconnect bar:

FTP is a text-based protocol – Filezilla adds a graphical interface that makes it easier to visualize what’s happening on the server. The log panel contains a complete transcript of the conversation between your PC and the server.
You can see that we connected to the server with our username and password. Next, Filezilla retrieved the directory listing.
You can see the listing in the panel below (on the right):
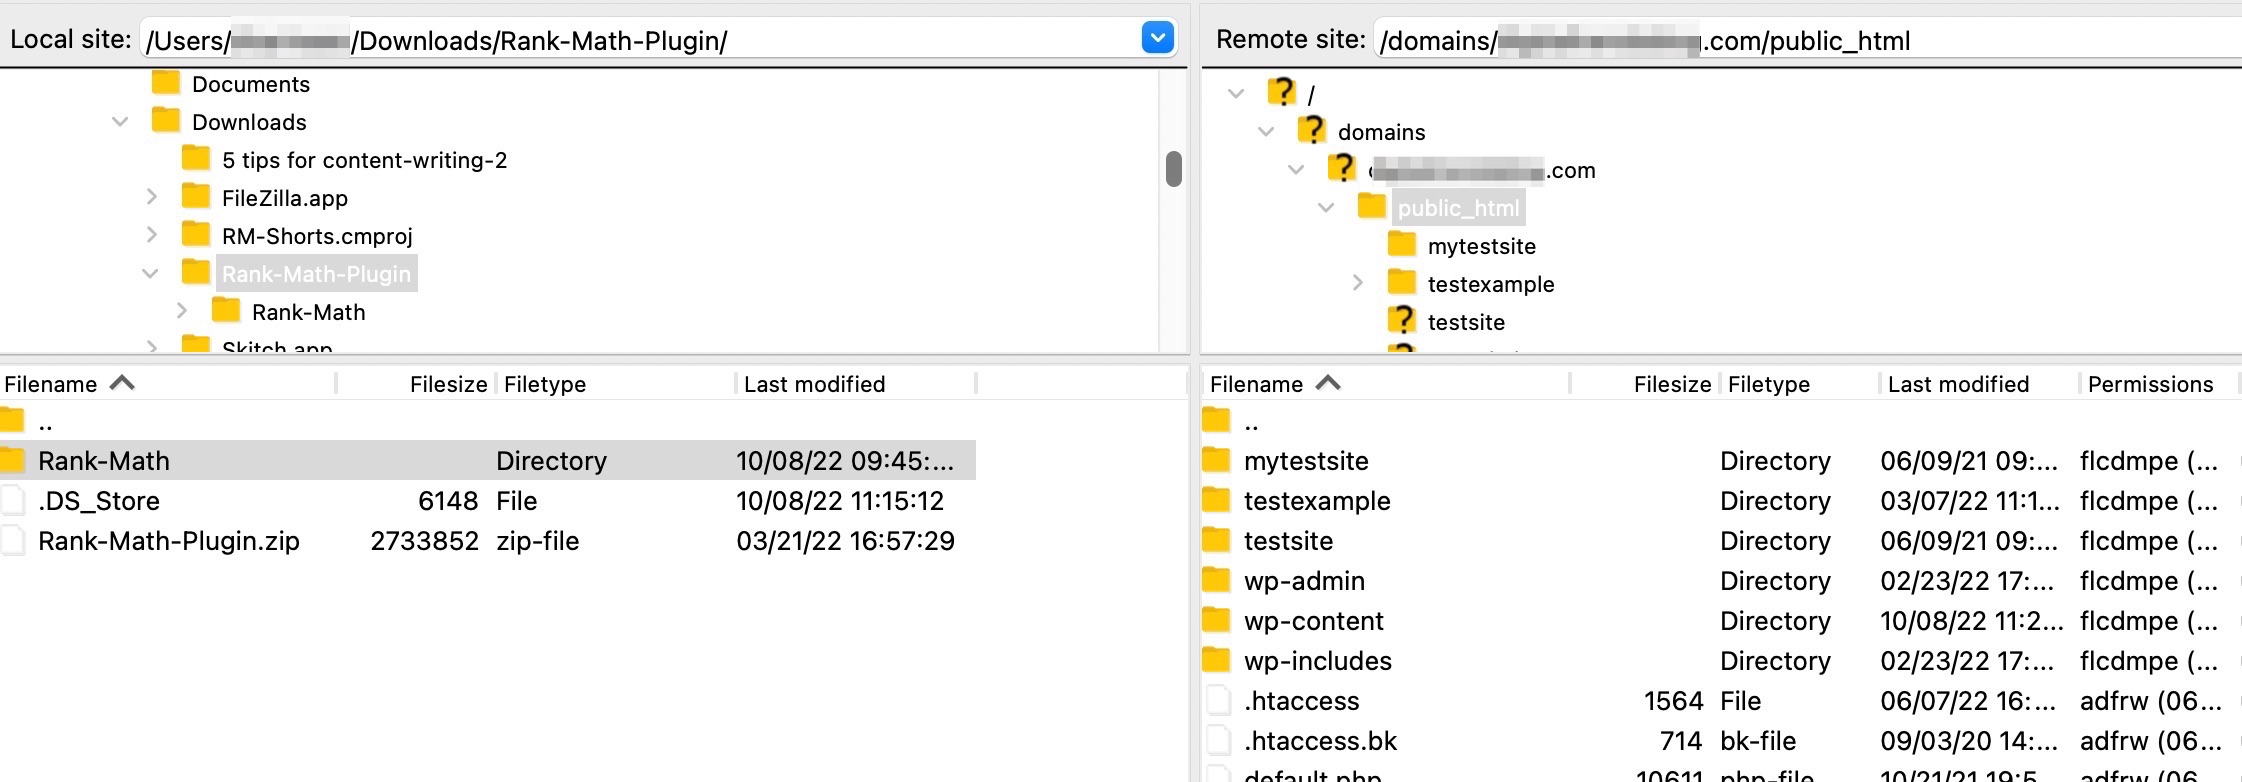
The panel at the top displays the directory tree for our current path (/ – the filesystem root).
You may see a different root depending on how your server is set up. It could be your user account’s home folder or even the web root.
The lower panel shows a detailed listing of the contents of the current path.
4 Navigate to the Plugins Folder
We need to navigate to the WordPress installation folder. If you recall, in most cases, it is “/var/www/public_html/.” Again, your server might be set up differently, as ours is. See the path to our public_html directory in the image below.

We could paste that address directly in the field at the top of the panel or click on the directories to navigate to the directory we want.
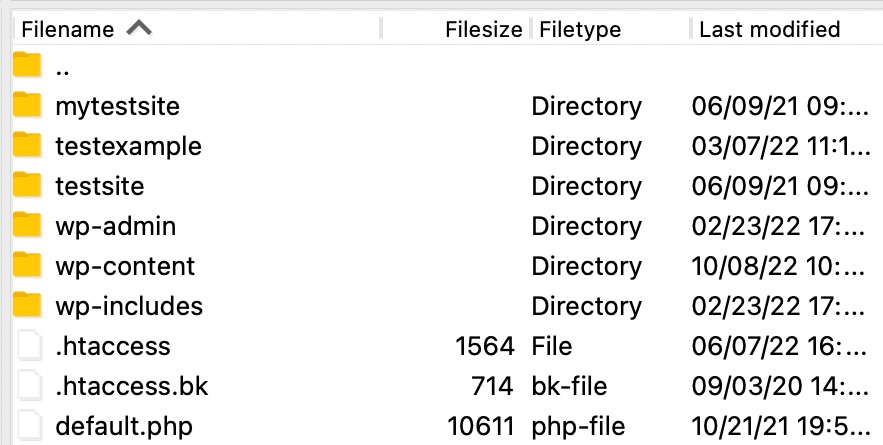
Here are the WordPress core files that make your WordPress site work. There are several PHP files, other odds and ends, and three important directories.
“wp-admin” is the home of your admin panel – we don’t want to touch anything in here.
“wp-includes” contains files that WordPress uses throughout the site. Again, we shouldn’t tamper with these files.
“wp-content” is the directory we need. It’s the place where WordPress stores code from the user – such as themes, plugins, and other code.
The plugins go inside “wp-content/plugins”:
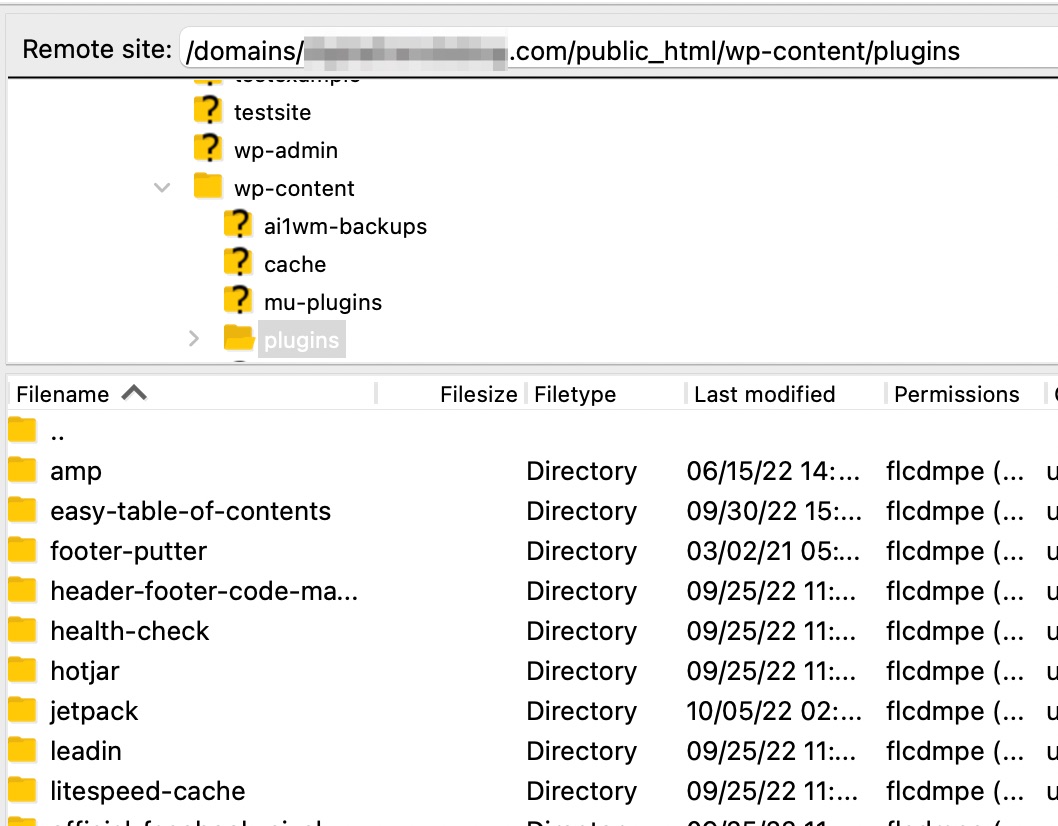
As you can see, there are a couple of plugins already installed. That’s normal in a new WordPress installation. Each directory contains a single plugin – we need to upload the unzipped directory for RankMath.
While you could upload the zipped archive, you would need to unzip it on the server side before WordPress could use it. FTP doesn’t have any built-in way to unzip folders, so you’d have to use another application running on the server – like SSH or your hosting admin panel.
Unzipping the archive on your PC and uploading the folder to the server is a little less efficient than transferring a zip file – but it’s a simpler process and won’t take long.
5 Upload the Rank Math Folder
To upload the plugin, we need to open the containing folder in the file panel on the left. This panel displays files from our PC:
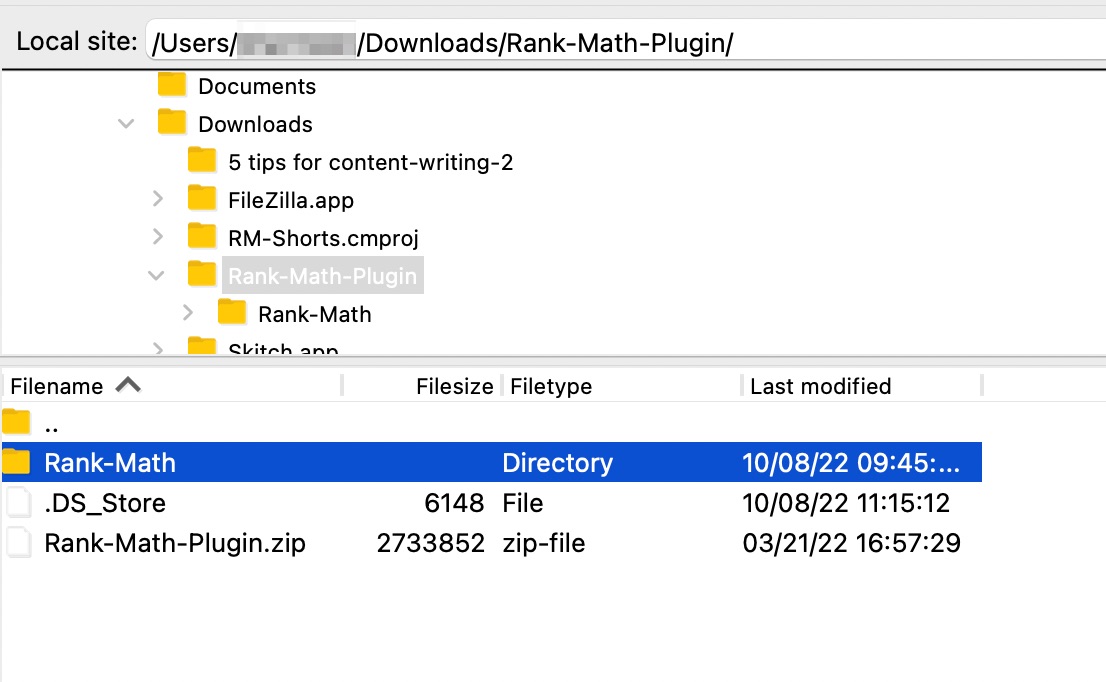
We’ve opened the directory that contains the unzipped RankMath directory – it’s highlighted in the screenshot above.
All we need to do is drag the folder to the right panel (the server files). Filezilla will transfer all the files and directories to the server in the background.
We can watch the progress in the log panel near the screen’s top or the progress bar at the bottom. It only takes a few moments (even on a slow connection, it shouldn’t take more than a minute or two).
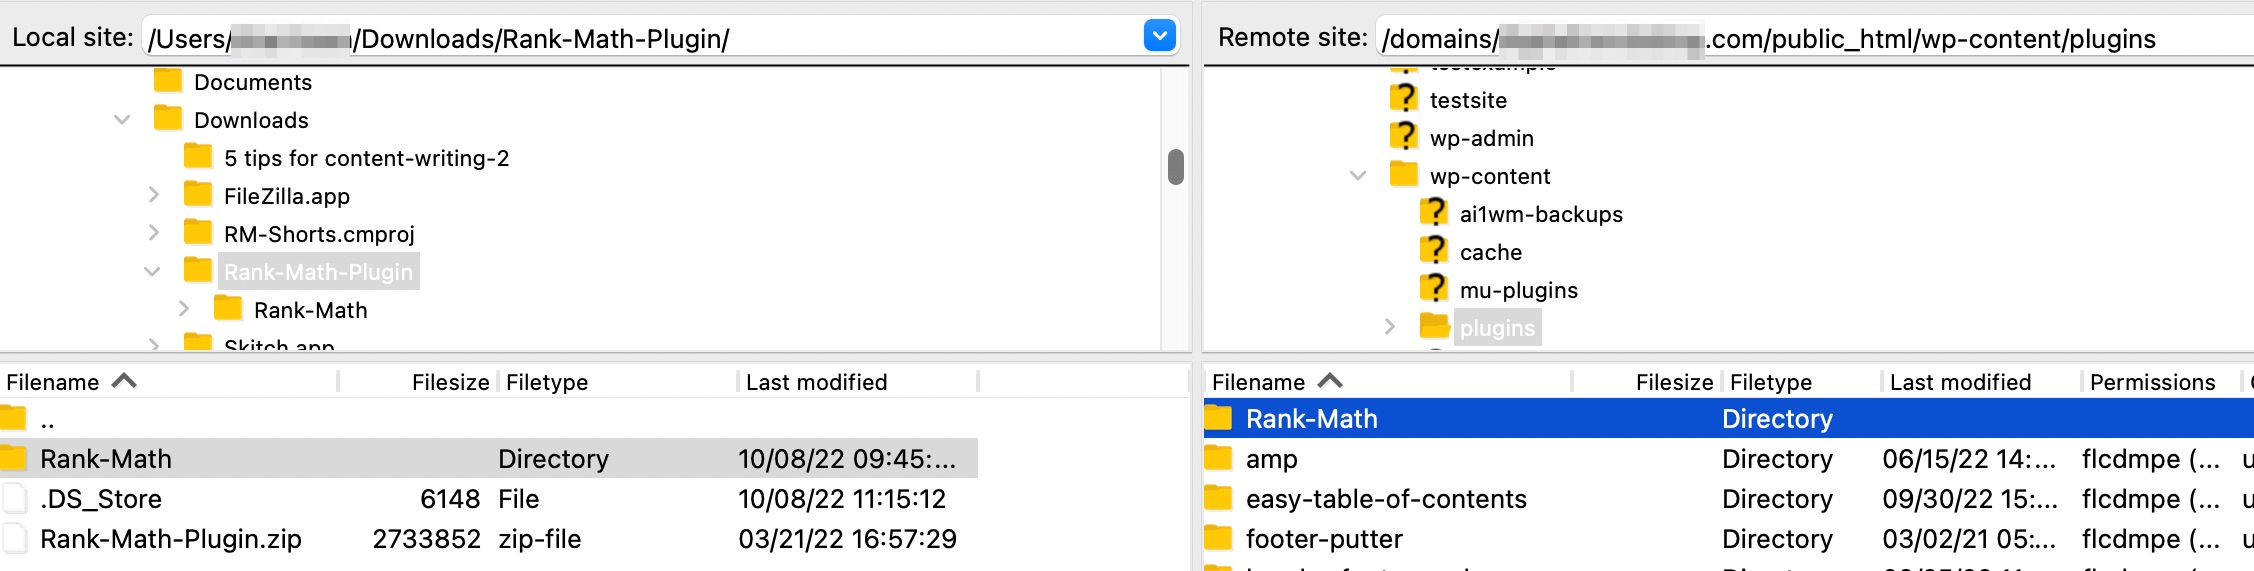
Here you can see that the RankMath folder has been transferred. Since the folder is arranged in the standard plugin way, WordPress will recognize it instantly.
The plugin is now installed – but it isn’t active yet. You still need to activate it through the wp-admin panel.
Log into your WordPress dashboard and navigate to Plugins → Installed Plugins.
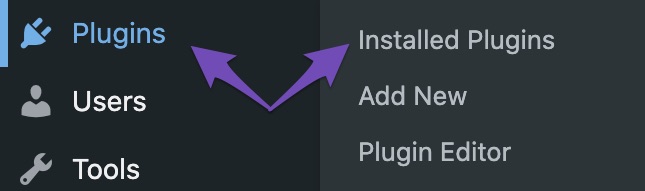
You’ll see Rank Math in the plugin list. Click the Activate button to activate Rank Math.
And that’s it! You’ve installed and activated Rank Math on your website. Now you can follow the Setup Wizard and configure your website’s SEO settings. If you still have any questions about installing and getting Rank Math running on your website, feel free to reach our support team — as we’re always here to help.