In this tutorial, we are going to teach you how to create a Swiper quiz with WP Quiz Pro.
First, let us address what a swiper quiz is. A swiper quiz is a simple yes and no quiz which compares your interests, hobbies, and activities against other participants.
In the context of WP Quiz Pro, it is one of the simplest quizzes to create as it requires very little configuration. Let us begin by explaining the process.
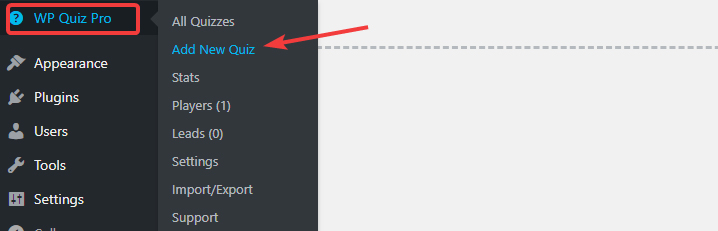
Start by navigating to WP Quiz Pro > Add New Quiz
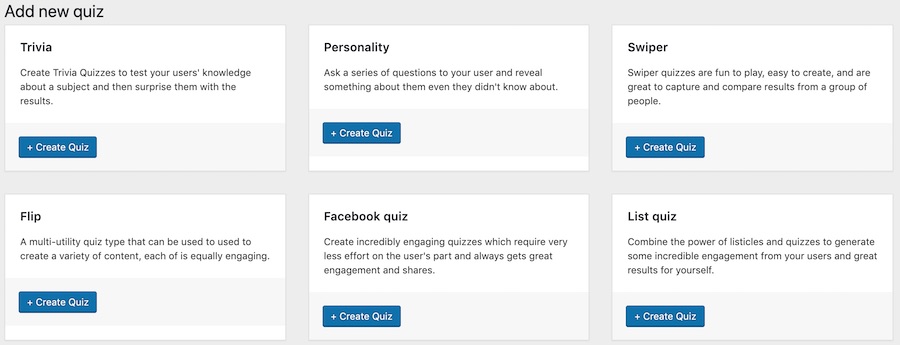
You’ll see a list of all the quizzes that you can create with WP Quiz Pro. Click the + Create Quiz button next to the Swiper Quiz.
You’ll reach the blank canvas for the Swiper Quiz. You might notice that there are 3 tabs on the screen.
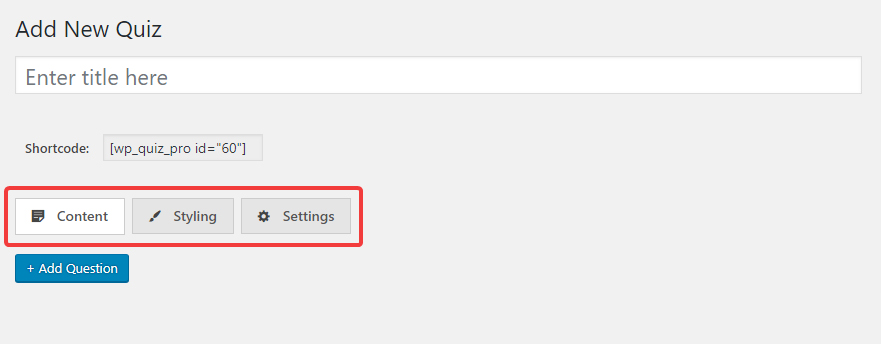
Each of tabs serves a different purpose, hence the tabs. Specifically, the Content Tab (which is highlighted and is the default tab) is where you’d create the questions. In the Styling Tab, you’ll style the quiz and change its appearance. In the Settings Tab, you’ll configure the behavior of the quiz.
Each quiz in WP Quiz Pro offers different levels of customizations. Therefore, it is important to understand the options inside each tab. Let us explore each of the tabs and the options they provide.
Content Tab
The content tab is where we’ll add the questions for the quiz. As we mentioned, the Swiper Quiz is a simple Yes or No quiz, so there are no answers, only questions.
Before we create a quiz, we must think of a title of the quiz and the questions in the quiz. For demonstration, we will name our quiz, “Which of these foods makes your mouth salivate?”.
For the answers, we’ve chosen 10 images of delicious foods. Let’s start with the quiz.
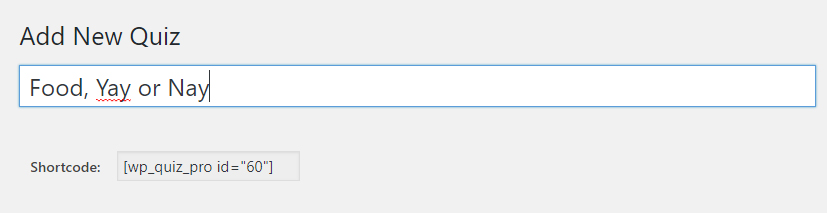
The first step we would take is to give the quiz a title. It doesn’t affect the quiz in any way, nor does it appear with the quiz. But, it does help in identifying the quiz later. We’ll give the title “Food, Yay or Nay” to this quiz.
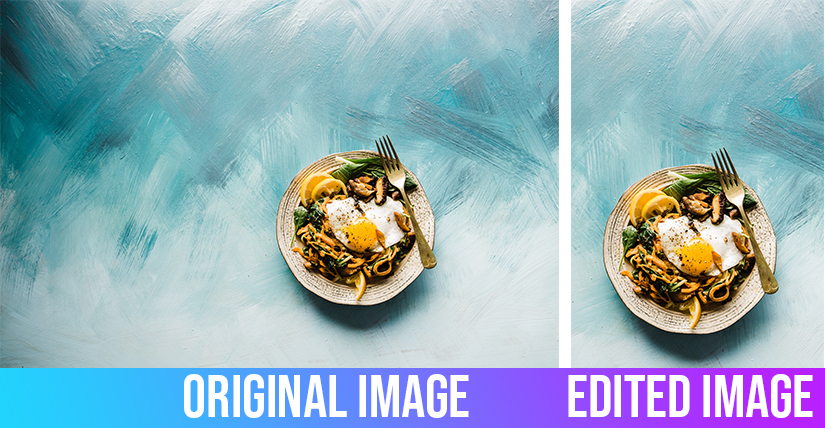
Then, we’ll prepare the images for the quiz. The Swiper quiz uses images in a portrait resolution to make it easy for users to play the quiz on their phones. If your images are in landscape mode or have a square aspect ratio, you will have to edit them for the best results.
The easiest way to do that is either crop the images or just take them in portrait mode if you have the option of doing so. Here is an image comparing a regular image vs. one we cropped specifically for this quiz.
The images are prepared, so we’ll start by adding a question. Hit the + Add Question button to do so.
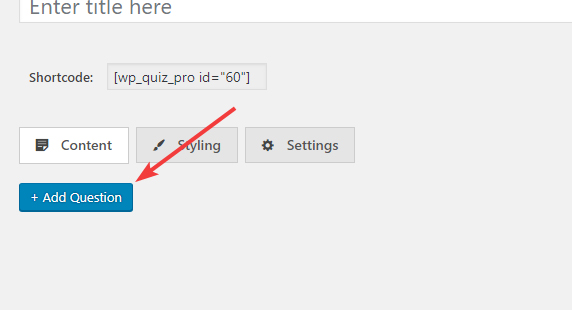
A blank question will open up on the screen, which would look something like this.
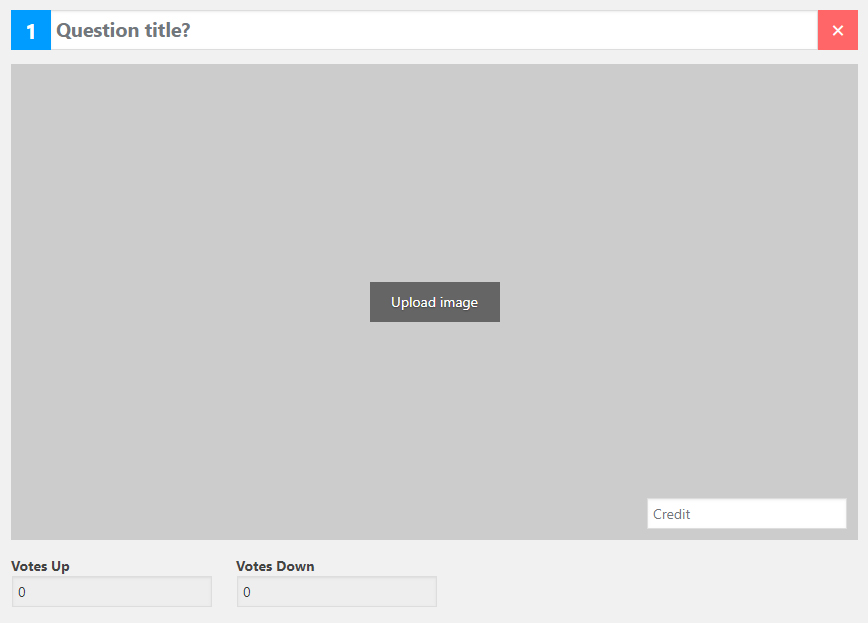
There aren’t too many options, but let us explain them.
The Question Title is where you’ll add the question for the user. For our quiz, we’ll add the name of the food item which we’ll add to the question.
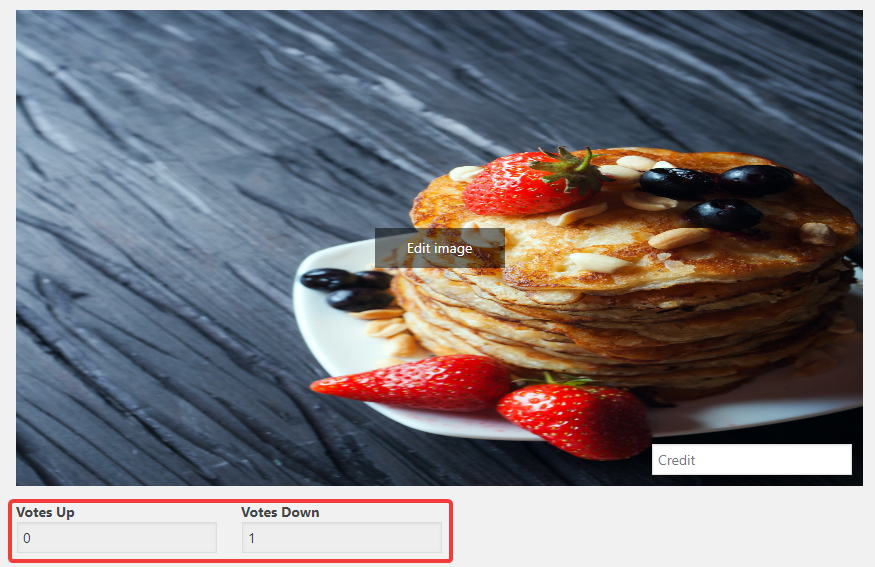
In the upload image section, we’ll upload the image for the particular question. You can also give credit for the image by using the Credit section. Note that the credit section is displayed as plain text over the image, not as a hyperlink.
The Votes Up and Votes Down are not editable. They are informational fields which will hold how many people voted yes or no to this particular question.
Let’s add all the question details and show you how it looks.
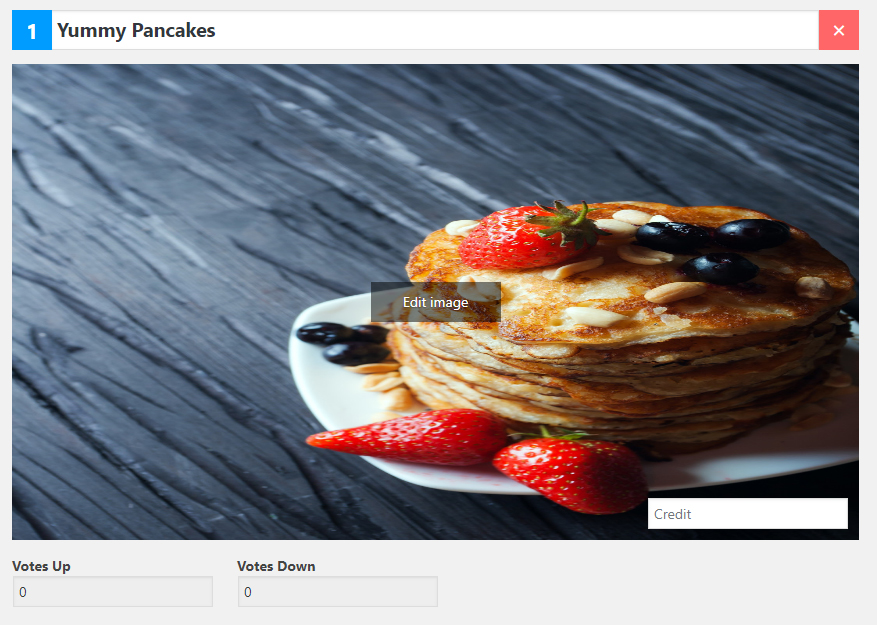
Let us address the obvious problem, the image. It is stretched out and looks horrible, we know. That is expected behavior. Since we cropped our images to fit a portrait aspect ratio, and WP Quiz Pro has a wider image area, the discrepancy happens. But, the good news is that you can safely ignore it. In fact, the stretching of the image can be taken as an indication that you’ve resized your image correctly.
We’re already working on an update for WP Quiz Pro that will fix this issue, and you will see the images exactly as the user will see it. Expect it in a future update soon.
Removing or Replacing Question Images
Sometimes you’ll add images to a question which you’d want to replace. You have 2 options to achieve that. You can either click the Edit Image button that appears on the center of the image.

Which will open up your WordPress Media Gallery, where you can select another image.
Alternatively, you can hover over the image, which will bring up the option to remove the image on the top right of the image.
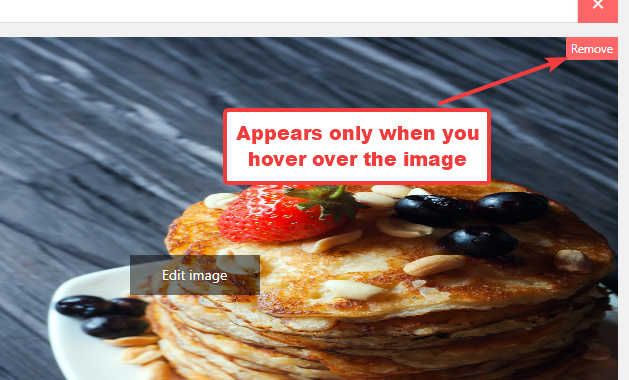
Clicking the Remove option will remove the image, and then you can select another one or upload one, just as you did while creating the question.
Deleting and Re-ordering Questions
You can also delete questions and re-order them if you need to do so. To delete a question, click the big red cross icon next to the question title to delete the question.

To re-order questions, you can use the drag and drop option. When you hover over the question number, you’ll see your mouse cursor change to a multi-direction one.

You can click-hold and drag questions around to re-order them. Here is an animation that shows how it works.

You’ll notice that the question number also changes automatically, so you don’t worry about renumbering the questions.
Previewing the Quiz
Once you’ve added the questions to the quiz (even one question is fine), you can preview it to see how it will actually appear to your users. To do that, hit the Preview button on the top right of the quiz creation page.
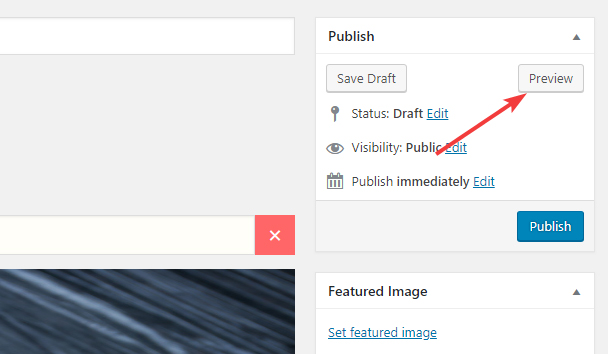
A new tab will open up where you’ll be able to check out the quiz on the frontend of your website.
Styling Tab
The Styling Tab in the Swiper Quiz offers just 2 options.
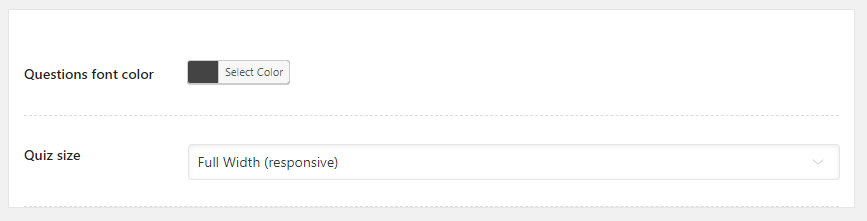
Questions Font Color
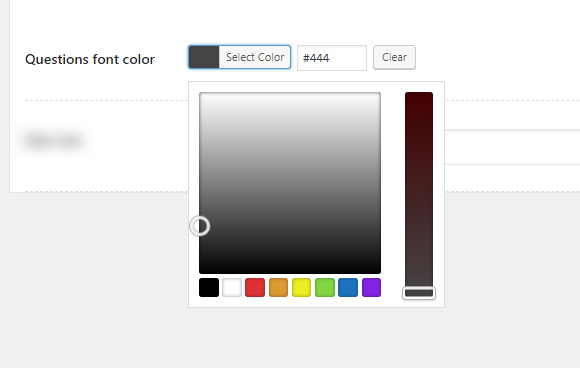
This option lets you change the color of the text the question is asked in. Click the Select Color button to open up the color picker and pick the color of your choice.
Quiz Size
Swiper Quizzes use the Full-Width setting by default. The quizzes are responsive, so you don’t have to worry about how the quizzes work on mobile—they work great.
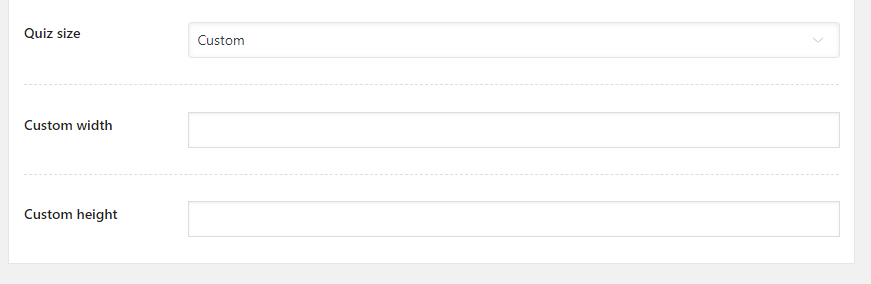
If you’d like to change that, you can specify custom dimensions for the quiz by using the Quiz Size option. Click the drop-down to see the Custom Width option and select it.

Once you do, the Custom Width and the Custom Height options will be revealed. Enter the dimensions in pixels for the Swiper Quiz.
Settings Tab
Inside the Settings tab, you’ll find the following settings.
Let us explain each of the settings.
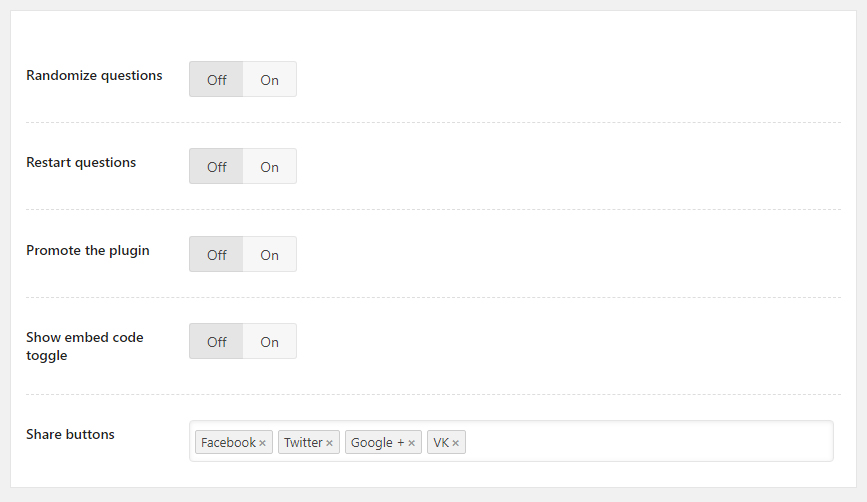
Randomize Question
When this option is enabled, the order of the questions is randomized.
Restart Question
When enabled, users will get an option to replay the quiz once it is ended.
Promote the Plugin
When enabled, this option will place a small link alongside the quiz which will say “Powered by WP Quiz Pro”. If you configure your MyThemeShop account inside WP Quiz Pro’s settings, you can make money from every user who clicks the link and purchases WP Quiz Pro.
Show Embed Code Toggle
If you’d like your quiz to be embeddable on other websites, enable this option. When enabled, this will place a link alongside the quiz which will say “Toggle Embed Code”. When the link is clicked, a chunk of code will be revealed which users can copy and paste on their website to embed the quiz on their website.
Share Buttons
When enabled, this will users the option to share their results on social media. Many social networks are supported, and you can enable or disable them as per your needs.
Understanding the Settings in Detail
Above, we just gave a brief explanation of what the settings can do. That is because we’ve already covered these settings (and others for other quizzes) in detail in our WP Quiz Pro Setup Guide. We’ve also shared many examples and images that can make the settings easy to understand. Check the guide out if you want to learn more about the settings.
Embedding the Quiz on A Post or Page
Once you’ve created the quiz and configured it to your satisfaction, then you can proceed to embed it in an actual post or page. The process is just 3 steps.
- Publish your post if it’s not already
- Copy the shortcode for the quiz
- Paste the shortcode in the post or page
If you haven’t done it already, then you need to publish your quiz before you can embed it in a post or page. Publishing a quiz isn’t the same as publishing a post or page, and it won’t start appearing on your website unless you embed it.
Publish the post by clicking the Publish button on the quiz page.
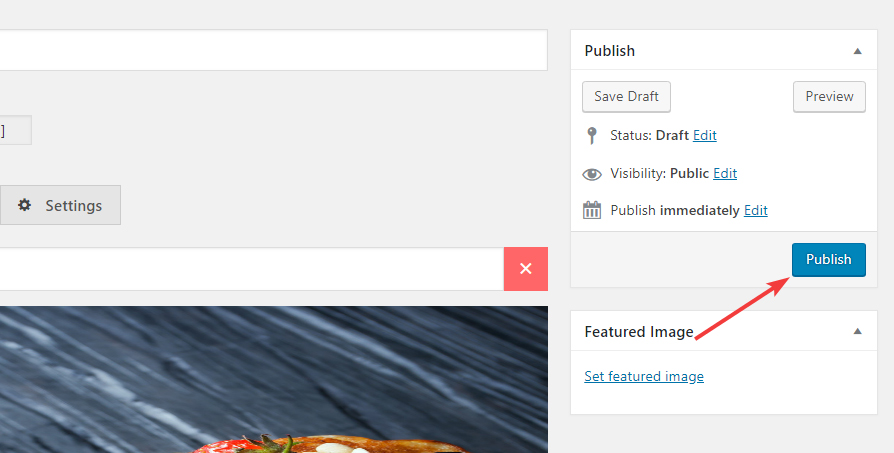
In a couple of seconds, you’ll see a confirmation of the quiz being published.
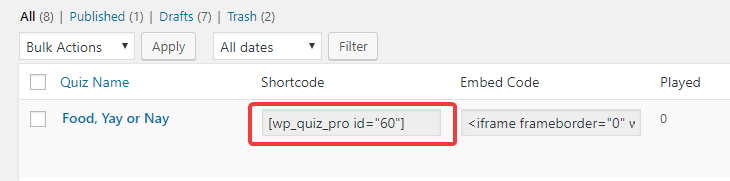
Next, it’s time to copy the quiz’s shortcode. You can do it right from the quiz creation page.
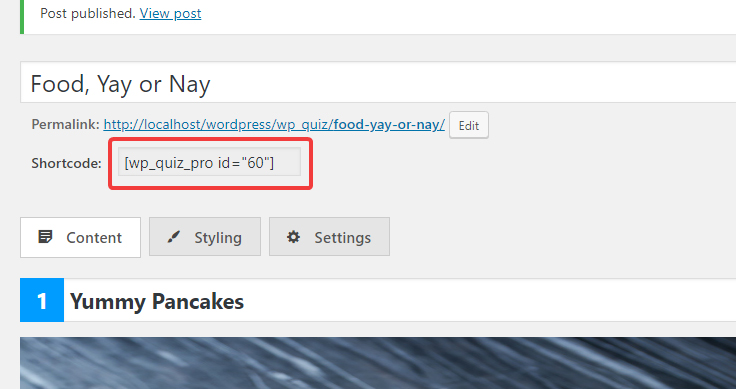
You’ll also find this in the All Quizzes section of WP Quiz Pro.
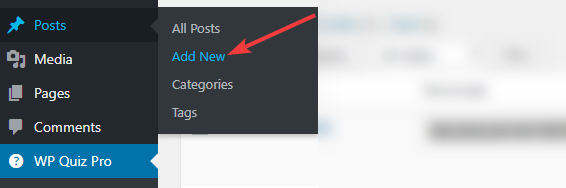
Copy the shortcode to your clipboard and open up the page or post where you’d like to embed the quiz. For demonstration, we’ll create a new post.
On the post, just paste the shortcode in the place you see best.
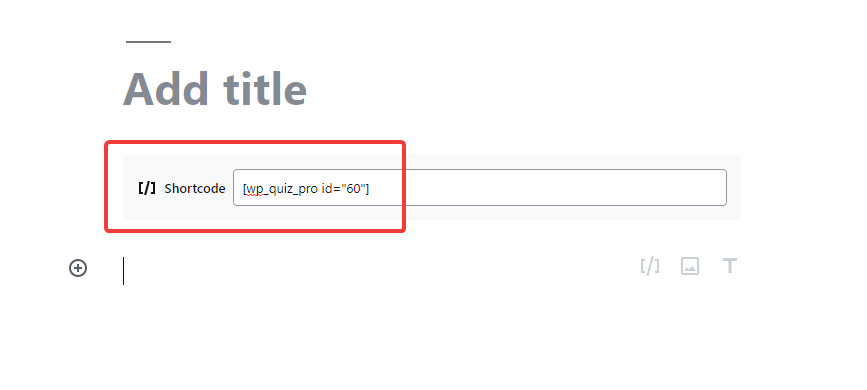
We’re using the Gutenberg editor, but the process works the same on the classic editor.
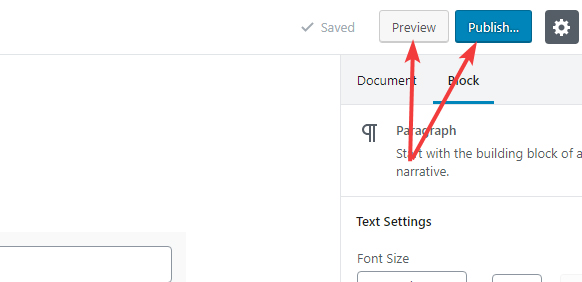
You can preview your quiz by using WordPress’s preview feature, and publish or update the post if you’re satisfied.
Quiz in Action
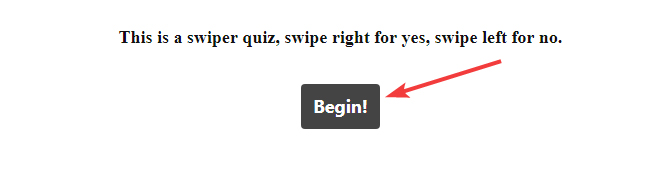
Open the post where you’ve embedded the quiz to see it in action. They swiper quiz doesn’t start immediately; rather it asks the user to click Begin to start.
Once you begin, the quiz will start, and you will see a stack of images on the screen.
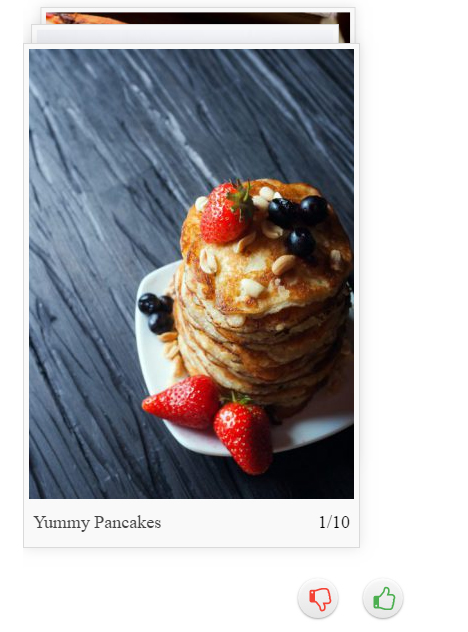
There are 2 ways of playing the quiz, using the swiping feature, or by using the thumbs up or thumbs down buttons. Both methods work on both mobile and desktop, so there are no worries of things breaking.
Here is a small video showing how the quiz is played.
Once the quiz is over, the results are presented in this format.
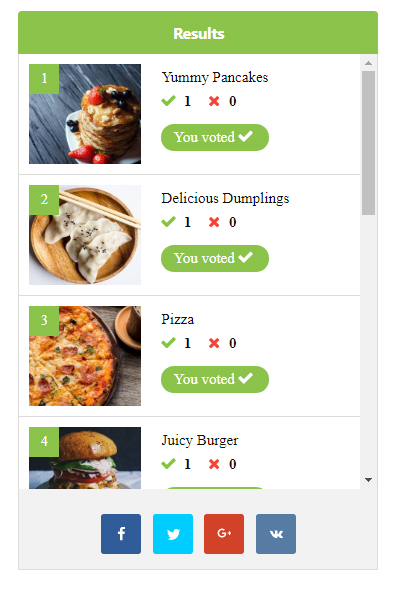
Currently, the scores aren’t much as we’re the only ones who have played the quiz, but as more and more people play the quiz, they will be able to compare their results with the general consensus.
From an admin’s perspective, you will be able to see the results of a quiz on the quiz page. Here is an example.
These scores will be updated as more people play the quiz. It’s a great way to get your reader’s opinion about a particular subject and can help gain important feedback about your website.
Conclusion
We hope that you’ve understood how to create a Swiper quiz with WP Quiz Pro. It’s one of the simples quizzes to create, but it is powerful and engaging like no other quiz. If you have any questions about WP Quiz Pro, or about the Swiper Quiz, do not hesitate to get in touch with our support staff, they will gladly help you out.
