Hello, and thank you for purchasing/considering WP Review Pro for your website. It’s a powerful plugin with a lot of features while still being easy to use.
In this tutorial/article, we are going to explain how to install WP Review Pro on your website.
Even if you haven’t installed a plugin before, you need not worry. It’s similar to installing an app on your phone.
Let’s get started.
Grabbing the plugin files
If you already have the plugin files, you can skip to the next section. Otherwise, continue reading.
Before installing the plugin, you need the plugin file that you will upload to your website.
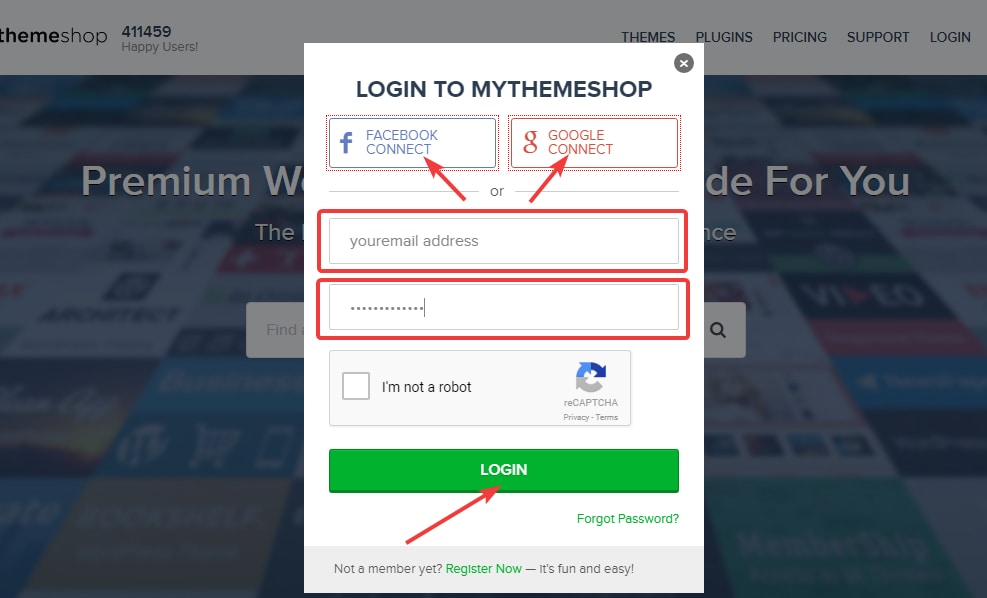
Head over to MyThemeShop.com and click ‘Login’ on the top right on the screen.

Enter your email ID and password to log in, or click the Facebook Connect or Google Connect to log in using their accounts. Just make sure to use the same account that you used to purchase WP Review Pro.
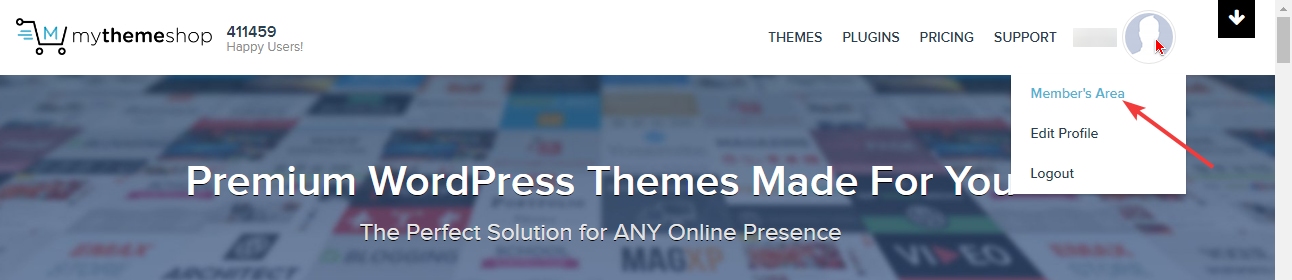
Once you are logged in, hover over your profile and navigate to ‘Member’s Area’.
Locate the section “Active Premium Resources”.

Depending on how many premium products you have purchased from MyThemeShop, you will see the list of the products in this section.
Locate WP Review Pro from the list of the products.
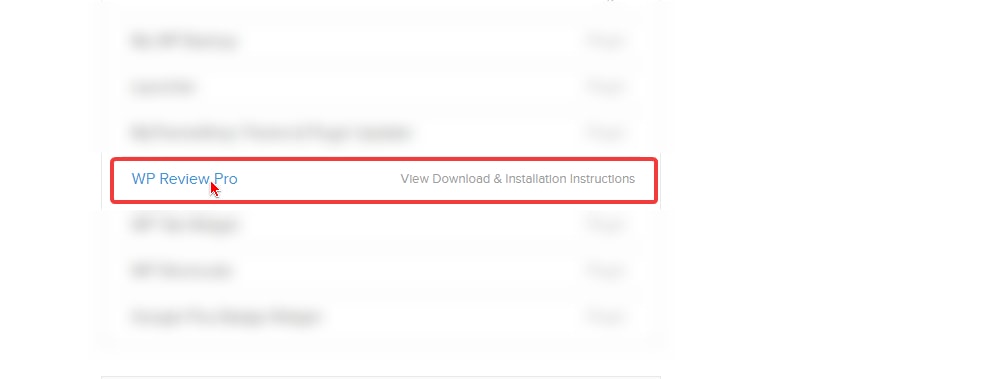
Click on WP Review Pro to have its details show up on the screen.
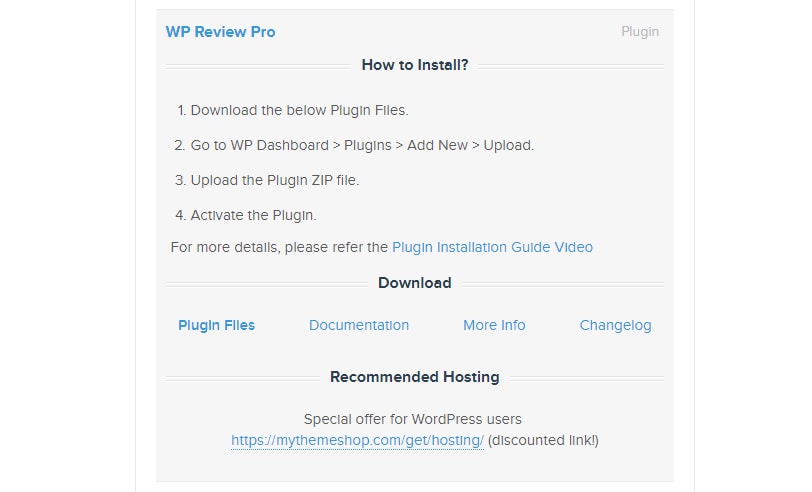
In this menu, you will see a lot of information about WP Review Pro that you can access. Since we are talking about downloading the plugin files in this example, we will ignore the rest of the options.
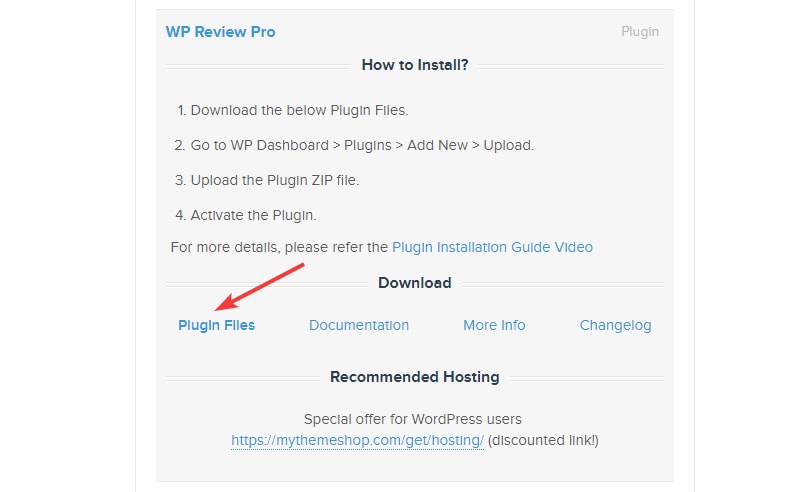
Click on the ‘Plugin Files’ to download the plugin files for WP Review Pro.
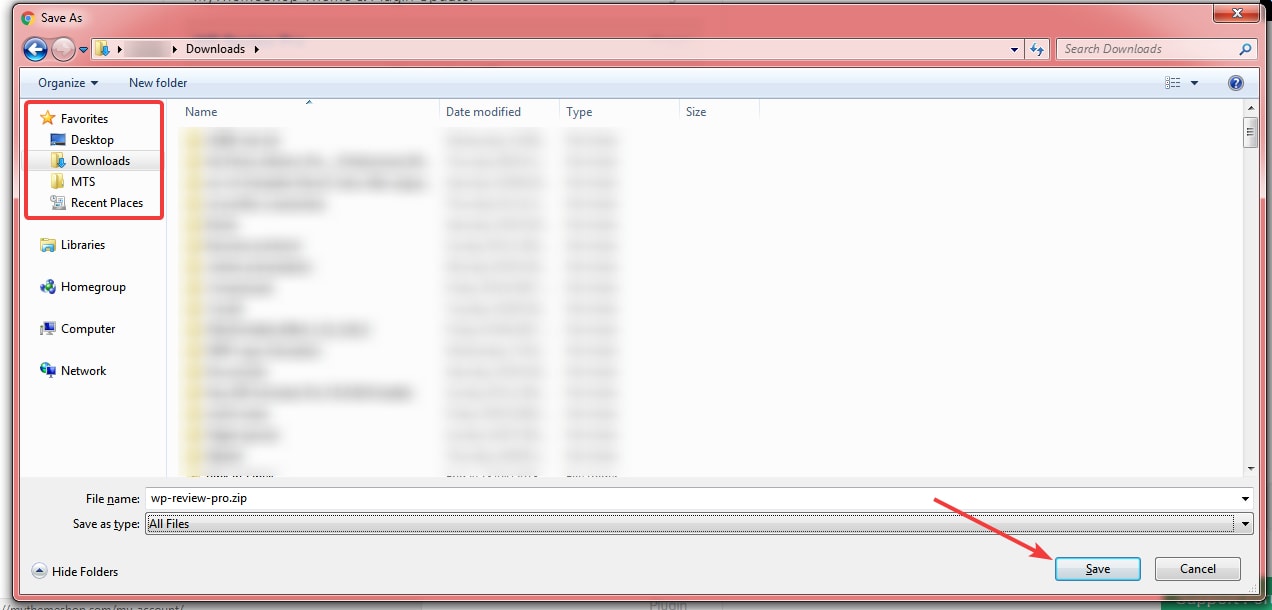
Depending on your browser and your download settings, you should see the download dialog box. Save the plugin zip file to a location that you can remember.
Uploading the plugin files
Now that you have downloaded the plugin files successfully, all you need to do is upload the plugin files from your WordPress admin area.
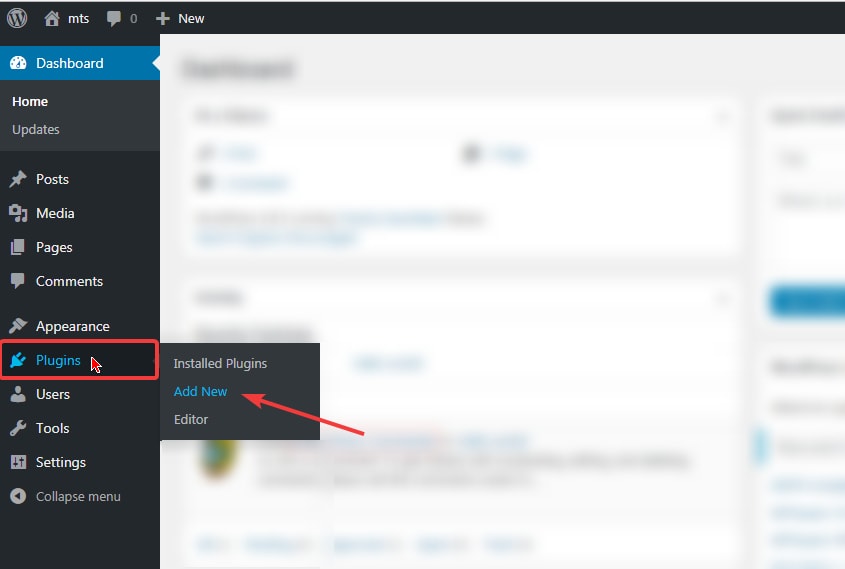
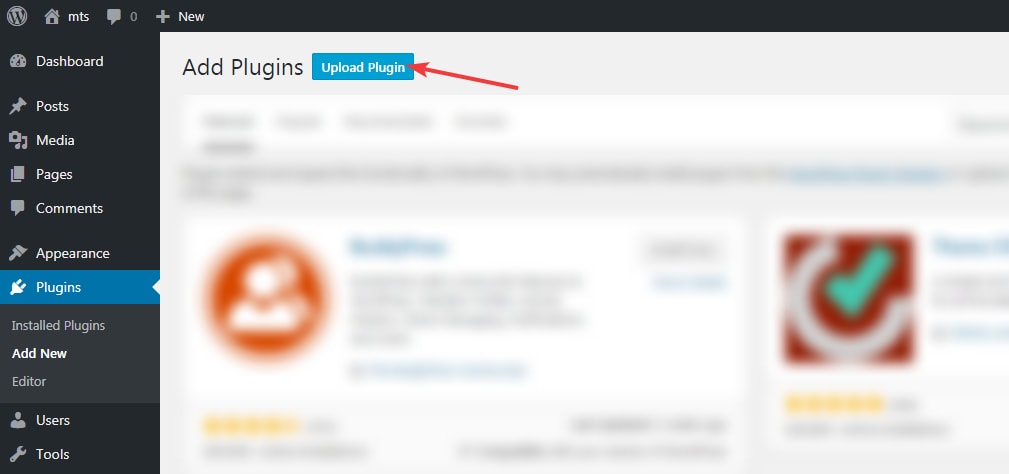
To do that, log into your WordPress admin area, and head to Plugins → Add New.
On the next screen, click on the ‘Upload Plugin’ that appears on the top of the screen.
The screen will shift, and you will see options similar to this.
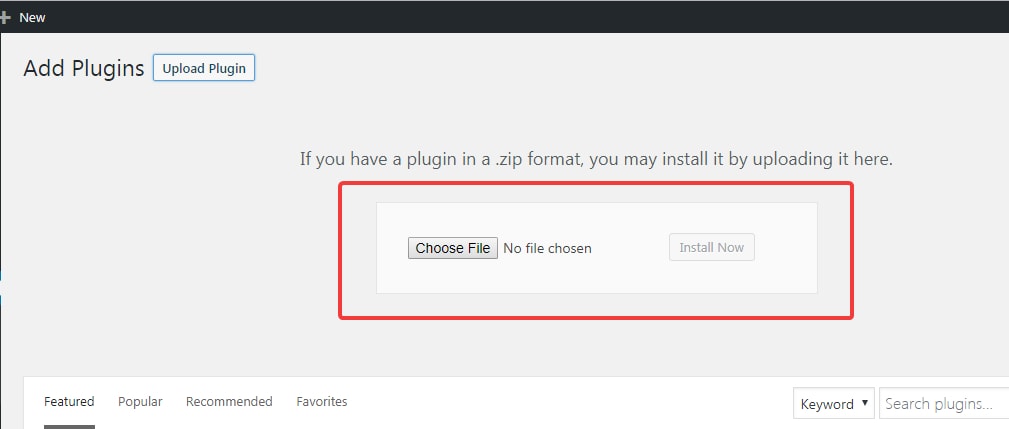
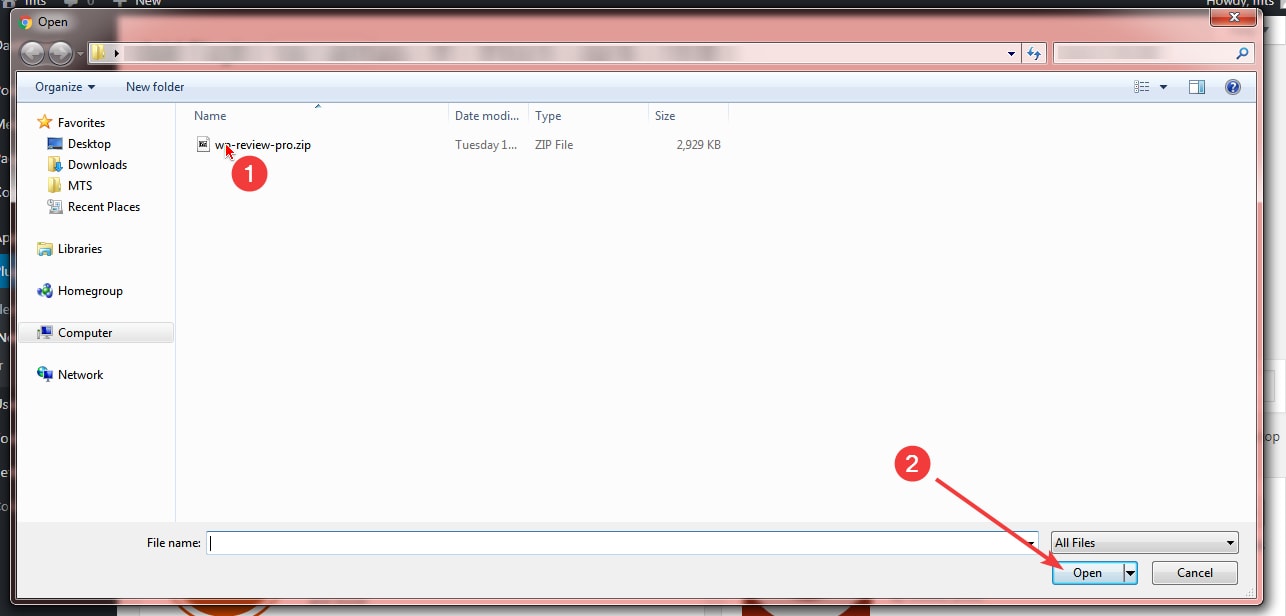
Click on the ‘Choose File’ button. A dialog box will appear. Navigate to the path where you saved the plugin zip files, select it, and click open.
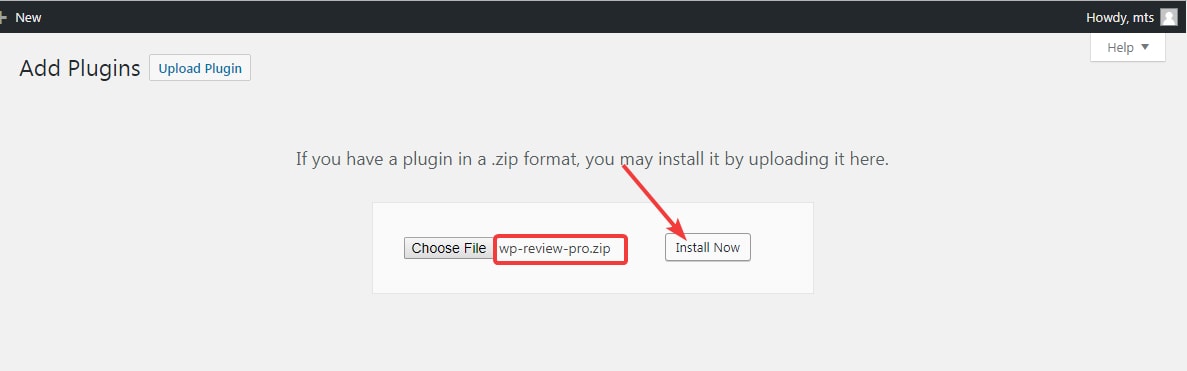
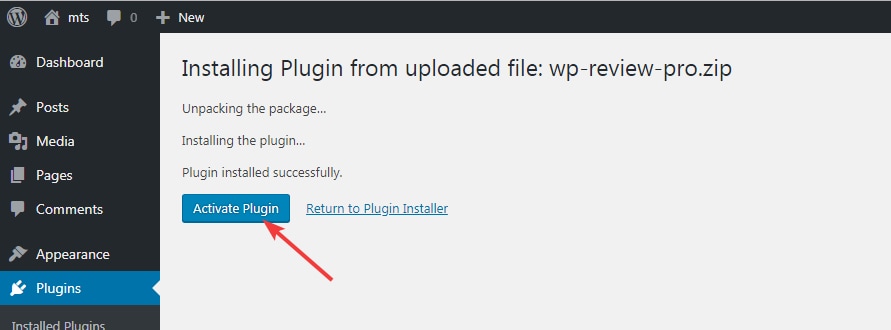
You will see the name of the file being selected on the screen. Hit ‘Install Now’ to upload the plugin.
The plugin file will be extracted and installed. You should see the following screen during the process. Click the ‘Activate Plugin’ button to activate the plugin and start using it.
You will be taken back to the plugins page, and you will see WP Review Pro being installed. A notification on the top of the page will confirm it as well.
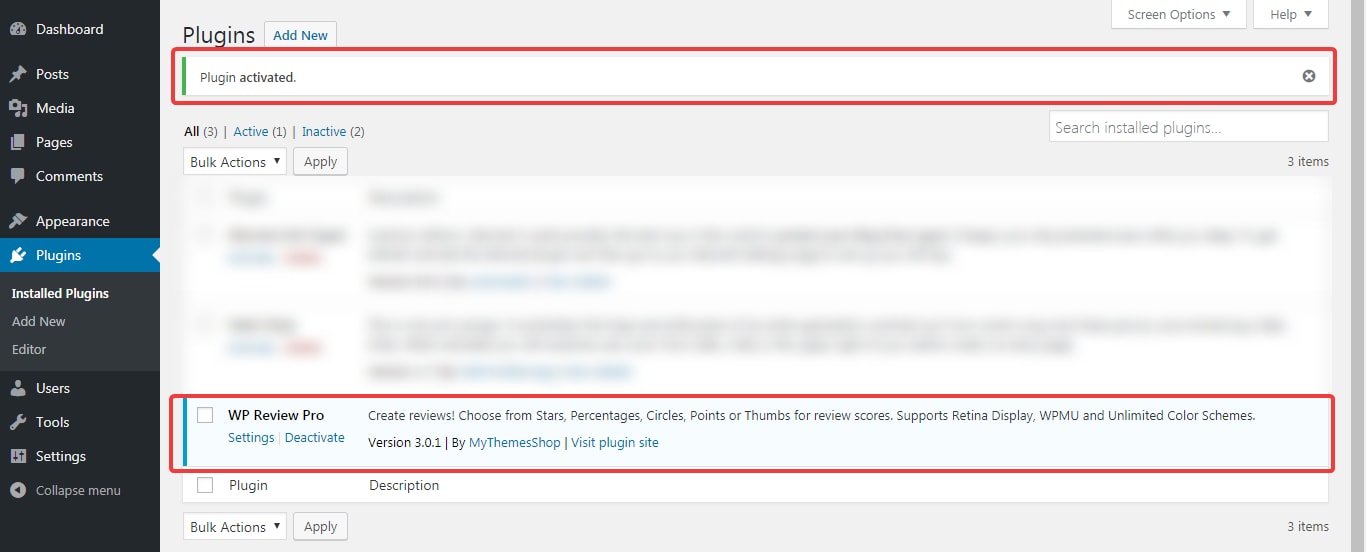
Congratulations, you have successfully installed WP Review Pro on your website.
Before you start using the plugin, you should configure it to your liking. There are 2 ways of doing that.
-
Global Settings
-
Local Settings
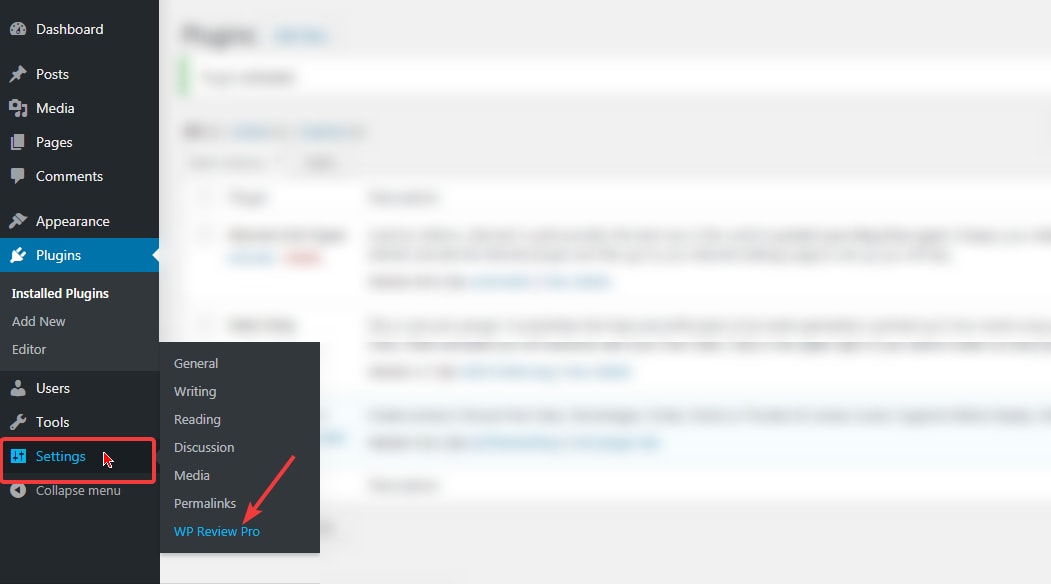
The global settings will affect every review you will create with WP Review Pro. They can be accessed from Settings → WP Review Pro.
The local settings will affect only a certain page or post on your website. These will be accessed only from pages and posts themselves. The settings you configure there will only affect that particular page or post.
Importing Demo Data
If you like to see what WP Review Pro is capable of, or would like to see how the demo reviews are created, then you can import the demo data from WP Review Pro on your website.
The demo data is imported as draft posts so that you can import them on a live website as well.
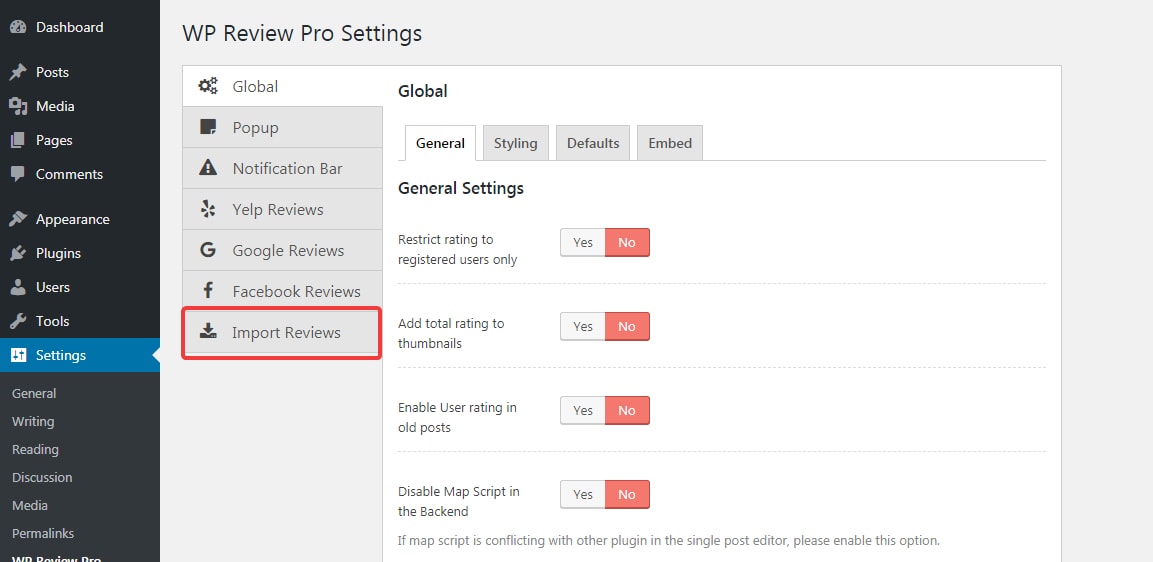
To import the demo data, navigate to WP Review’s Settings by navigating to WP Review Pro → Settings.

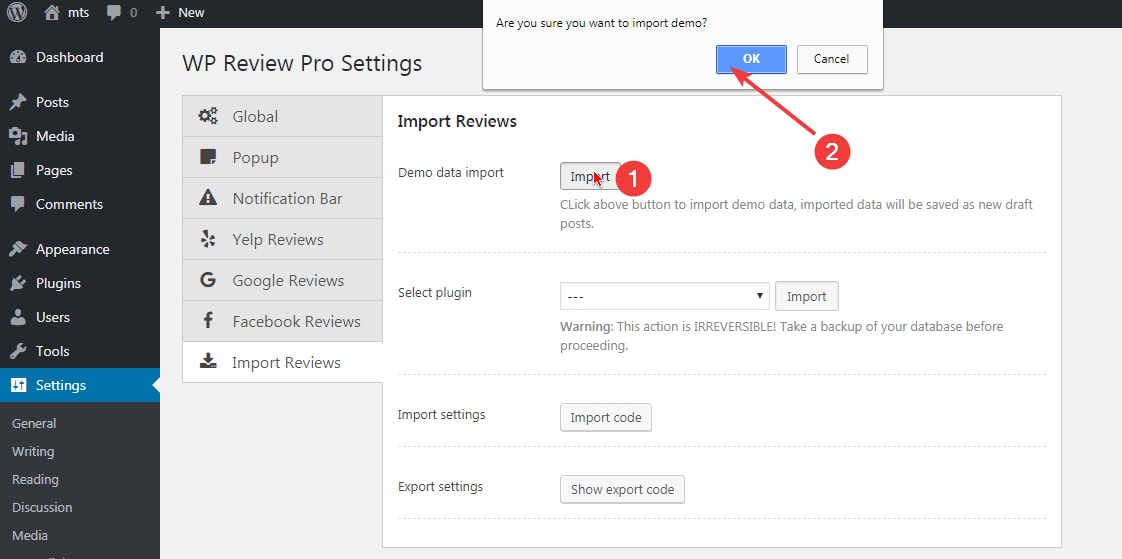
Navigate to the ‘Import Reviews’ section.
The first option you will see on the page is the demo data import. Click on the ‘Import’ button to start the import process. You will see a confirmation dialog. Press ‘OK’ to continue.
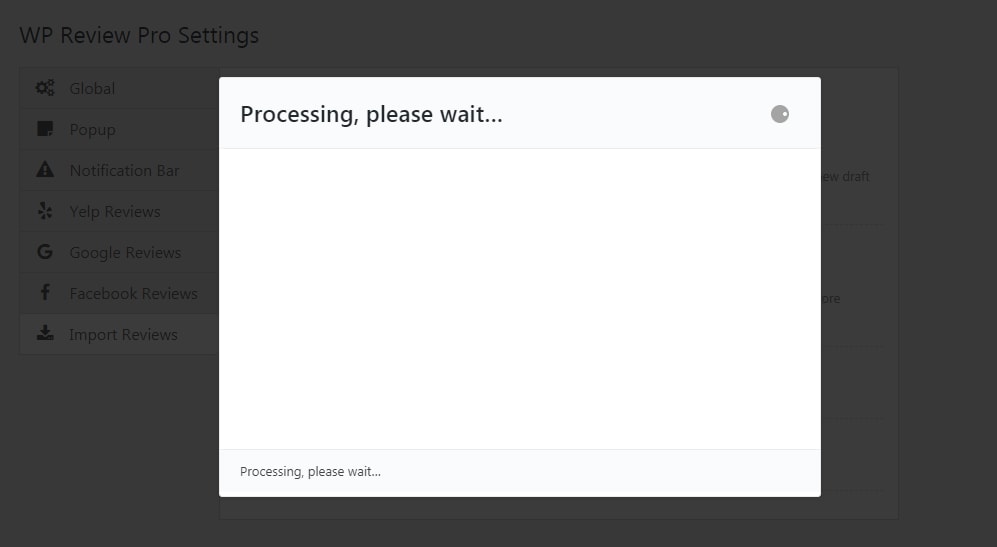
A small window will appear which will show the status of the import.
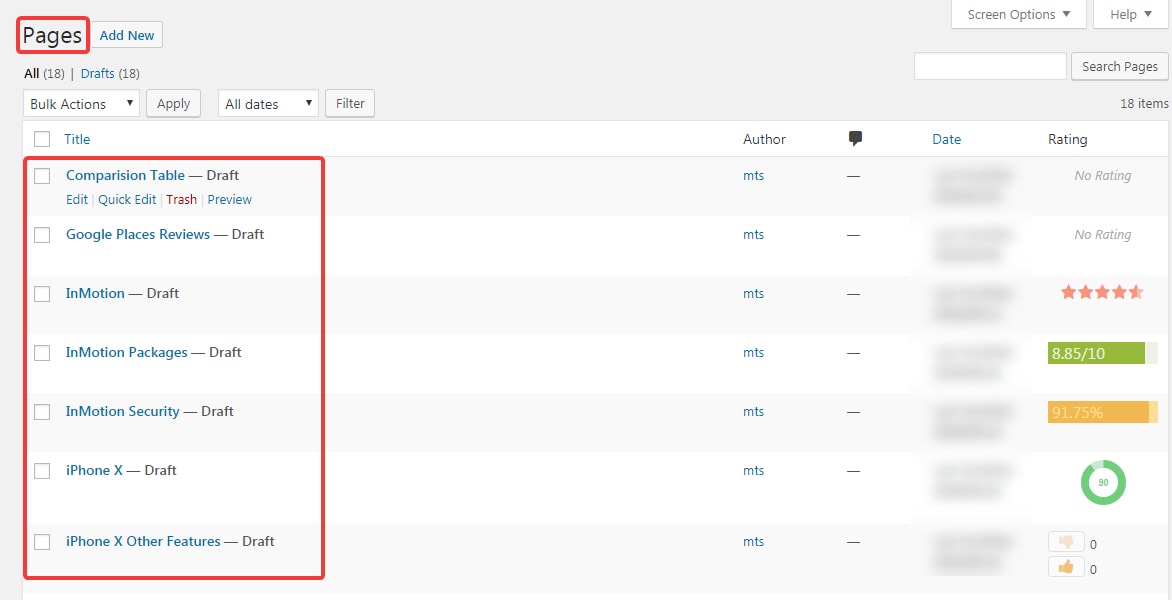
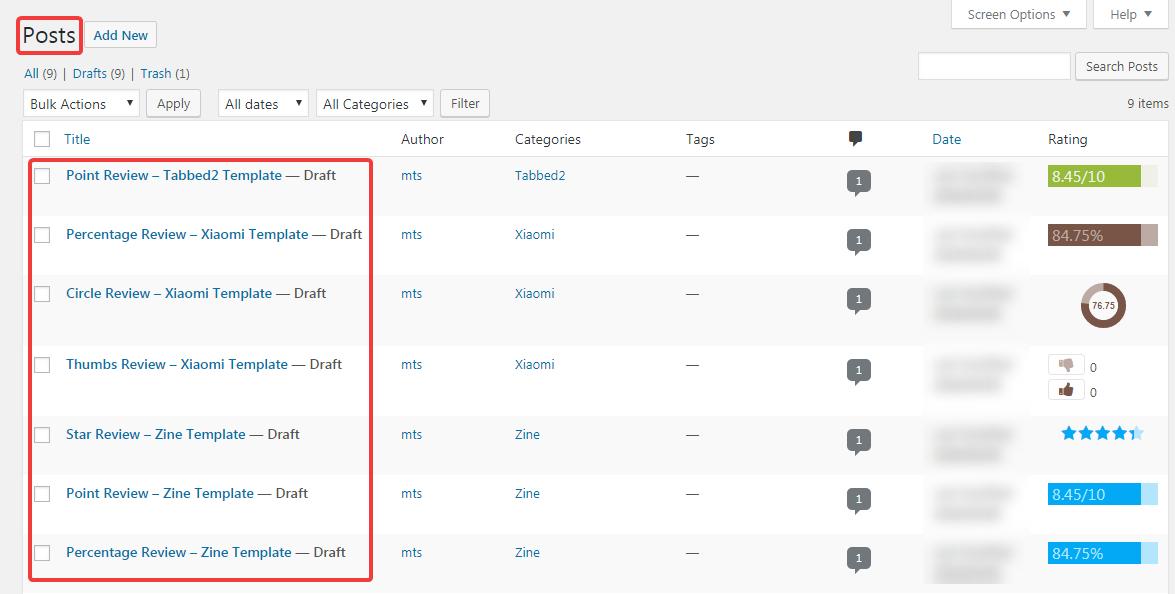
Once the import has completed, press ‘OK’ and check out your posts and pages to see the imported data.
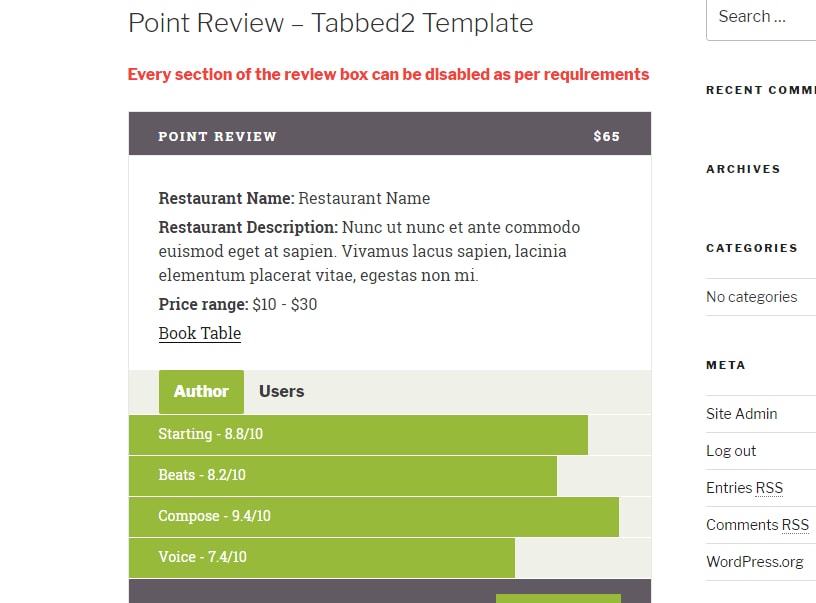
You can use WordPress’s preview features to check out the review on your website as well. Here is a demonstration.