In this tutorial, we are going to show you how to create a List Quiz with WP Quiz Pro.
A list quiz is a versatile quiz which can be used in many ways. You can question readers with it, conduct polls, gather opinions, or just share some content for them to enjoy. Let’s begin.
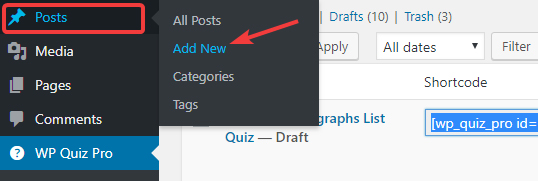
Start by creating a new quiz. Navigate to WP Quiz Pro > Add New Quiz to do so.
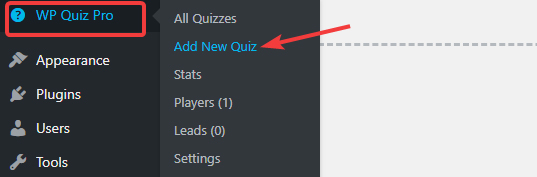
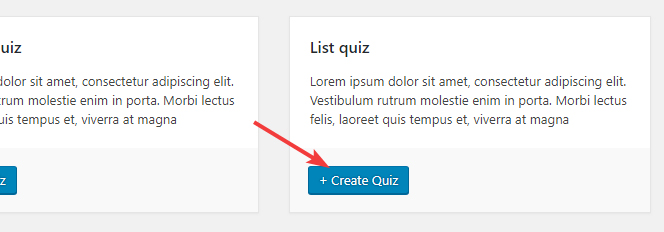
The list of all quizzes will appear. Click the + Create Quiz button next to the List Quiz in our quiz plugin.
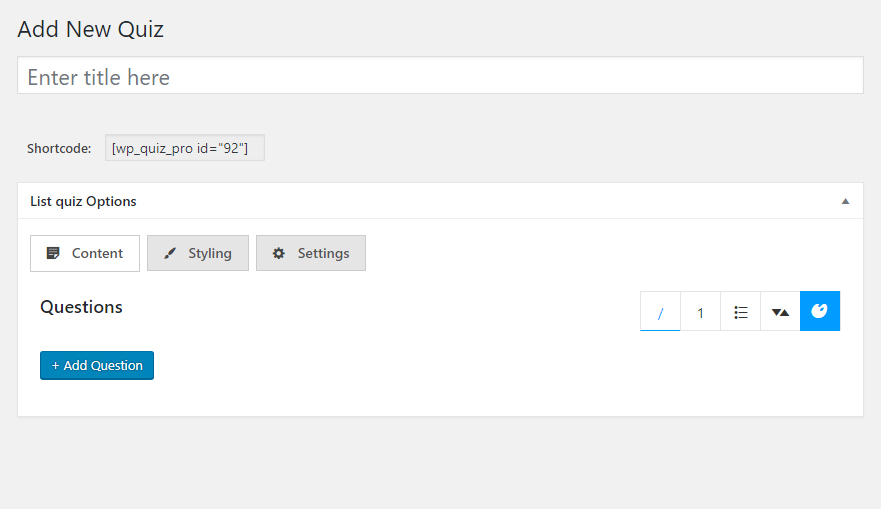
A new quiz will be created, and it will be blank. The screen should look similar to this.
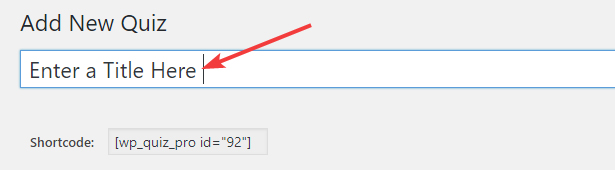
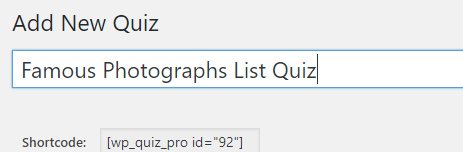
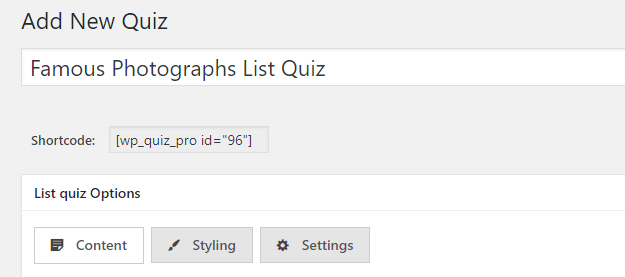
First and foremost, add a title to the quiz to help identify it later.
Let’s look at the rest of the things on the quiz screen. We’ve highlighted the important things in the image below.
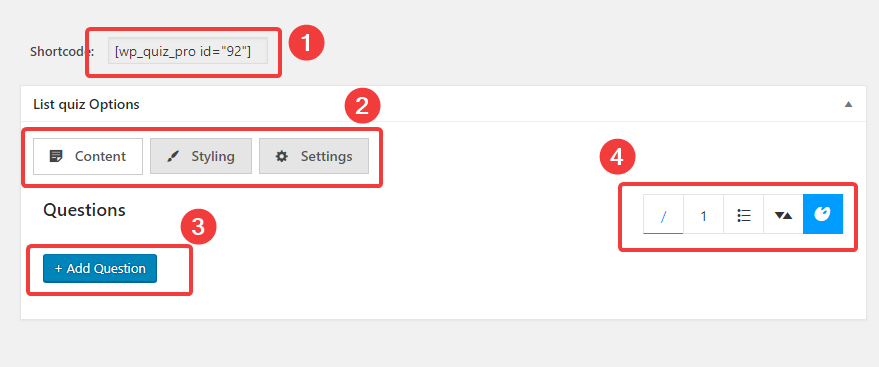
1 – The Shortcode
Each quiz created with WP Quiz Pro will have a shortcode associated with it. You’ll need that when you use the post in a page or a post. We’ll explain how at the end of the tutorial after we’ve created an actual quiz.
2 – List Quiz Options
The options consist of 3 tabs, and each of them serves a distinct purpose. We will discuss each tab, and its options in detail as each of the options has an impact on the final quiz.
3 – Add Questions
This is the section where we will create the actual questions.
4 – Additional Options
These options help in creating different types of list quizzes. We will go through each of the options in detail when we create a quiz.
Let us start with creating a List Quiz. You can follow along as well.
Creating the Actual Quiz
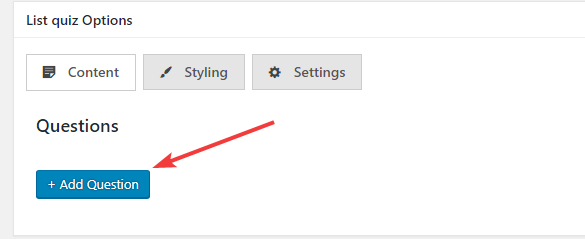
The first step we’ll take is that we’ll add a question by clicking the + Add Question button.
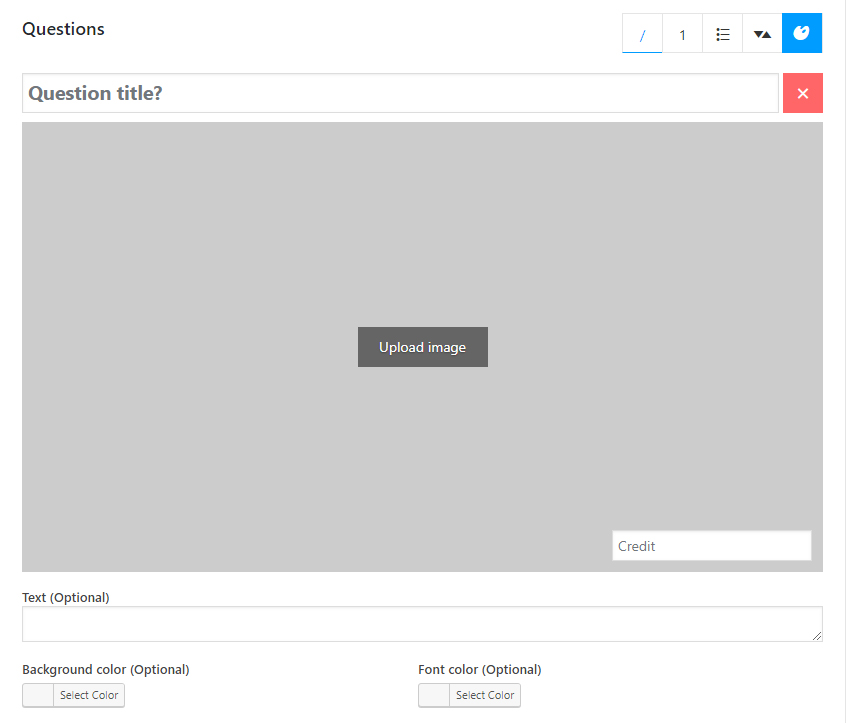
A blank question will be added to the quiz, which will look similar to this.
Before adding the question details, it’s important to understand the type of lists the List Quiz supports. Do you remember the List Type options that we highlighted at the beginning of the tutorial? Here is a picture to remind you.
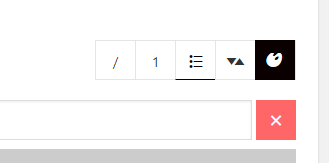
Out of the 5, the first 4 are to select the list type, and the last one is to choose a color. Each list type serves a different purpose and serves the list quiz differently to the user. Here are some details.
Default List
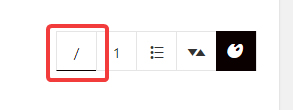
The default list is the vanilla option and doesn’t affect the list in any way. The list that you create with the default list options will not be labeled in any way. It’s best to choose this option when you are simply presenting some information to the user, and the order and sequence of the list are not important.
Numbered List
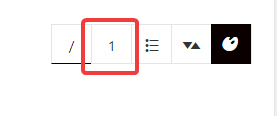
Each question in the numbered list has a number prominently attached to it. You should use this type of list when the order of the list is important or when you need the users to remember a particular option—the numbers help there. Another benefit of using numbers is that lists with numbers are usually more engaging than lists without numbers. It’s worth checking out on your website as well.
Bulleted List
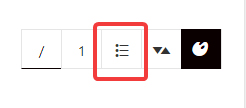
Bulleted lists mark each question, similar to the numbered list, but with a bullet instead of numbers.
Interactive List (Upvotes/Downvotes)
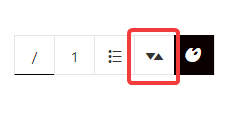
This is the highlight of the List Quiz. It converts any boring option into an interactive list with an upvote and downvote feature. You can even choose to have only upvotes.
Demonstration for Different List Types
An easy way to see the effect of different list types is to select them and see the changes that happen to the question in real time. Here is a quick video showing exactly that.
We hope you noticed that part where we turned off the upvote and downvote feature individually by clicking on them.
Important Note: One List Quiz can only have one type of questions. If you change the list type of a quiz, all the questions will change to the new format.
Now that we’ve explained all the list types let us create an actual quiz.
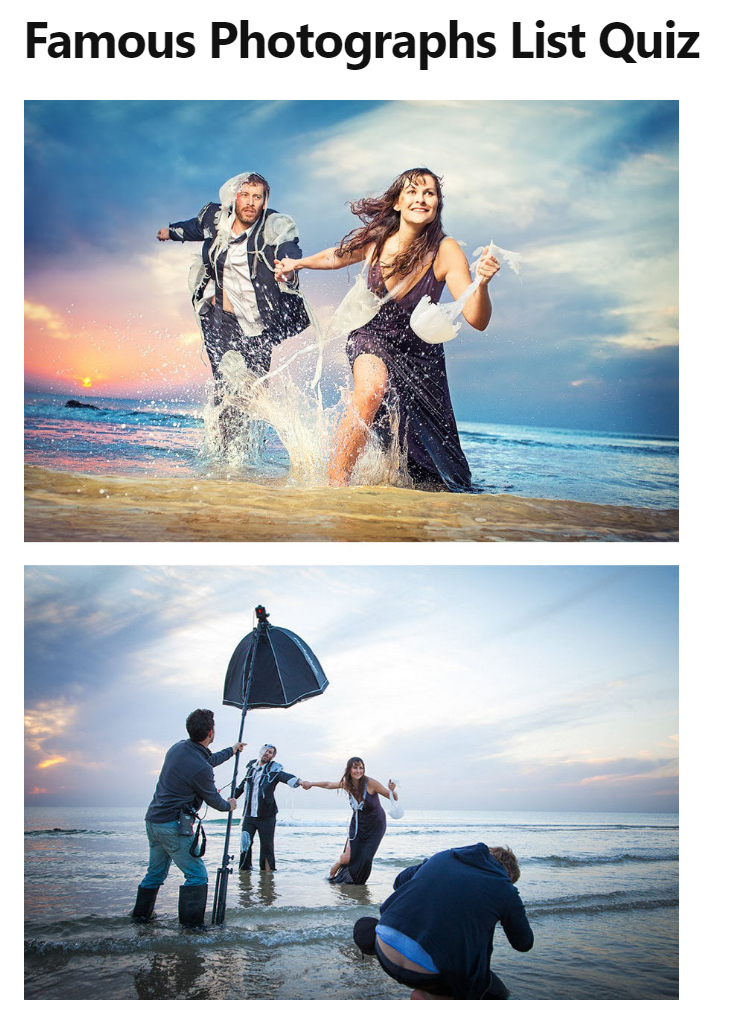
The topic we’ve chosen for the quiz is, “You won’t believe how these pictures were taken”. We used the same quiz content in the Flip quiz, but it can also be used a list quiz. You can follow along by creating a quiz of your own.
First, we will name the quiz so that we can identify it later.
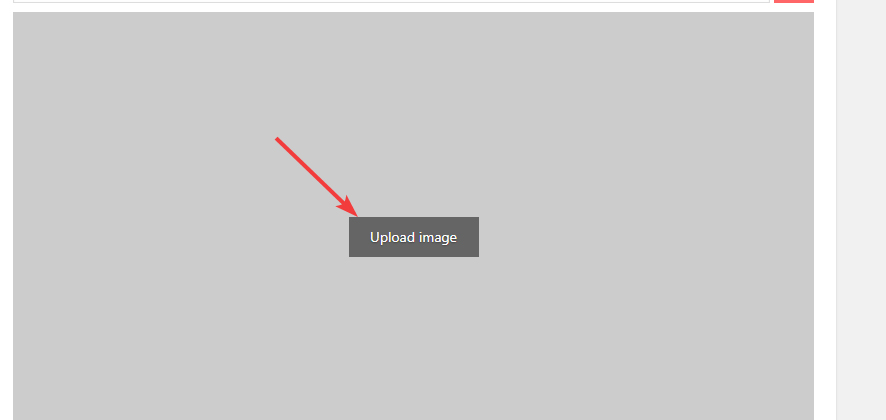
We’ve already added a question in the previous steps, so now we just have to add the image. We’ll upload a new one by clicking the upload image button.
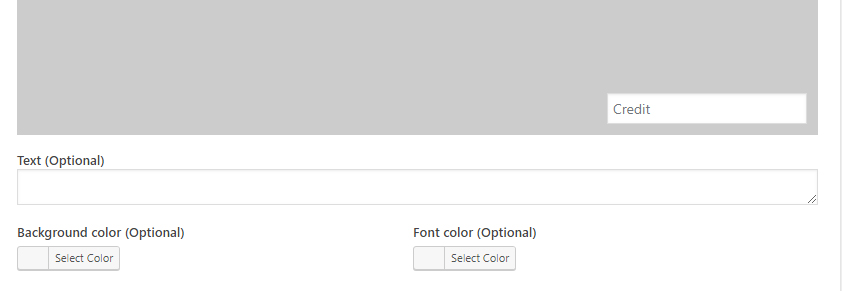
After the image is uploaded, you’ll be able to see a preview of the image on the screen.
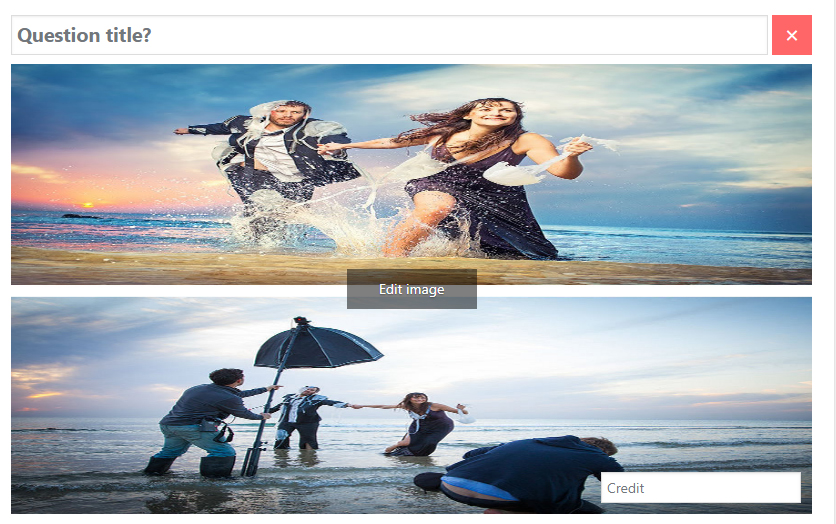
A quick note about the image. While the image in the picture looks distorted, it is not.
WP Quiz Pro uses a fixed region to show you a preview of the images used in the quiz, but all the images aren’t in the same aspect ratio. To make sure that you can see the entire images, WP Quiz Pro squeezes the image into the image container.
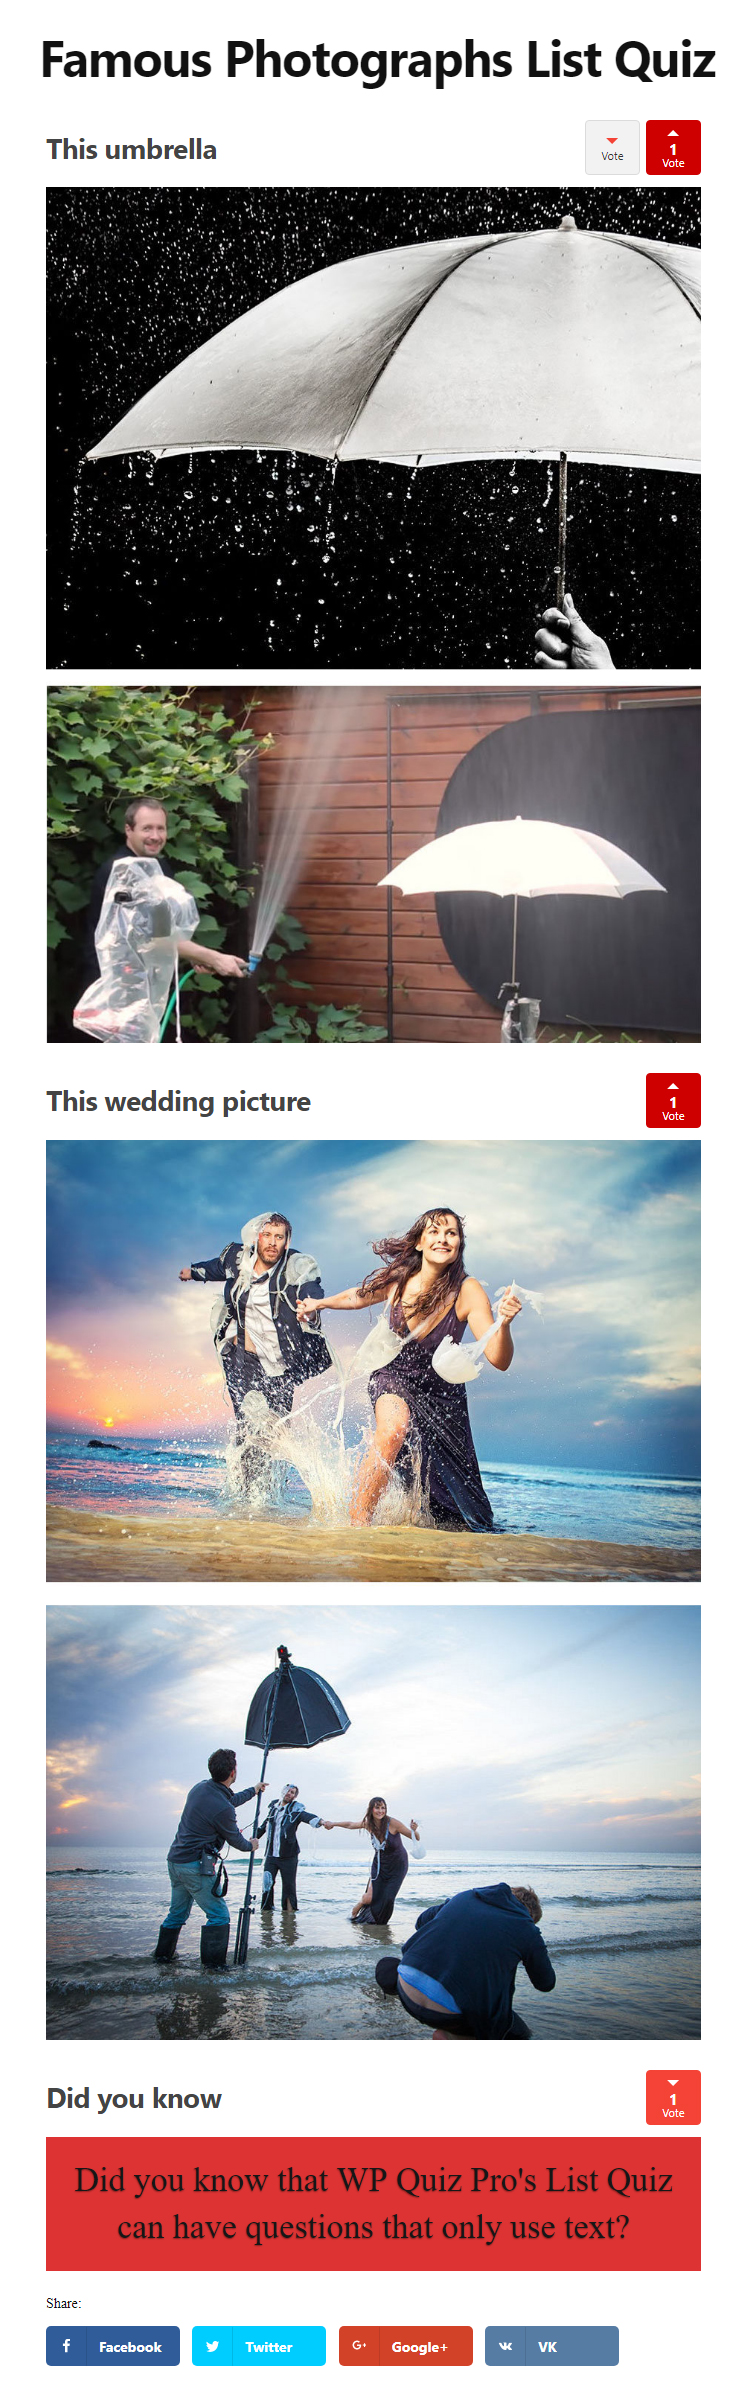
On the real quiz, the image will look absolutely fine. Here is the image we used above in the actual quiz.
We are working on a couple of solutions that will let you better preview your images inside WP Quiz Pro. Expect those in a future update.
TL;DR: If your images look distorted in the quiz preview, don’t worry. Check the quiz preview.
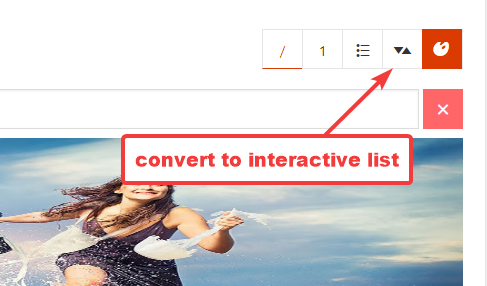
Currently, the list quiz is using the default mode. Let’s change it to an interactive list by clicking the required button.
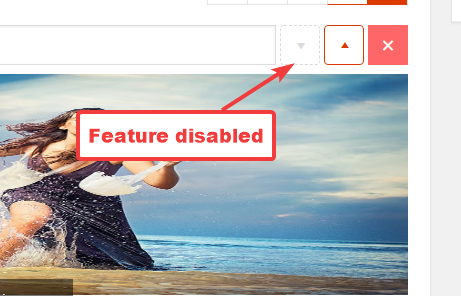
The Upvote Downvote buttons appeared on the quiz as expected. We’ll disable the downvote feature by clicking it. The icon will turn grey, indicating that the feature is disabled.
Note: While all the questions in the quiz have to use the same list type, you can enable and disable upvotes and downvotes on a per-question basis.
This sets up the first question. Following the same process, we will add the second question.
Note that in this question, we’ve kept both the upvote and downvote feature enabled.
Coming on to the third question.
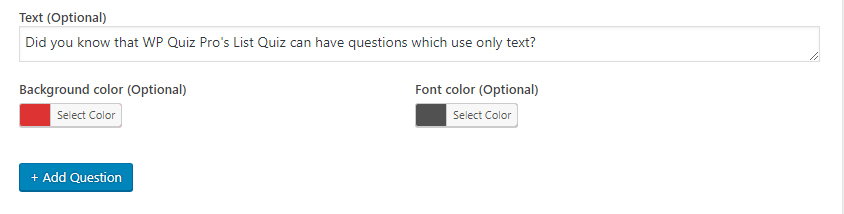
If you remember, we mentioned above that a question could be made using an image or text. Let’s create the third question with text instead.
Add the question, then head to the bottom of the question to find the text options.
Add the text in the Text field, and choose the font and the background colors from the other 2 options. Here is our question as an example.
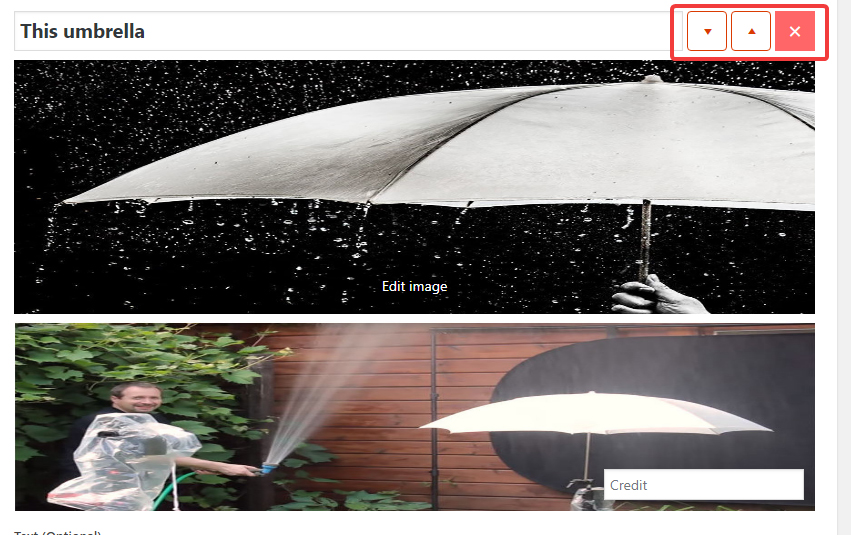
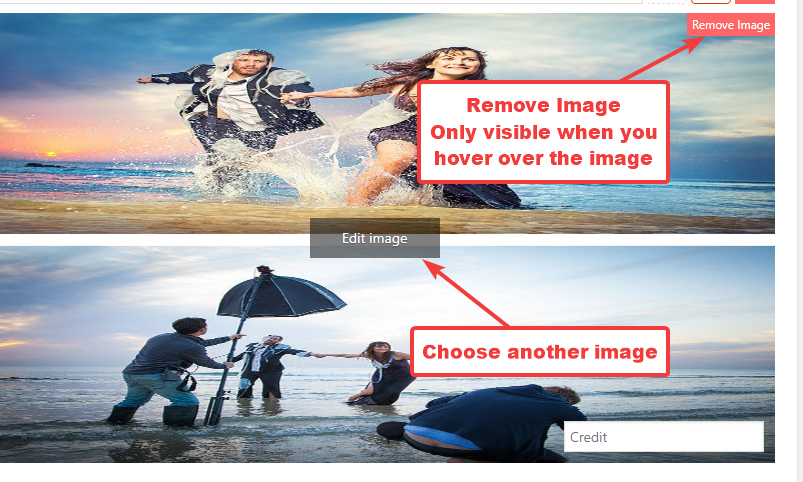
Editing Question Images
You can replace the image that a quiz is using by clicking anywhere on the image, which will open the media gallery. To remove the image, hover over the image, and click the Remove Image button on the top right of the image.
Re-ordering Questions
If you need to, you can reorder your questions. To re-order, hover your mouse over the number that appears next to the question title. Then drag and drop the questions as you see fit. The operation will work the same with other list types as well.

Styling Tab
The styling tab contains the settings that affect the appearance of the List Quiz. Here are all the options present in the styling tab.
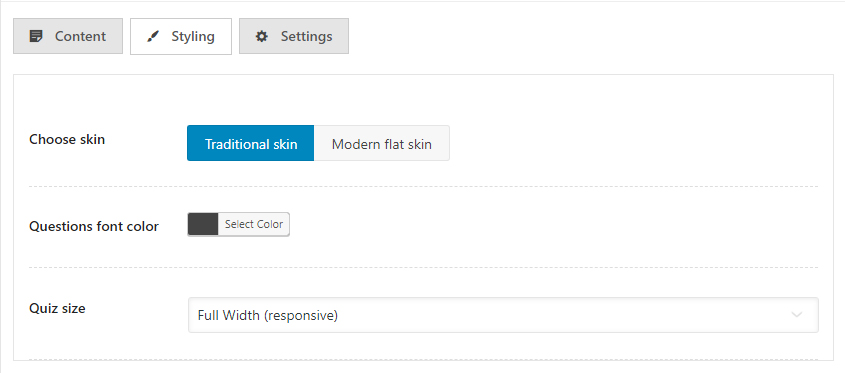
Choose Skin
List Quizzes support 2 different looking themes, a traditional theme, and a modern flat looking theme. This option lets you pick which theme you would like the quiz to have.
Questions Font Color
This option lets you customize the font color of the questions appearing in the quiz. Click the Select Color option to reveal the color wheel, using which you can pick the precise color you want for the font.

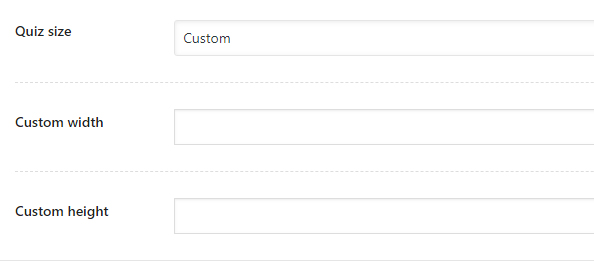
Quiz Size
By default, the List Quiz tries to occupy the full width that your theme supports. Since the quiz is responsive by default, the full width does not create an issue—even with mobile users. But, you can set custom dimensions for the quiz by selecting the custom width option in the quiz size option.

Upon selecting the Custom option, custom width and a custom height fields will be revealed where you can enter the height and the width you want the quiz to have.
Settings Tab
The settings tab affects the behavior of the List Quiz. Here are all the options present in it.
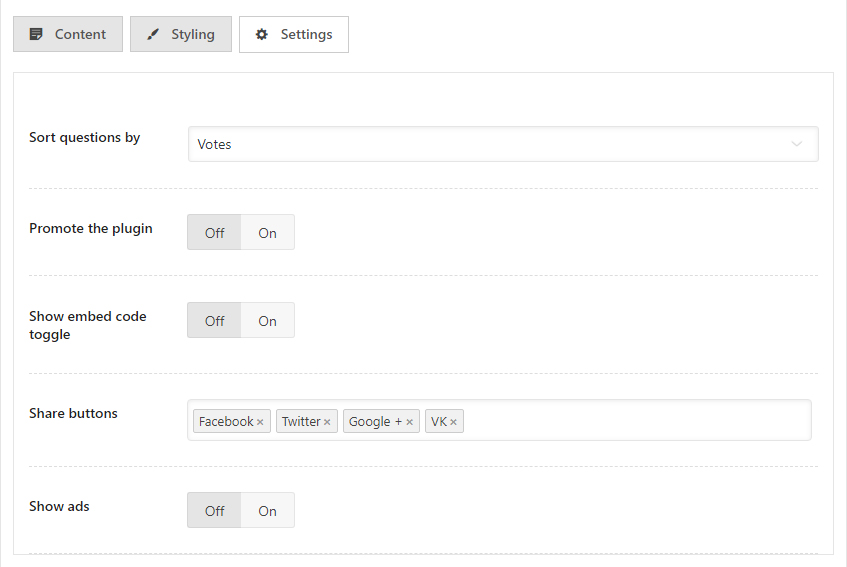
Sort Questions by
By default, the questions in the list appear in the order that you’ve created them (or re-ordered). But, you can change this behavior by using this option. You have a total of 3 options.

- Default: Uses the sort order that you’ve set or created
- Votes: Sorts the questions based on the votes. The highest voted ones go on top. Works only with a single or double voted list
- Random: The questions are sorted randomly for each user.
Promote the Plugin
You can make some money by promoting WP Quiz Pro with this option. When you enable this option, a small link will be added to the bottom of the quiz which will say “Powered by WP Quiz Pro”. If a user clicks the link and purchases WP Quiz Pro, you will get a share of the sale price. It’s an easy way to make some extra cash without doing any additional work.
Please note that you will only be paid if you’ve set up your MyThemeShop User ID in the settings of WP Quiz Pro. If you haven’t and you still enable this feature, then the promotional link will be created, but you will not receive any money even if the user purchases WP Quiz Pro.
Show Embed Code Toggle
List Quizzes created with WP Quiz Pro (and all other quizzes) can be embedded on other websites—even if they don’t have WP Quiz Pro. This is made possible with the embed feature, which you can enable or disable here.
When you enable this feature, WP Quiz Pro will place a link on the bottom of the post which will say “Toggle Embed Code”. When a user clicks the code, the embed code for the quiz will be revealed. If they paste the code on their website, the quiz will appear on their website as well. However, statistics, email leads, and other analytics will come to your website.
Share Buttons
If your quiz is entertaining, users will want to share it. Using the built-in share feature in WP Quiz Pro, users can share your quiz across their social media. In this option, you select which social networks show up for sharing with the post. Currently, you choose one or all of the 4 supported networks which are Facebook, Twitter, Google+, and VK.
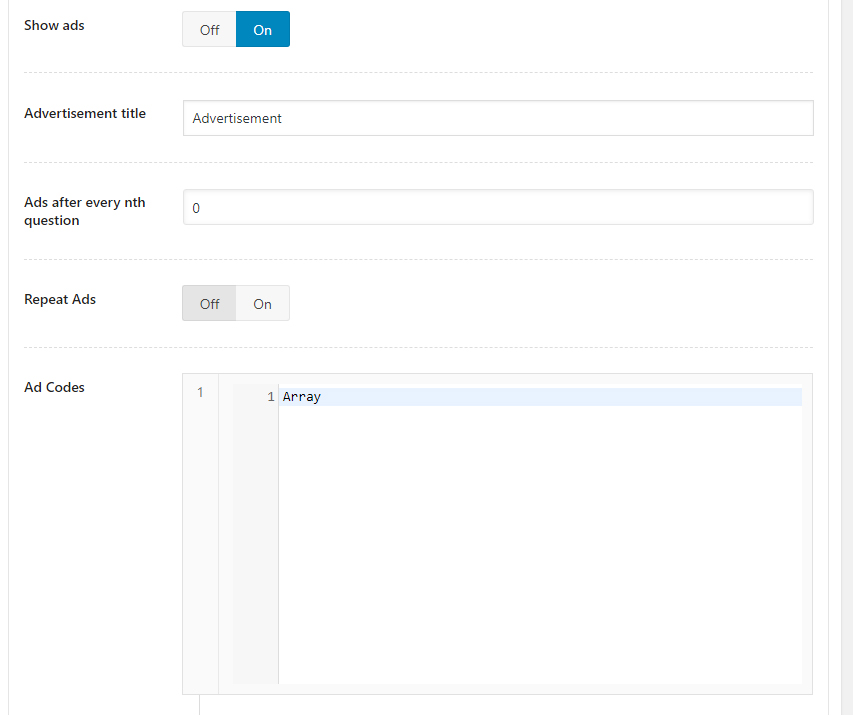
Show Ads
You can make some ad-revenue with your list quiz by enabling ads between questions. Enabling the ads reveals additional options for ad configuration. The options are pretty self-explanatory.
Using the List Quiz inside a Post or Page
Now that you’ve learned how to create a list quiz and all the customization options it provides, it’s time to understand how to use the List Quiz in an actual post. Yes, you have to explicitly use the List Quiz inside a post, it won’t magically appear on your website just because you created it.
The process requires 3 steps, all of which are easy to follow. Let’s get started.
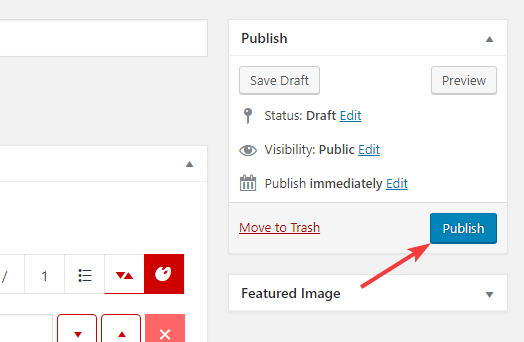
Step 1 – Publish the Quiz
It’s easy to forget to publish the quiz while we are creating it. But, to use it inside a post, the quiz needs to be published. Click the Publish button on the top right of the quiz page to publish the quiz.
Step 2 – Copy the Quiz’s Shortcode
As we mentioned at the beginning of the tutorial, each quiz has a unique shortcode associated with it. It can be found on the quiz page—where you created the quiz.
And also on the All Quizzes Page in WP Quiz Pro.
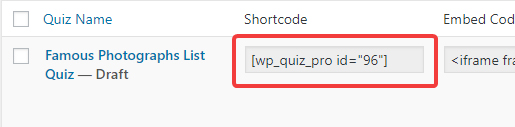
Copy the shortcode from any of these locations to the clipboard.
Step 3 – Paste the shortcode inside a Post or Page
The last step is the simplest. Open up the page or post where you would like to embed the quiz. We are going to use a new post to demonstrate.
Once the page is open, paste the shortcode in the location you want.
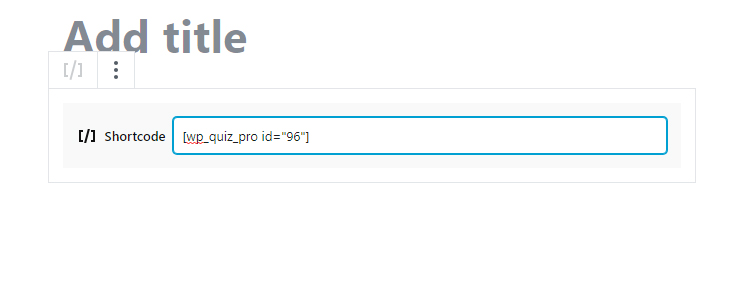
We’re using the Gutenberg editor, but the process works the same with the classical editor as well.
Once you’re satisfied, you can then preview your post or publish it on your website. Your quiz will now be accessible from the post or the page.

Here is how our quiz turned out? Looks good, doesn’t it?
Conclusion
That’s it. That was a complete tutorial on how to create a List Quiz with WP Quiz Pro. We hope we were able to explain the versatility and the power of the List Quiz in detail and that you’ve understood all the options and what they do clearly. If you still have any questions, the MyThemeShop staff is always eager to help. Open a support ticket, and a qualified person will help you out quickly.
