In this tutorial, we are going to show you how to create a personality quiz.
A personality quiz is something that checks the users’ behavior on some topics and gives them a result based on their answers to questions about the topic. As there are no right or wrong answers, users can feel free and play the quiz with confidence.
The process of creating a Personality Quiz is similar to other quizzes that we’ve discussed, but with some differences. Let’s get started.
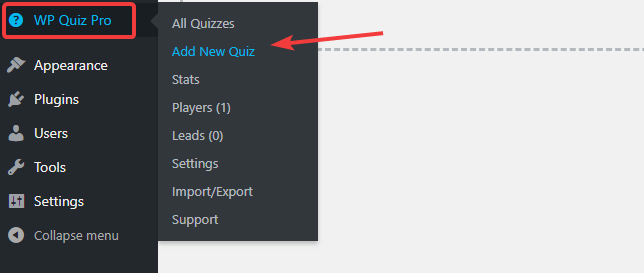
Start by navigating to WP Quiz Pro > Add New Quiz.
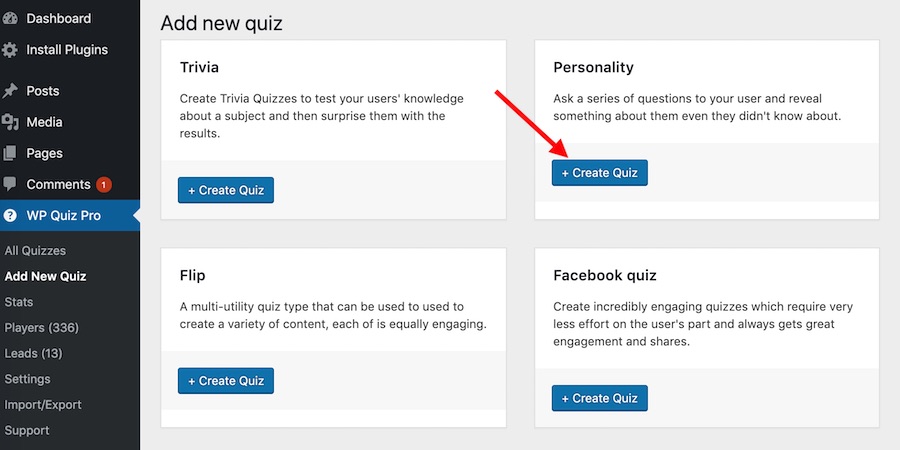
The list of all the quizzes will appear. Click the button that says +Create Quiz below the Personality Quiz option.
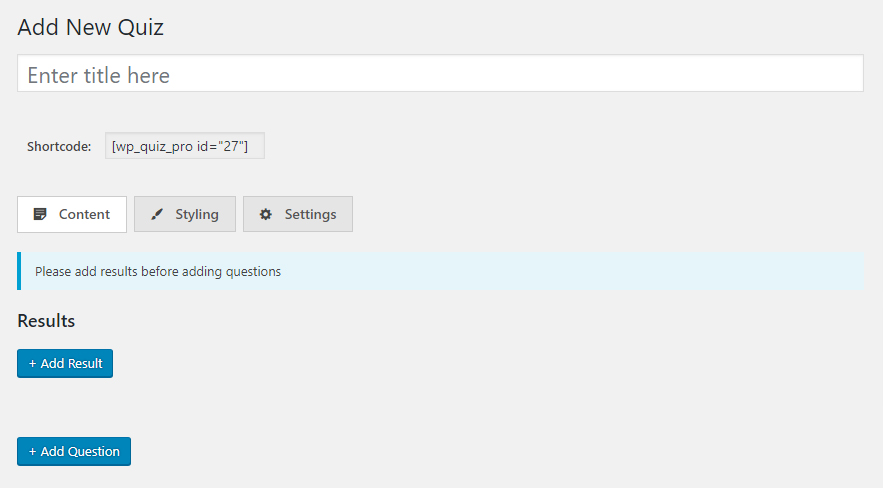
You’ll reach the quiz creation screen which looks something like this.
Now before we jump into it and start creating the quiz, it’s wise to explain how the personality quiz works.
On the surface, it seems simple. You ask some questions to users, to which they answer. The questions are mostly about what they do, or what they might do in a situation, or how they think. It’s a personality quiz, so naturally, it revolves around how their mind works. Based on their answers, a conclusion is shared about their personality. Sounds simple, right?
Actually, it is simple too. It’s just that the process of creating a quiz is different than what you might think.
How To Think About Creating a Personality Quiz
When creating a personality quiz, you have to start with the results. The results being the various personality traits that you will declare as results for users.
As an example, if you’re creating a quiz to judge if a user is introverted or extroverted, you probably will tell users that they are introverted, extroverted, or a third option. So, a total of maybe 3 results.
The reason for starting with the results lies in the fact how WP Quiz Pro creates and handles personality quizzes. Here is a simple explanation of how it works.
With each question that you add to WP Quiz Pro, you can have multiple answers. Since there is no right or wrong answer, each answer can affect each of the results in varying degrees. WP Quiz Pro handles that by letting you assign a score for each answer towards each result.
Let us simplify.
Each question can have multiple answers. Each answer adds some points towards each result. The result that the user scores the highest points in is declared as the final result.
If it’s still not clear, follow along as we demonstrate by creating a quiz. The process will become clear as we progress.
The quiz that we’re going to create will be called, “What type of website owner are you?”. Let’s begin.
Creating a Personality Quiz
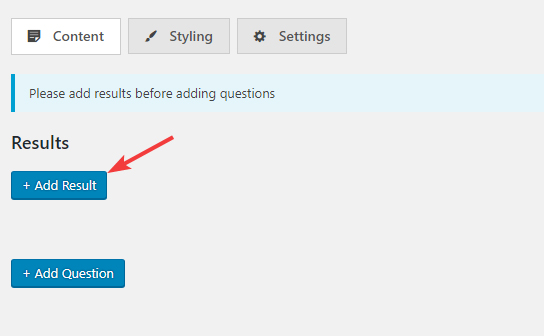
We’ll start by creating the results. To do that, we’ll click the + Add Result button.
A blank canvas for a result will appear, which would look something like this.
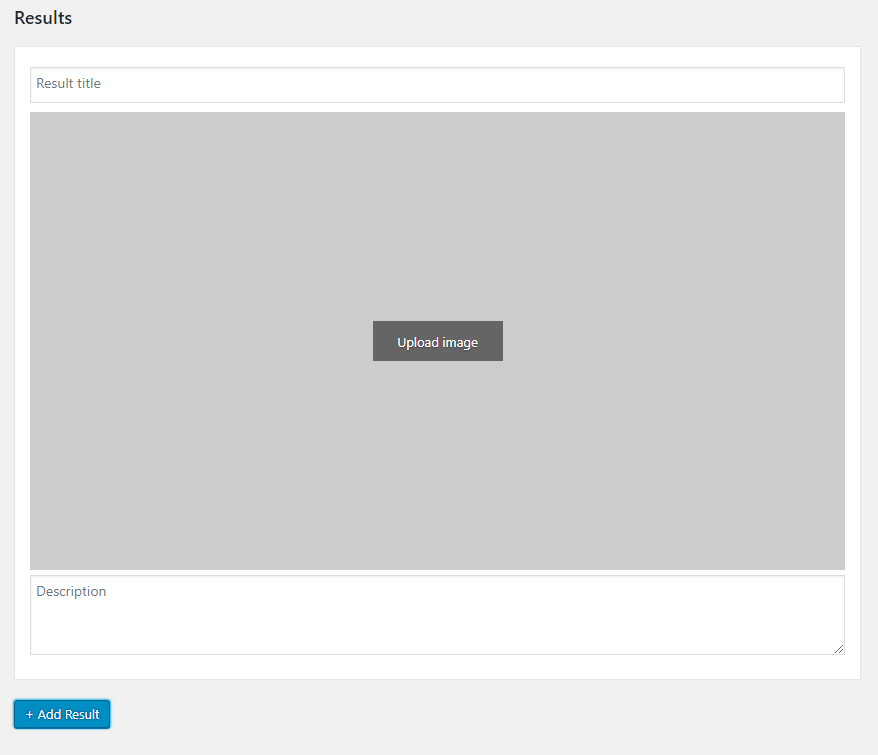
There is not much to do with the results. Add a result title, add an image (recommended) and write a description of the result. Since we’re going to create all the results first, we have to think of all the potential results first. Here is what our results are going to be.
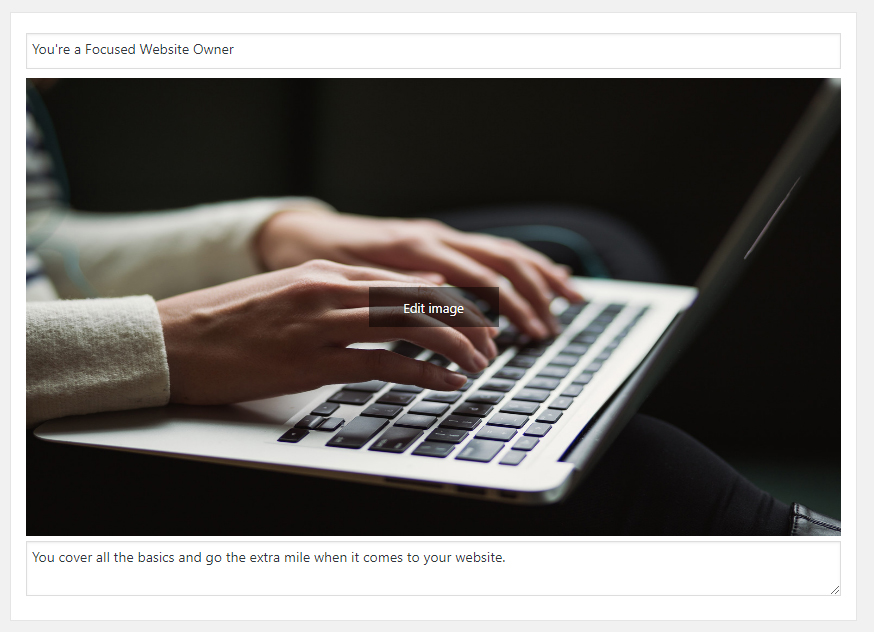
- Focused – You cover all the basics and go the extra mile when it comes to your website.
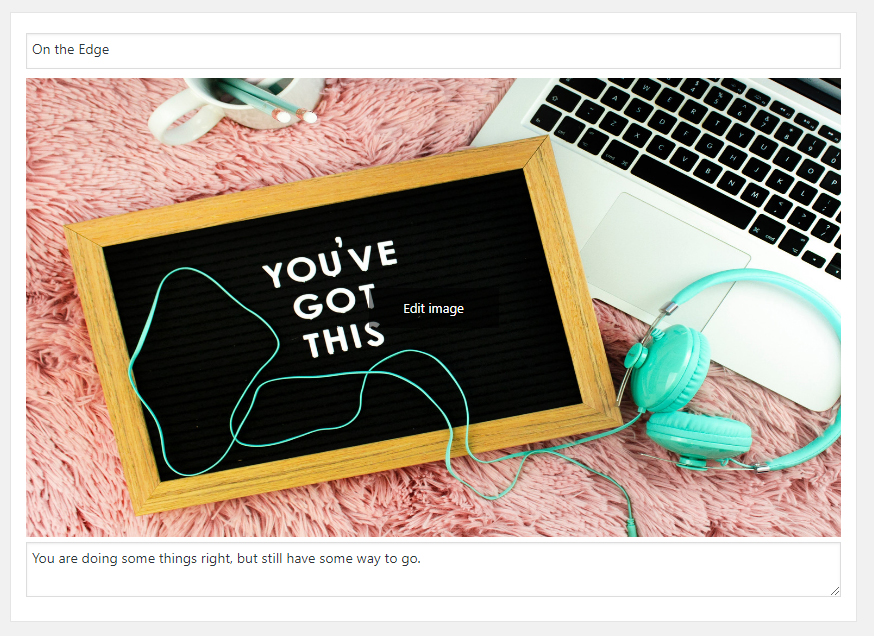
- On the Edge – You are doing some things right, but still have some way to go
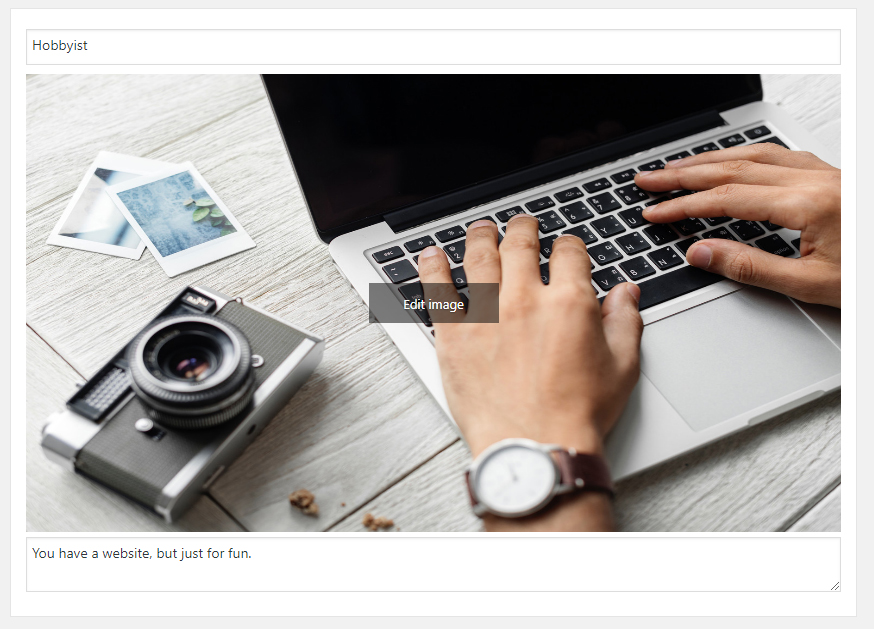
- Hobbyist – You have a website, but just for fun
Once we’ve added the results, here is how the individual results look like.
For “Focused” Result.
For “On the Edge” Result.
For “Hobbyist” Result.
After we’ve added the results, it is time to think of the questions and their answers. After some coffee and brainstorming, these are the questions that we came up with.
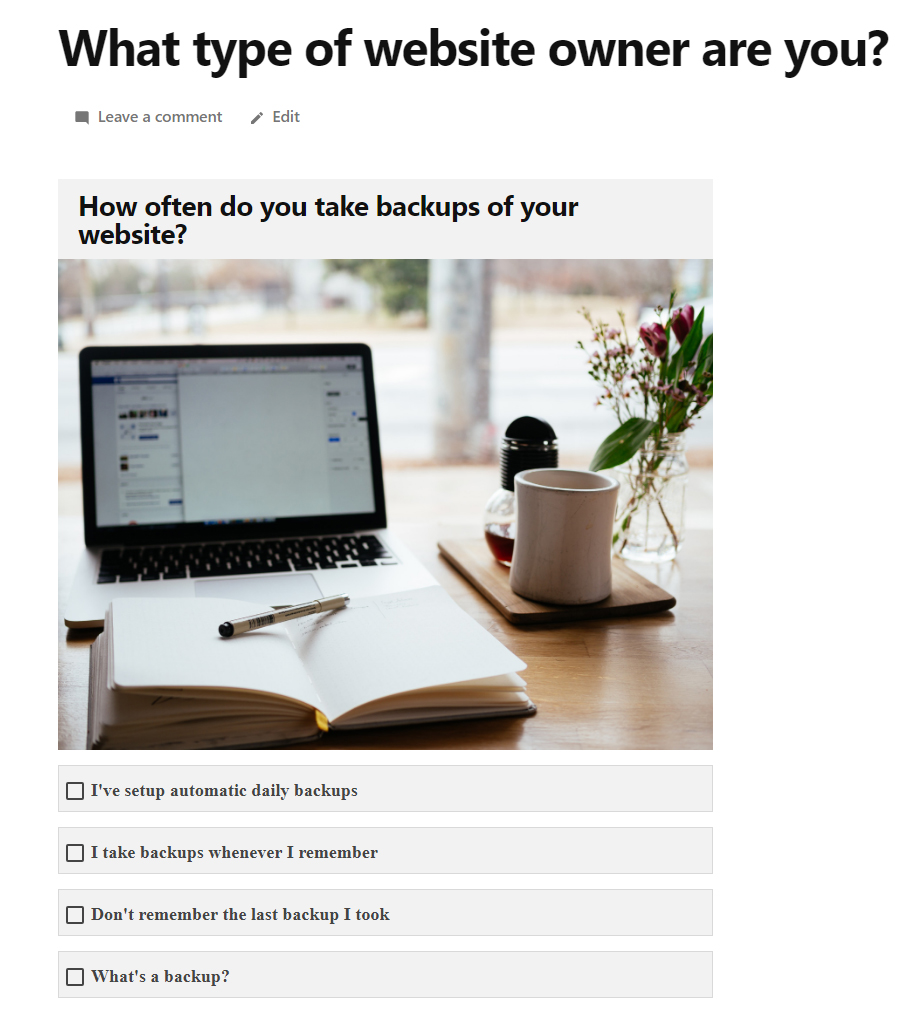
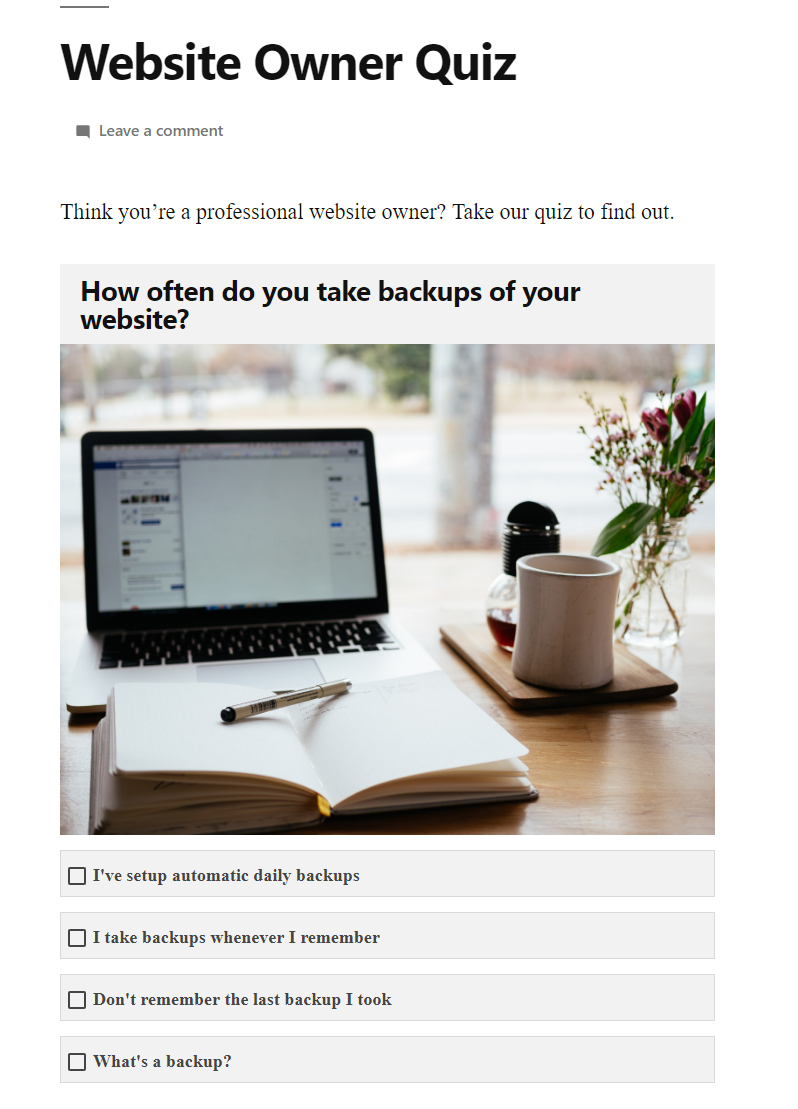
Question 1: How often do you take backups of your website?
Answers:
- I’ve setup automatic daily backups
- I take backups whenever I remember
- Don’t remember the last backup I took
- What’s a backup?
Question 2: Which SEO Plugin do you use on your website?
Answers:
- Rank Math
- Yoast SEO
- All in One SEO Pack
- Other
- I’m not using any SEO plugin
Question 3: What plugins do you use for website security?
Answers:
- Sucuri
- WordFence
- Others
- None
To add these questions to the quiz, we’ll click the + Add Question button.
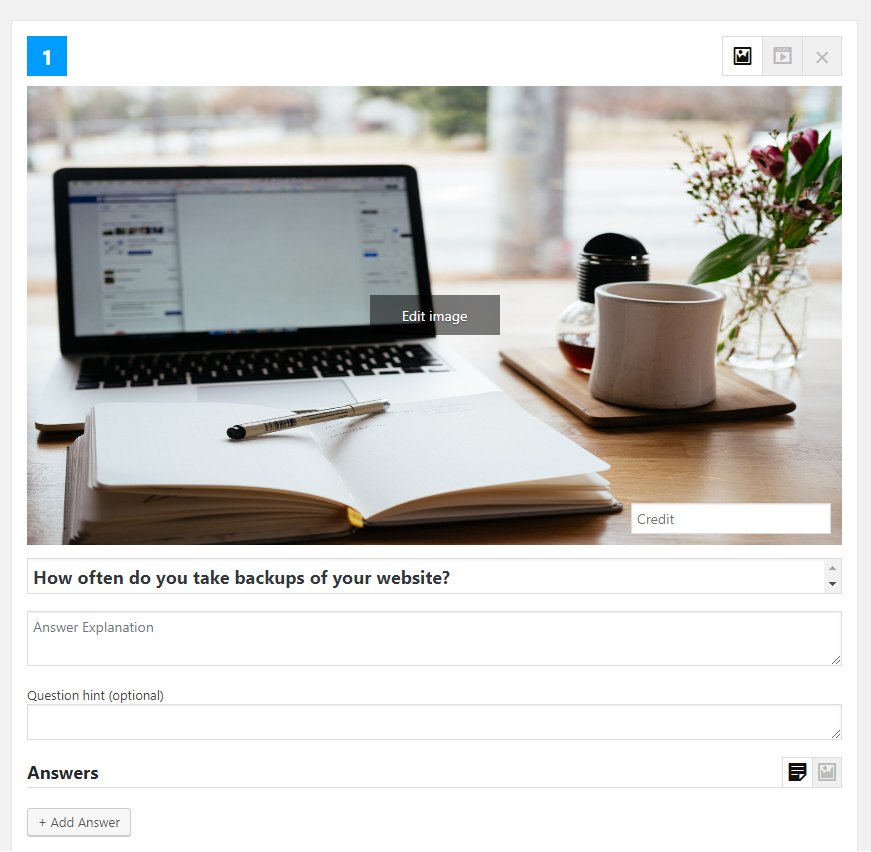
The question adding interface will show up which will look similar to this.
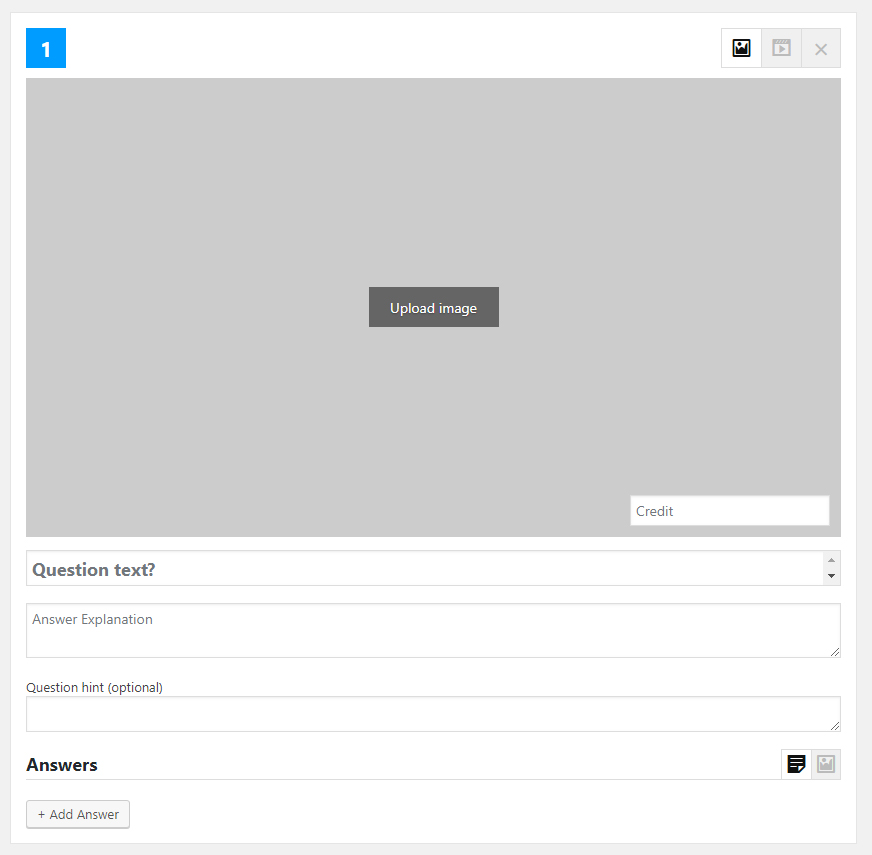
There are a number of things to configure here.
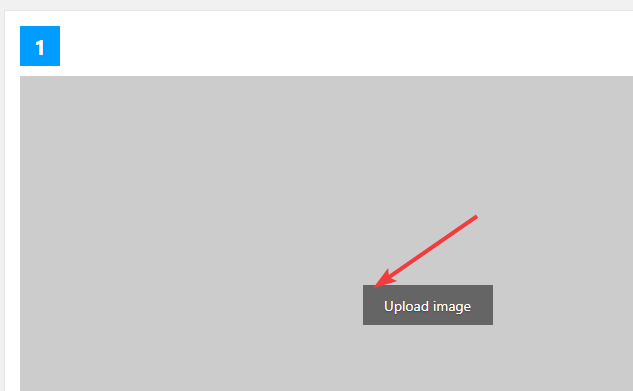
The first thing is to upload an image. Adding one is not mandatory, but it does increase engagement. Just click the “Upload Image” button and select an image from your gallery or upload one
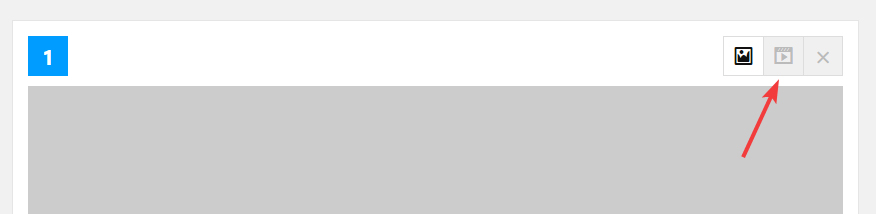
Instead of using an image, you can use a video instead. Click the Video Icon on the top right to switch to video mode.
You can choose a video hosted on your website, or simply paste a URL from a video hosting website. The most popular hosting sites including YouTube, Vimeo, and DailyMotion are supported.
If you want, you can customize the video thumbnail too. Here too, you can use a hosted image, or use a URL.
Here is a small video that demonstrates how to use the video question format.
After uploading the image or the video, the rest of the options are pretty straightforward. You add the question in the Question text field, an optional hint, and an optional answer explanation, which will be shown to the user after they select an answer. We won’t be adding an answer hint as that’s more relevant in quizzes where there is 1 right answer.
Here is what the question form looks like once we’ve added in the relevant information.
Time to add the answers. To add an answer, we’ll click the + Add Answer button.
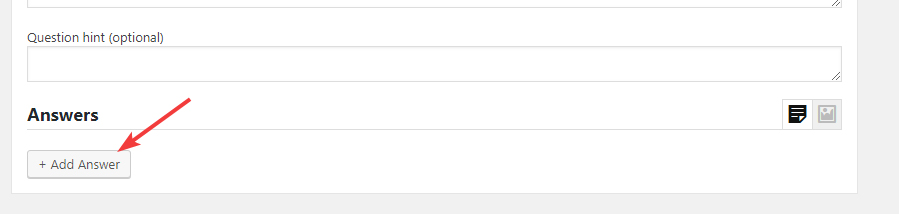
We’ll see the blank slate for adding an answer, which looks something like this.
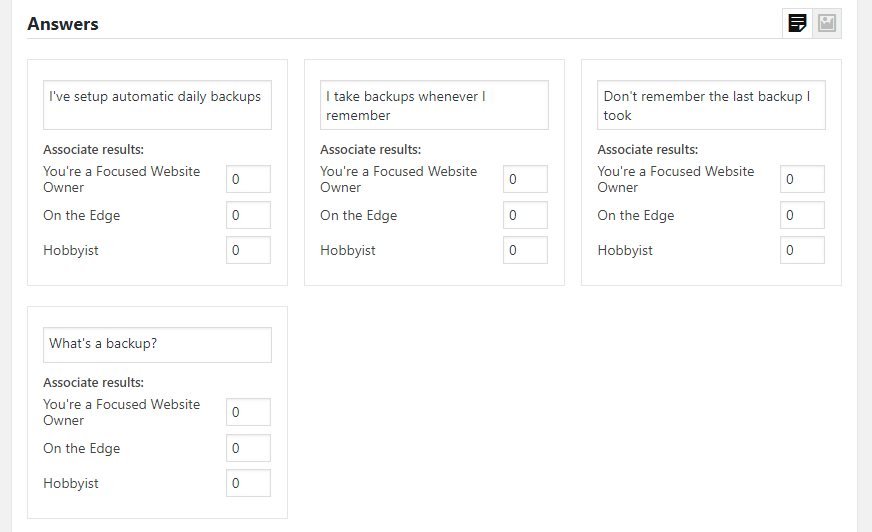
If you remember, we decided on a number of answers to this question. Here they are again.
- I’ve setup automatic daily backups
- I take backups whenever I remember
- Don’t remember the last backup I took
- What’s a backup?
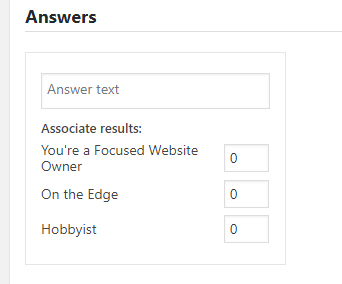
So, to add all the answers, we’ll create 4 answers and add one to each of them. First, we add the blank answers.
Then we add the answer to each of them.
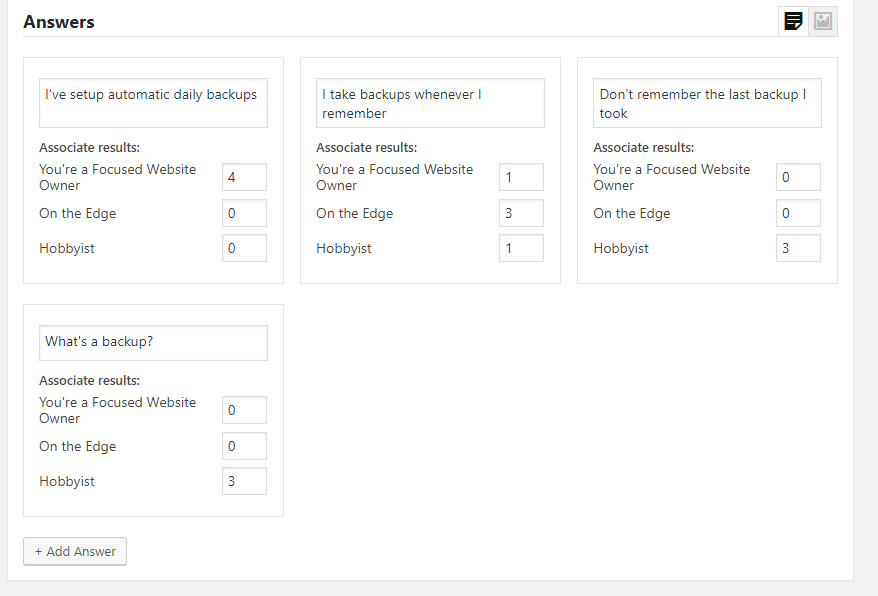
Now comes the fun part. We’ll add a relevant score to each result for each of the options. Here is how we set it up.
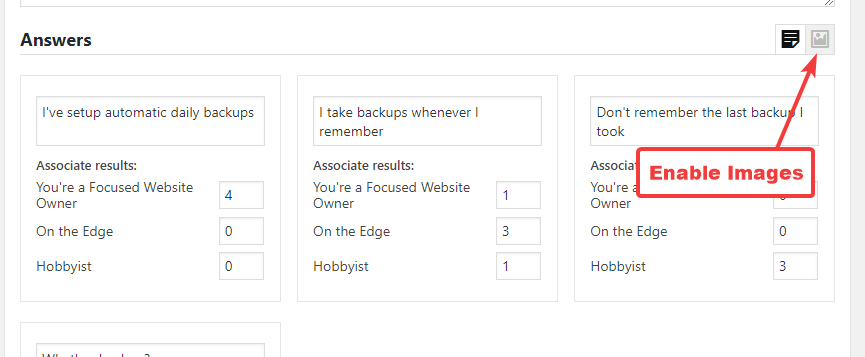
Just like questions, answers can also have images associated with them. To enable images, hit the image icon on the top right of the answers.
And the answers will change to this.
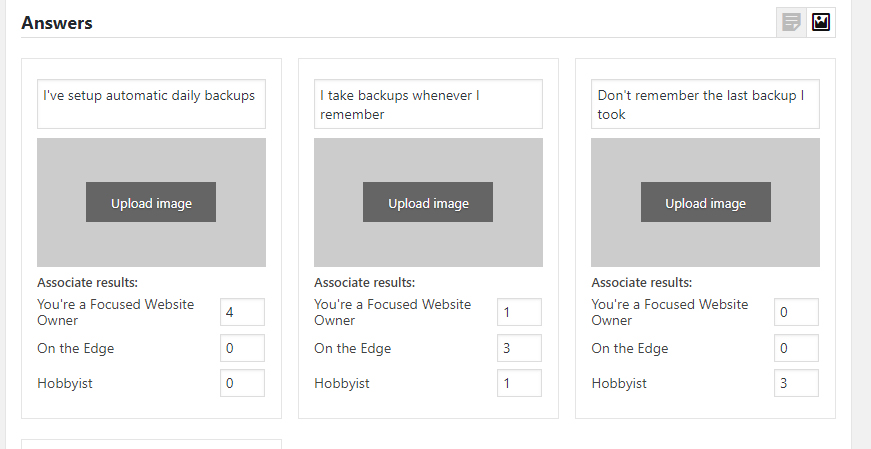
Remember, you either have to have images on all answers or none of them. You cannot choose to have images only on some of the answers.
Following the process again, we’ll add the remaining questions and their answers. With each answer, we’ll add relevant scores with respect to each result as we did with the question above.
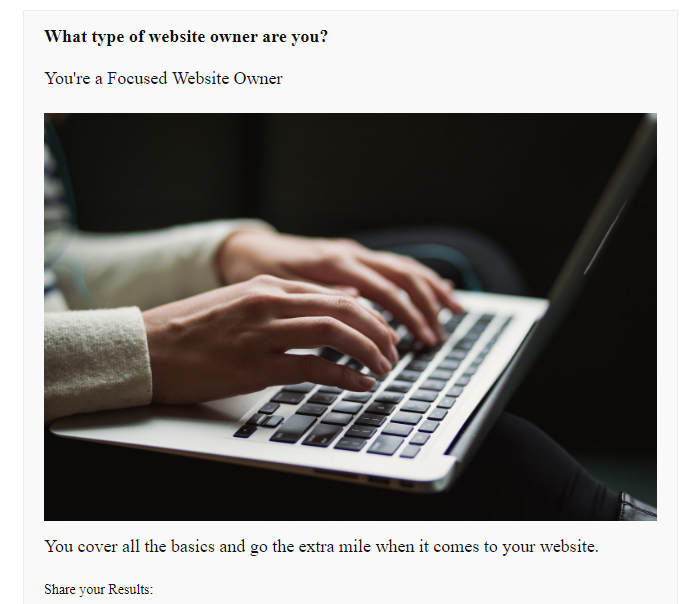
Once we’ve done that, we’re ready to take a test drive of our quiz. We’ll hit the Preview button to check out the quiz on the frontend.
And, we have a touchdown! Our created quiz is working like a charm.
We even took the quiz for ourselves and scored pretty good too.
But wait, we’re not done here. If you noticed, our quiz had a total of 3 tabs visible. Here is a screenshot to remind you.
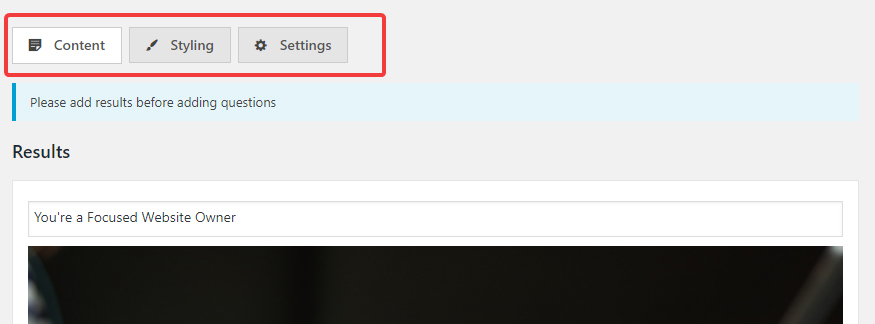
Right now, we’ve just explored the Content Tab, which deals with the quiz’s questions, answers, and results. The other 2 tabs still remain unexplored. First, we will explore the options in those 2 tabs, and then we will show you how to embed the quiz in a post or a page.
Styling Tab
The Styling Tab changes how your quiz looks, mainly changing some colors and other options. Here is a preview of all the options in the Styling Tab.
Here is a brief description of all the settings.
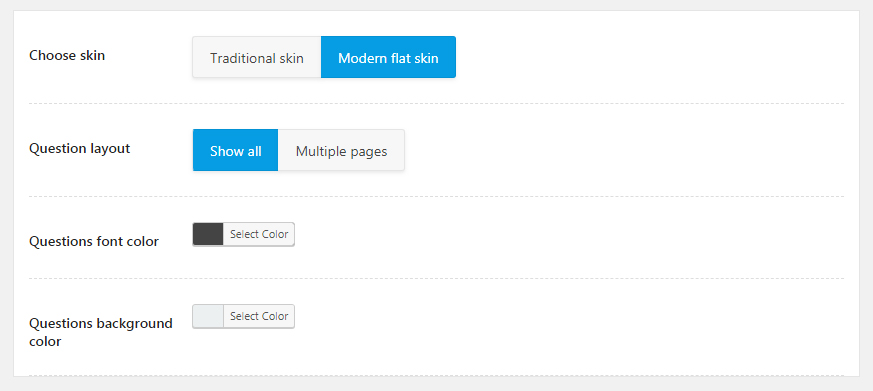
Choose Skin
WP Quiz Pro supports two skins out of the box. A modern skin, and a traditional skin. You can choose the skin that you prefer for the quiz.

Question Layout
The questions of a quiz can be presented in 2 ways to the user. Either all the questions can be on the same page, or each question can be placed on another page. The choice of the layout will depend entirely on your preferences.
If you choose the “Show All” option, which is the single page layout, then there are no settings to configure. However, choosing multiple questions opens up some additional settings.
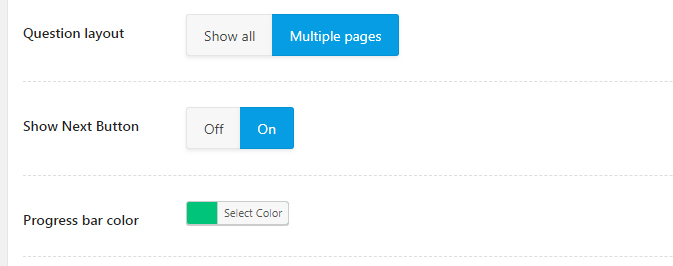
Show Next Button: When a quiz is on multiple pages, then there are 2 ways to move the user to the next question
- A manual option
- An automatic option.
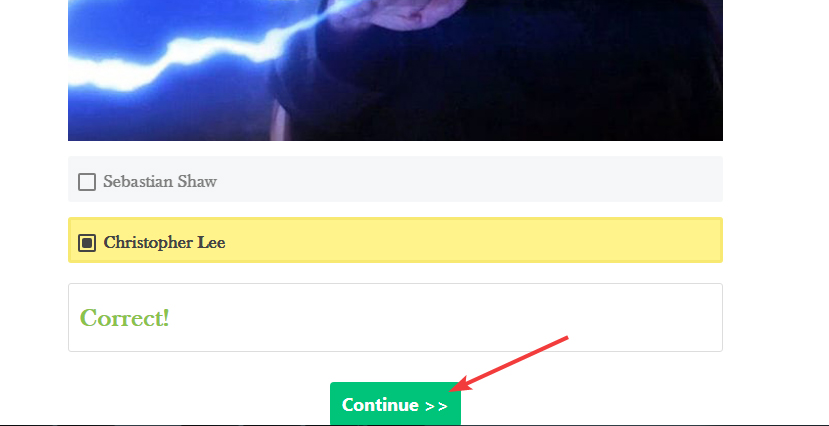
If the Show Next Button is disabled, then the user will be taken to the next question automatically. In contrast, if the option is enabled, the users will be presented with a Continue button after answering each question. Only when the user clicks the button, will they be taken to the next question.
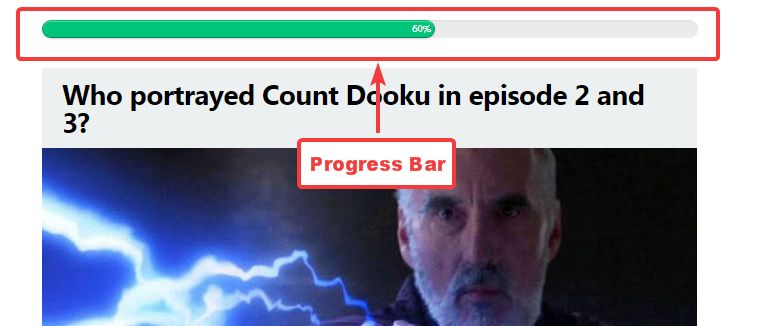
- Progress Bar Color: To give users an idea about how many questions exist in a quiz, we include a progress bar on the screen on top of the quiz. This option lets you customize the color of the progress bar to your liking.
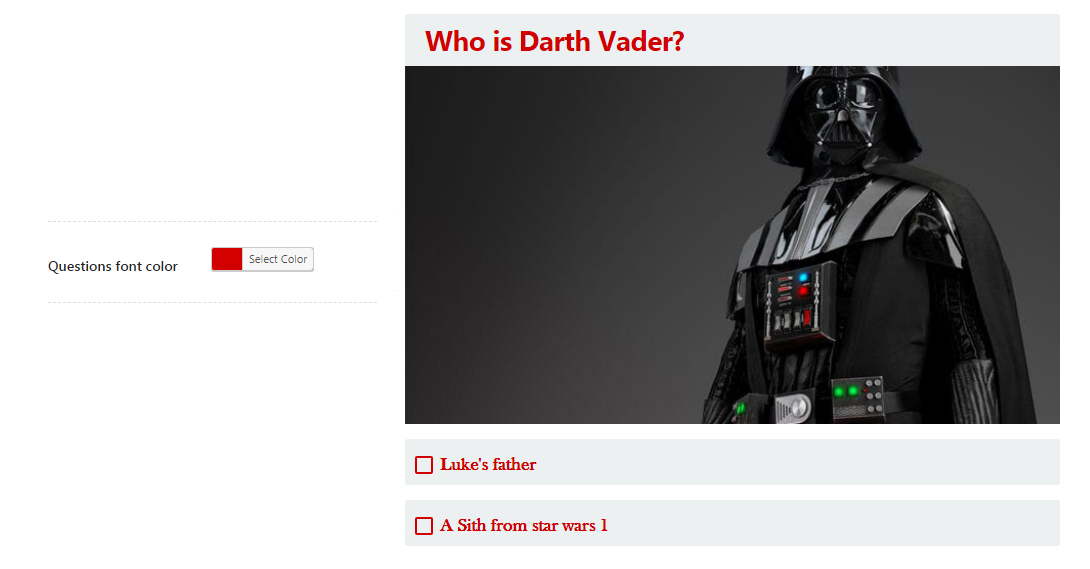
Questions Font Color
This option helps change the color of the text that the question appears in. You can use this option to match the quiz to your website’s branding.
Here is how it will affect the quiz.
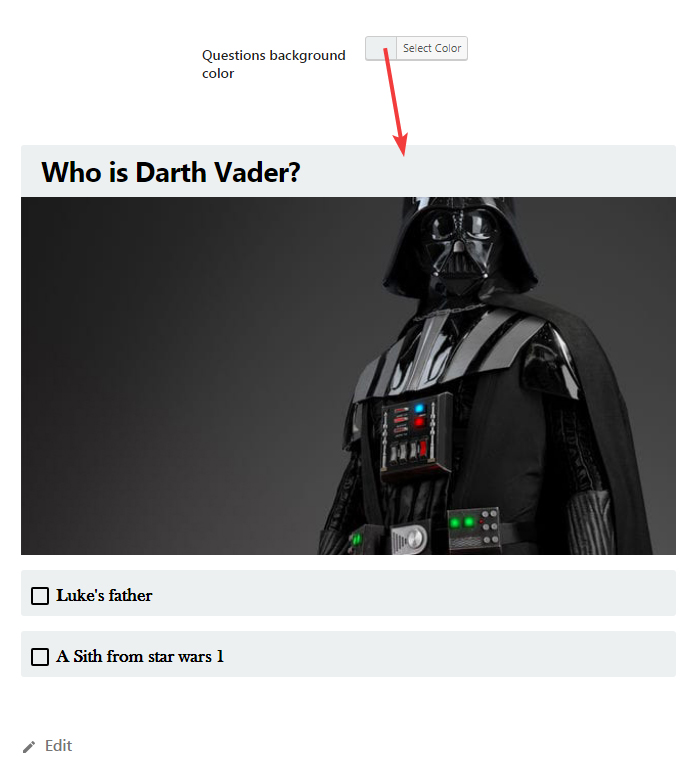
Questions Background Color
If you’d like to change the background color that the quiz uses, you can use this option. Here is how it affects the quiz. This is the default color of the background.
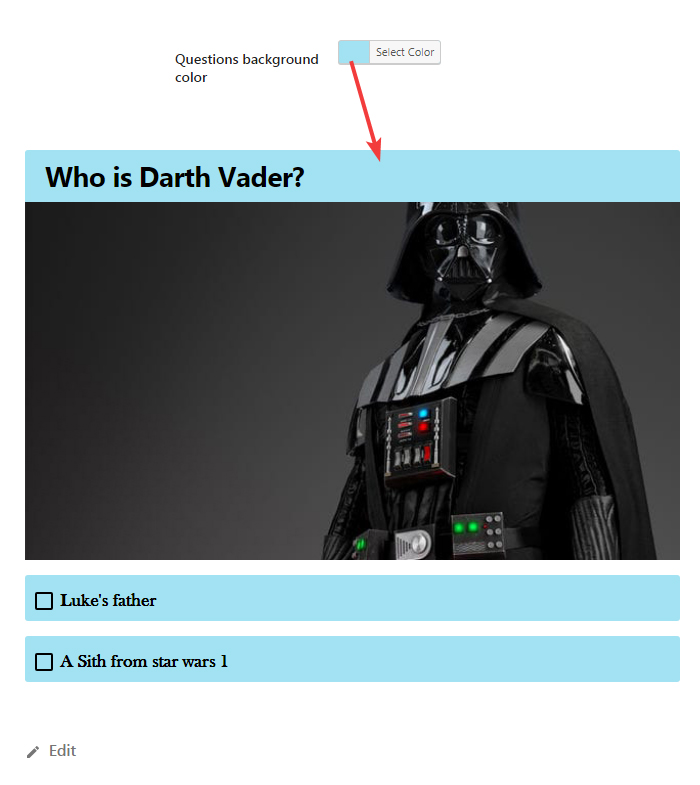
Here is how it looks after changing the background color.
Settings Tab
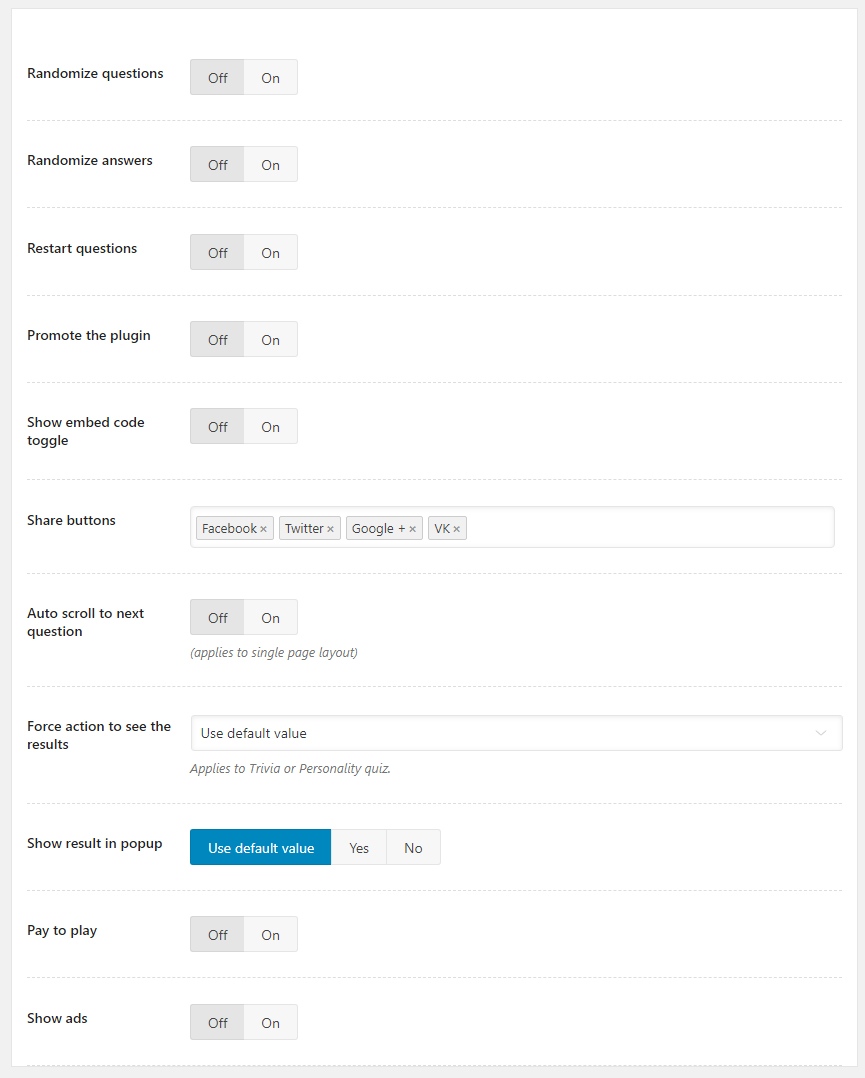
As we mentioned, the settings tab contains all the settings that affect the behavior of the quiz you create. Here is a complete list of settings in the Settings Tab.
Before we begin exploring, there are 2 things that you need to understand.
First, you might see that the settings for your quiz might be configured differently than the image above. That is because many of the settings here are inherited from the global settings, and you might have configured them differently.
Second, most of these settings apply to all quizzes, but some are unique too. We’ve covered all the settings that apply to all quizzes in our WP Quiz Pro Settings guide, and we will briefly explain what each setting does in this guide. We highly recommend that you go through the Settings guide if you haven’t already done so.
Let’s begin.
Randomize Questions
When this setting is enabled, the questions in the quiz are randomized.
Randomize Answers
When this setting is enabled, the order the answers appear is randomized for all questions.
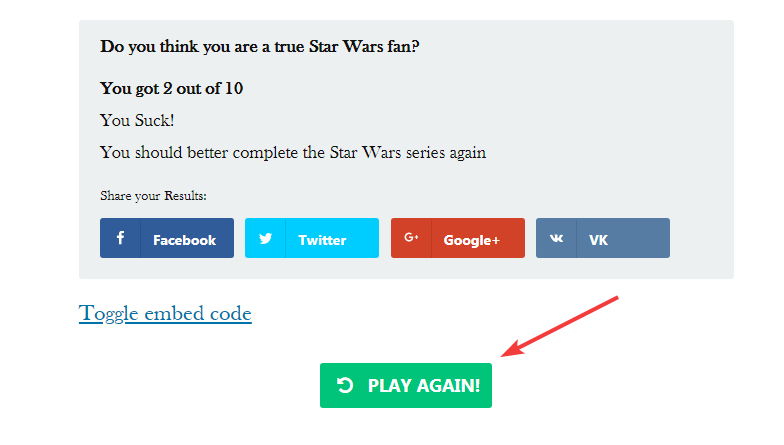
Restart Questions
When enabled, gives users the option of re-attempting a quiz. Looks something like this.
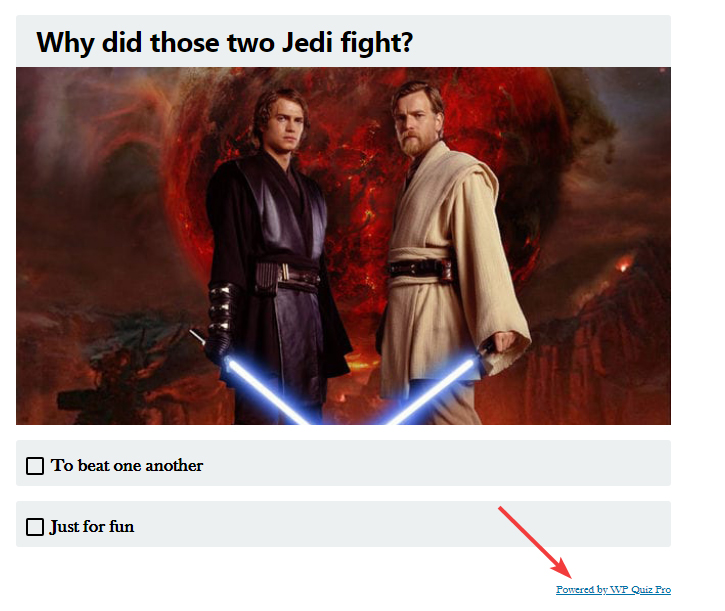
Promote the Plugin
When enabled, adds a small link to the end of each quiz which says “Powered by WP Quiz Pro”. If you add your MyThemeShop username in the settings, you will earn affiliate commissions everytime someone clicks and purchases WP Quiz Pro through the link.
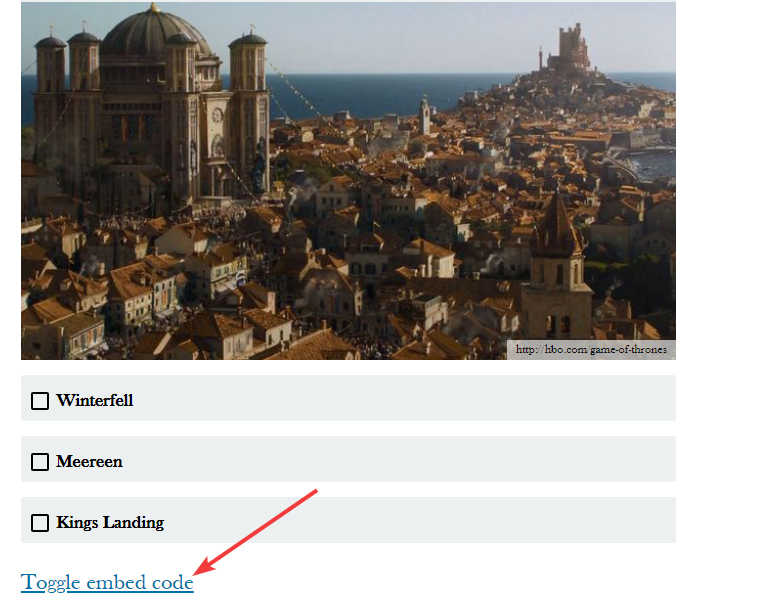
Show Embed Code Toggle
When enabled, adds a link to the quiz to toggle the embed code. , Your created quiz can be embedded on any other website using the embed code.
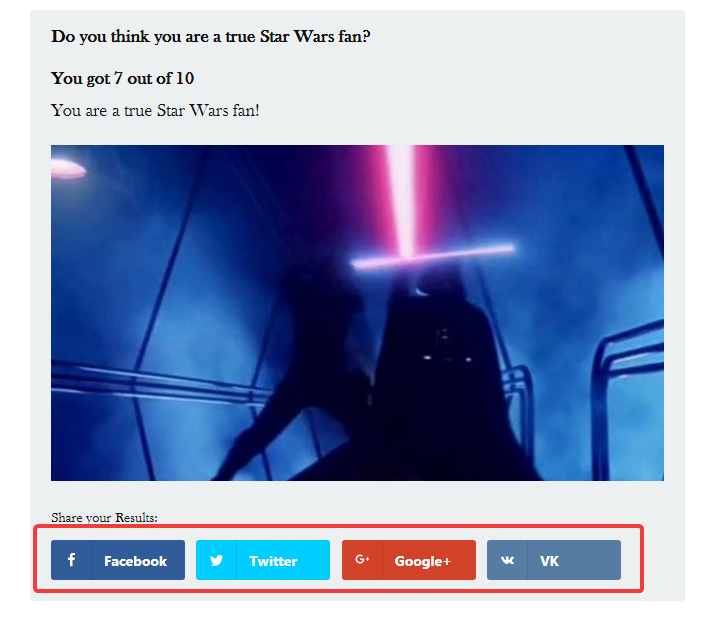
Share Buttons
Adds sharing buttons when the results of a quiz are shown to the user. Currently supports 4 social networks.
Auto Scroll To Next Question
When enabled, users are automatically taken to the next question once they answer. It’s recommended that you use this option. Here is a demo.

Force Action to See Results
If you want to force users to take some action to see the results of the quiz, you can use this option. It offers the following options.
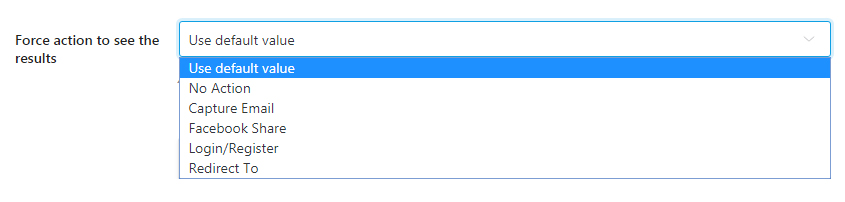
- Use Default Value
- No Action
- Capture Email
- Facebook Share
- Login/Register
- Redirect To
Use Default Value
When enabled, the option uses the default setting configured in global settings.
No Action
Shows results on the screen without requesting any action from the user.
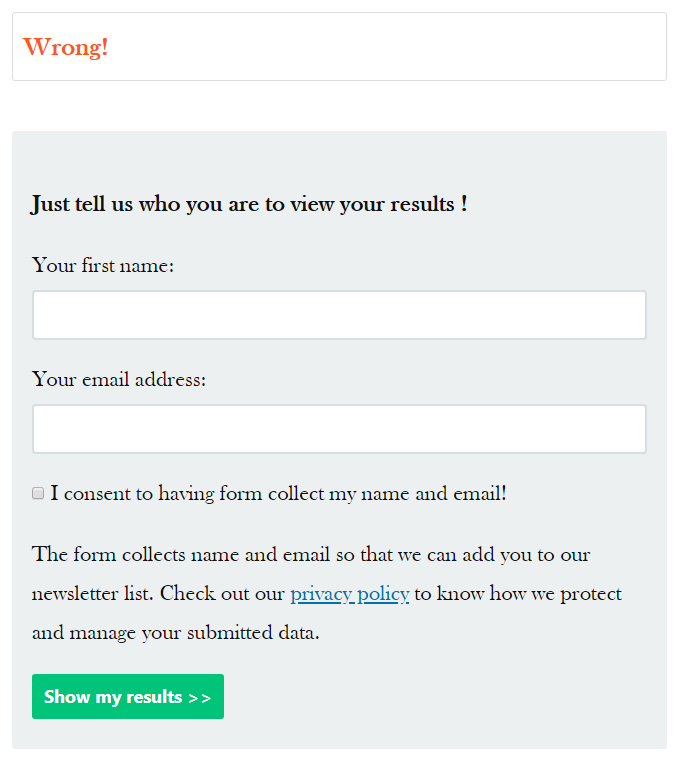
Capture Email
Asks the user to share their email address to send results to. Here is the form appears on the screen.
If you select the email capture option, you will see an additional settings panel open up just below it.
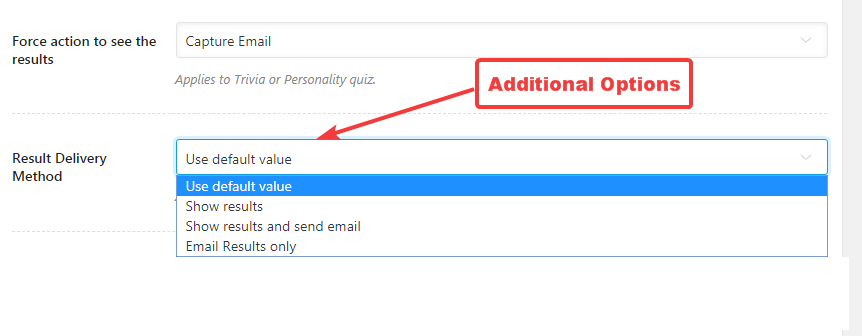
Here is what each of the options does.
- Use Default Values: Uses the settings’ global value configured in WP Quiz Pro’s settings
- Show Results: Captures email, then shows the result on screen
- Show Results and Send Email: Captures email, shows the results on screen, and also in email
- Email Results: Captures email, then sends the result in email only
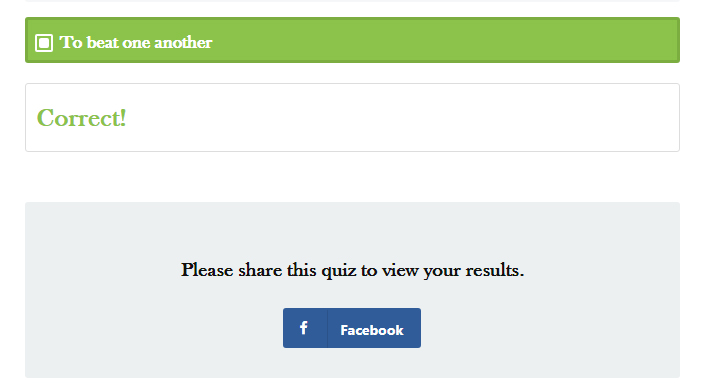
Facebook Share
Asks users to share their result on Facebook to see their results. Here is how it works.
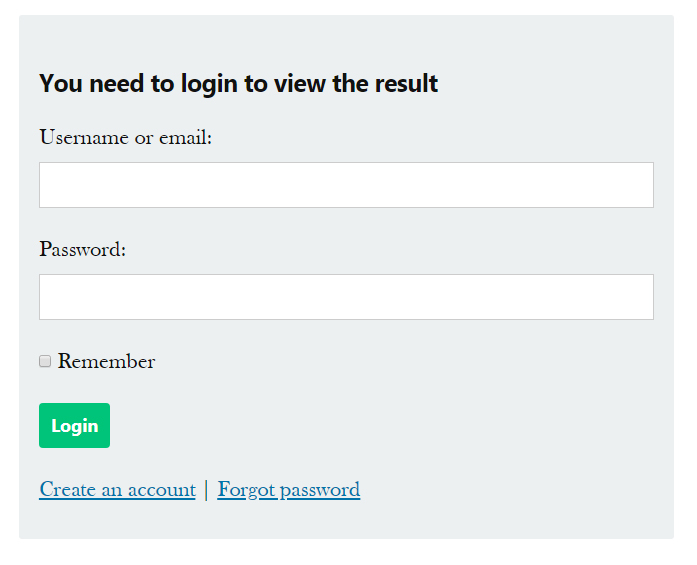
Login/Register
Asks users to Register or Log in to your website to see results. Here is how it appears to the user.
Redirect To
Redirects the user to the URL or your choice on a per-result basis. That means you can choose a different URL for each result.
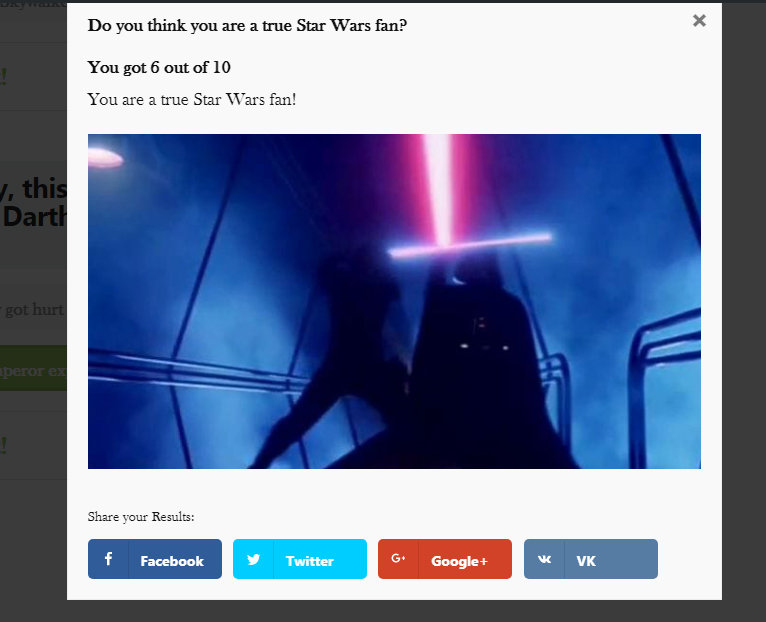
Show Results in Popup
When enabled, the results of the quiz are shown in a popup rather than on screen. Here is an image highlighting how it looks.
The options are self-explanatory.
Pay To Play
When enabled, makes the quizzes paid, i.e., users have to shell out money to play your quizzes. Enabling the option opens up another setting, where you enter the amount you want users to pay for the quiz.
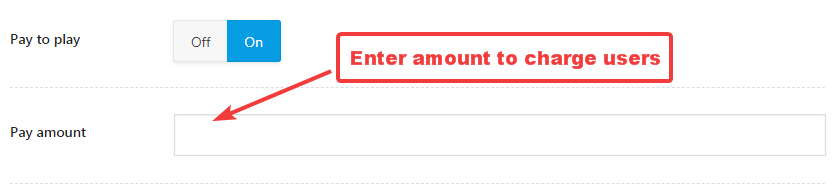
You don’t need to enter the currency here. That is set inside the global settings. You can see those details in our tutorial about setting up WP Quiz Pro.
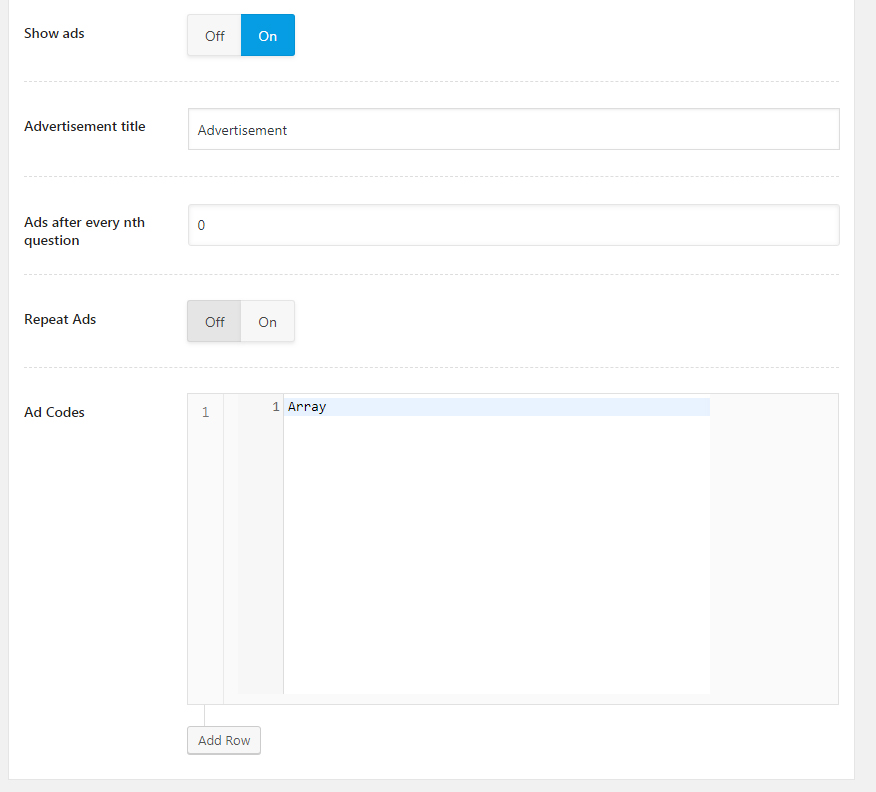
Show Ads
If you use AdSense or any other types of ads on your website, it makes sense to include some ads between the quizzes as well. This option helps you set that up. Enable the option to see additional ad related options.
The options are self-explanatory, and we’ve covered them in details in our WP Quiz Pro Settings Tutorial
Embedding the Quiz in a Post or Page
Phew! We covered a lot of information about Personality quizzes, and we hope that you are now up to speed with all the customization abilities that WP Quiz Pro has to offer.
But, we still haven’t told you how to embed your quiz inside a post or a page. Let us get to it now.
To place a quiz inside a post or a page, you just have to perform 3 steps.
- Make sure the quiz is published
- Copy the Quiz’s shortcode
- Paste the shortcode in the post or page
Let us show you the process in detail.
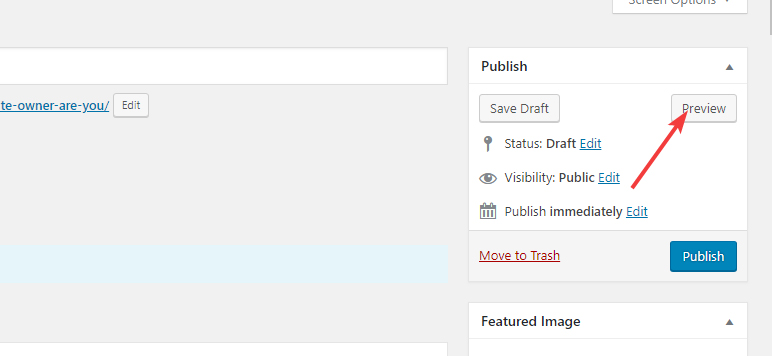
You might have already done this, but this serves as a reminder. After you’ve configured your quiz to your heart’s content and are ready to use it inside a post, you should first Publish it. All you have to do is click the Publish button on the quiz creation page. You don’t need to worry, publishing a quiz isn’t like publishing a post, and it won’t show up on your website just because it’s published.
Next, you got to find and copy the quiz’s shortcode. Each quiz’s shortcode can be found in 2 locations.
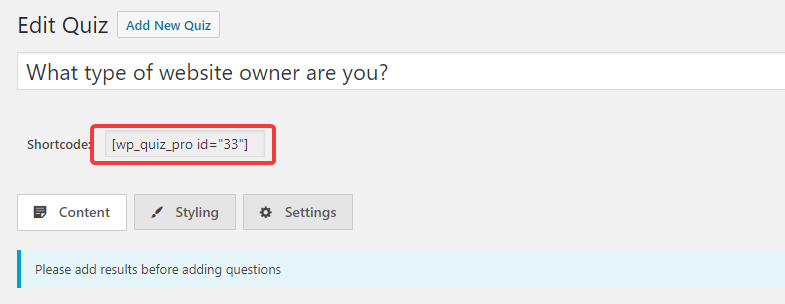
On the page where the quiz was created.
And also on the All Quizzes section of WP Quiz Pro.
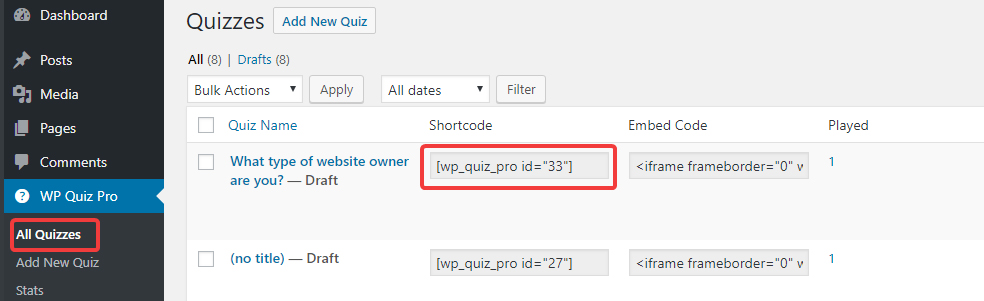
From any of these places, copy the shortcode to your clipboard.
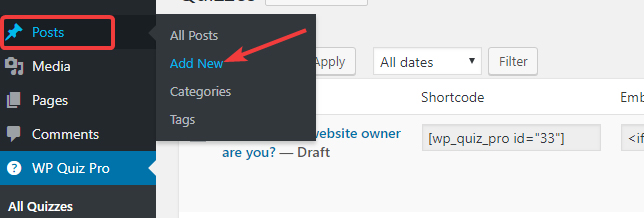
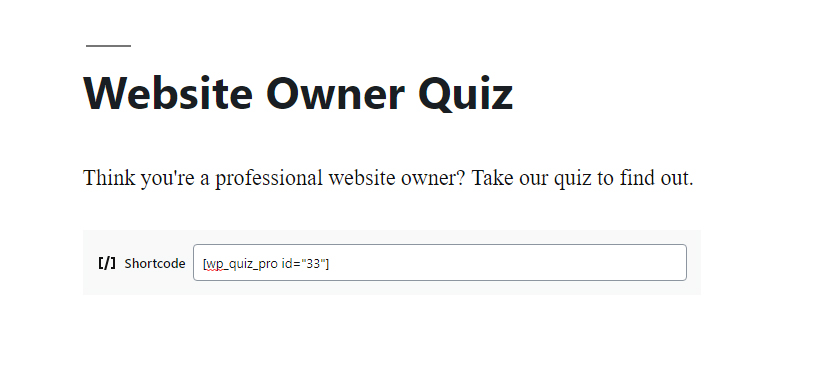
Next, create a new post, or open the post or page where you want to embed the quiz.
Inside the post, paste the shortcode in the content area.
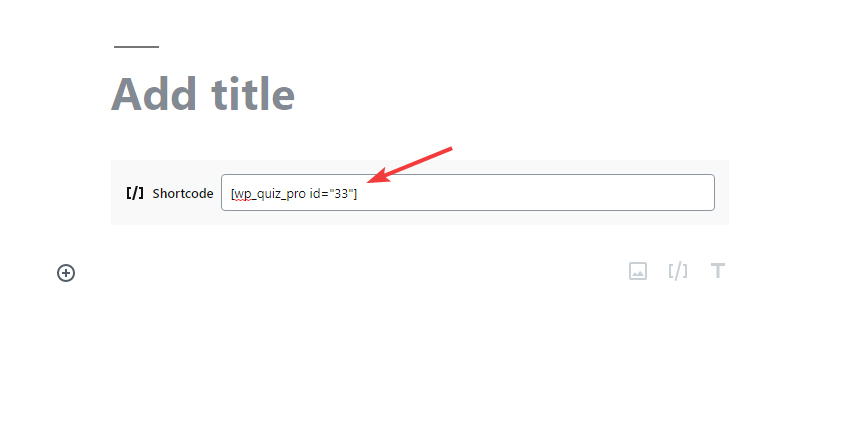
Note that we’re using the Gutenberg editor, but the process will remain the same even if you’re using the classical editor.
If you also created a new post like us, you can also add a title and content around the shortcode.
Once you’ve added the content, you can preview your post by hitting Preview in the top right of the page.
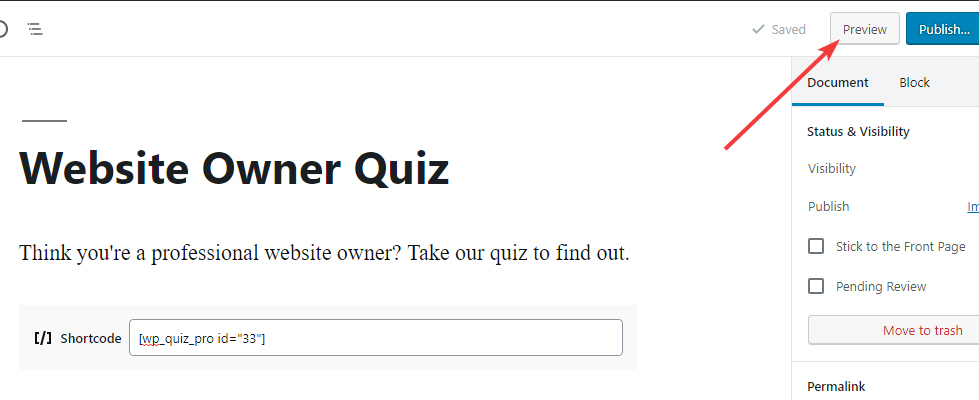
You’ll be able to test the quiz out on your website.
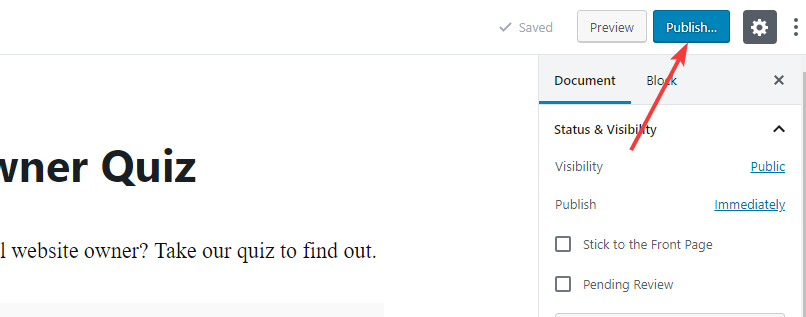
Once you’re satisfied with the quiz, you can publish it to make it available on your website.
Conclusion
That was the entire process that you need to follow to create a Personality Quiz on your website with WP Quiz Pro. The steps might seem too much, but trust us, the process gets easy once you create a couple of quizzes yourself. Although you shouldn’t have any trouble creating a quiz if you follow the instructions closely, you can always get in touch with the support staff if you do. They are available 24×7 throughout the year and always eager to help out.
