In this tutorial, we are going to share how you can create a Trivia Quiz using WP Quiz Pro.
A trivia quiz is a test of knowledge about a subject.
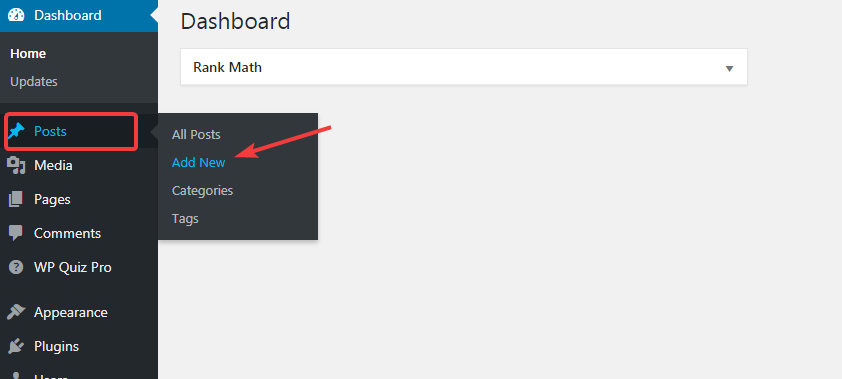
Start by logging into your website admin area.
Once you’re in, hover over WP Quiz Pro, and select the Add New Quiz Option.
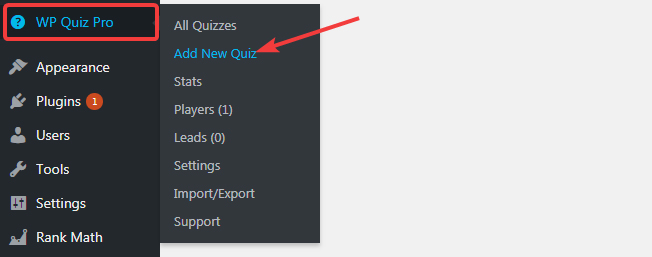
As you can see, WP Quiz Pro supports 6 types of quizzes. If you don’t see 6 quizzes, it’s likely that you’ve disabled one or more from WP Quiz Pro’s settings.
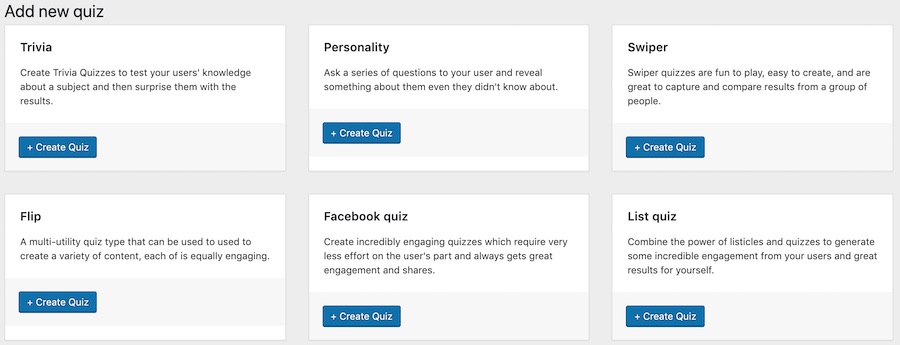
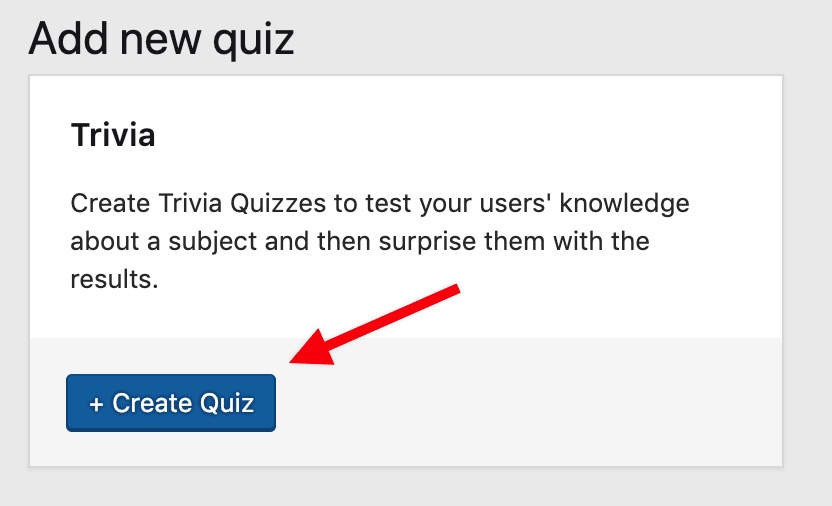
Let’s start the quiz creation process by clicking the + Create Quiz Button on the Trivia Quiz.
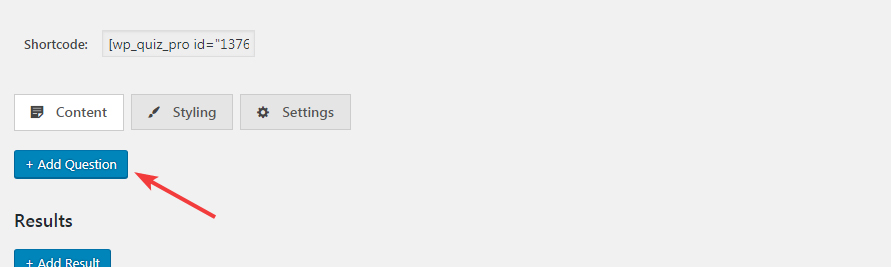
You will see a screen similar to the one below.
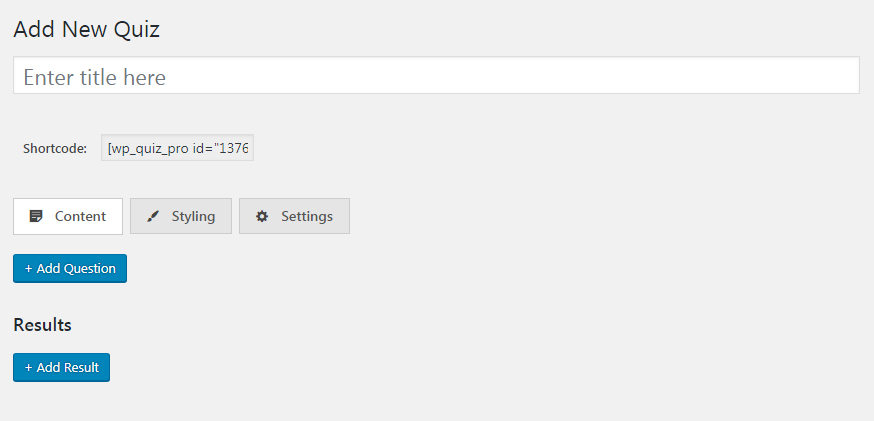
As you can see, each Trivia Quiz has 3 tabs, all of which you should pay attention to.
- Content: Holds the actual questions and answers of the quiz
- Styling: Controls how the quiz appears
- Settings: Controls how the quiz behaves
It’s important to understand how each of the tabs affects the quiz you create, and we will understand the options in detail.
Content Tab
The Content Tab is where the magic happens. Here you add the questions and answers that magically transform into an interactive quiz that attracts and engages users.
Before you start, make sure that you have the questions and the answers ready for the quiz. The Trivia Quiz is a test of knowledge, so questions like “did you know” will perform the best.
Add a question by clicking the + Add Question button.
The screen will change to something like this.
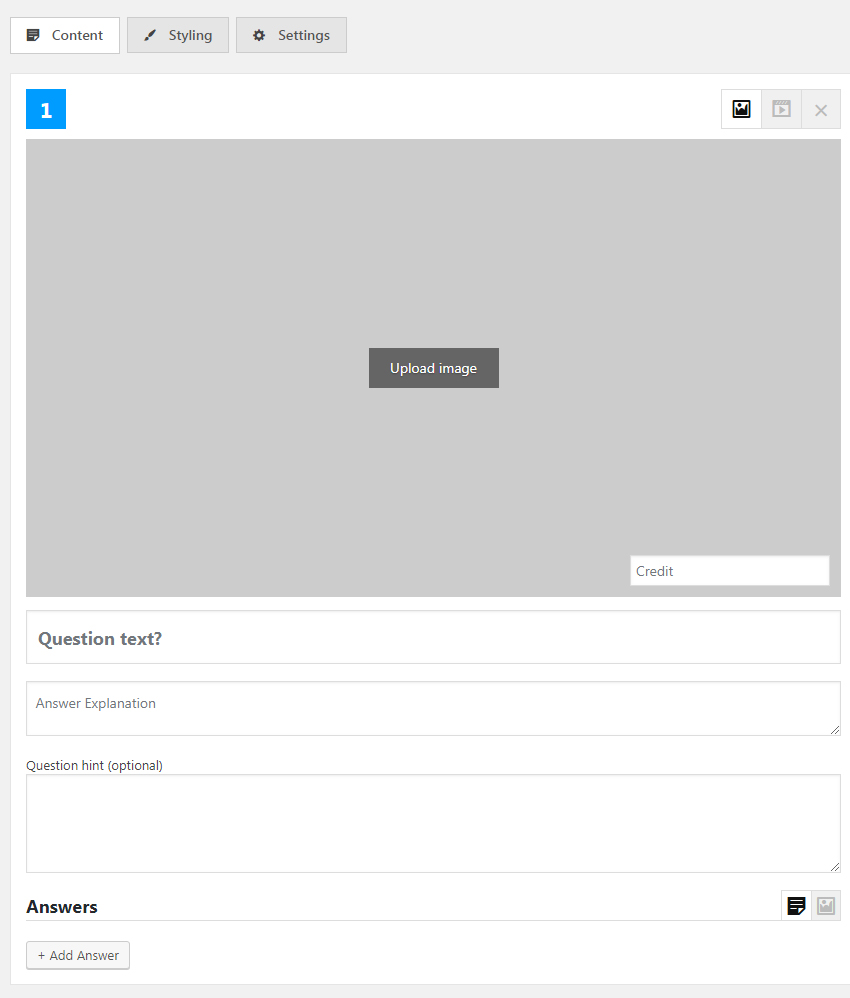
A lot is going on here, so let us explain the process step by step.
First, the question.
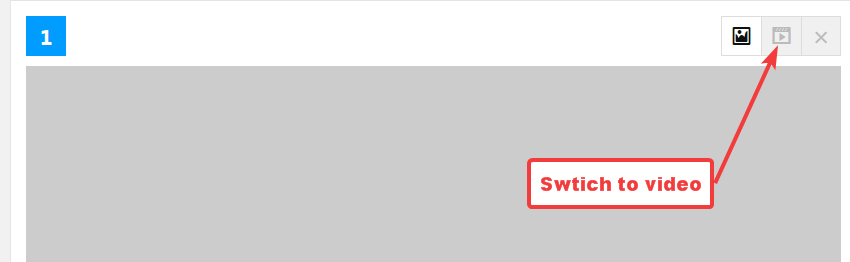
Each question that you create can be accompanied by an image or a video. When you create a question, the image option is selected by default. But, you can change to the video format by clicking the button on the top right.
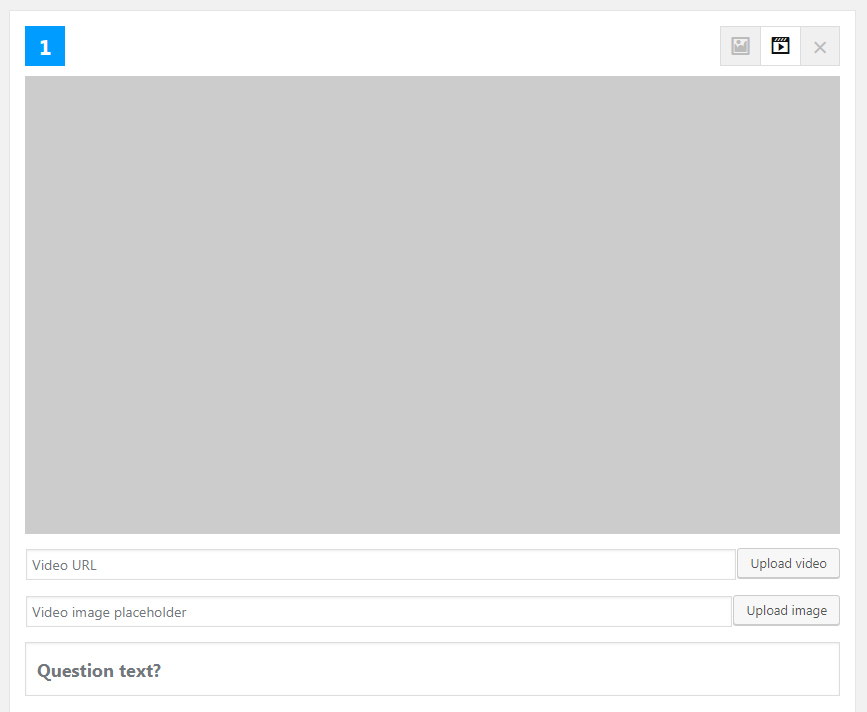
If you switch to video, the question screen will change to this.
Creating an image question and a video question have some differences, so it is best if we explain them separately.
Question with Image
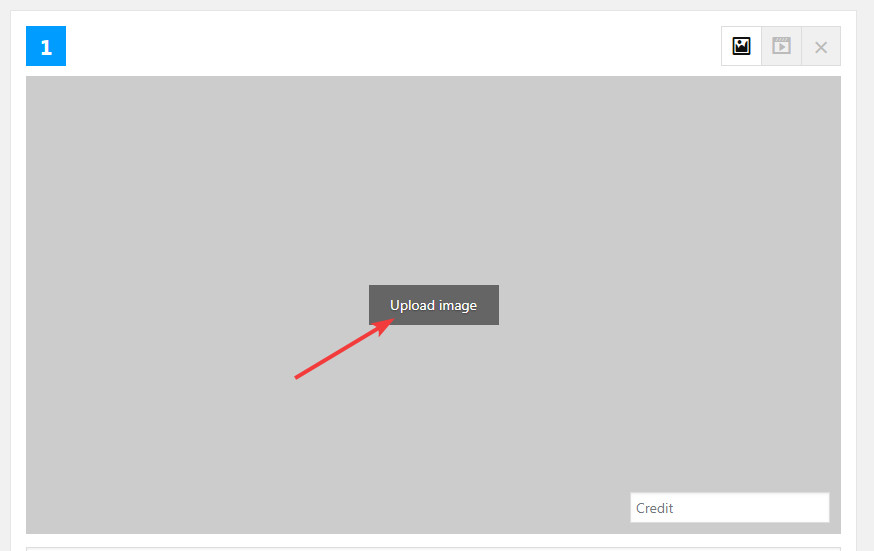
When creating an image question, start by uploading an image or adding one from the image library. Click the Upload Image button to start the process.
When your website’s image library opens up, upload an image, or select one from the library.
For the best results, use an image with the resolution of 850 x 458 pixels. WP Quiz Pro will attempt to stretch the image to the ideal resolution, but that may not get the best results every time.
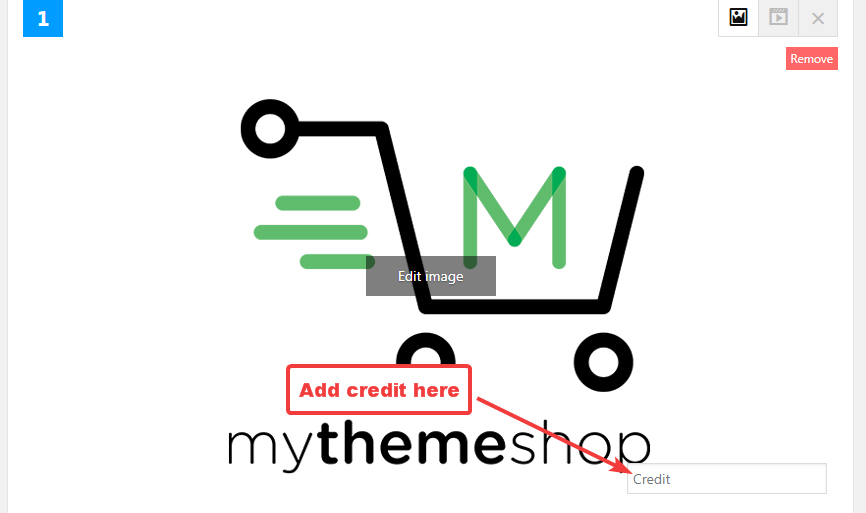
Once the image is selected, it will be displayed in the question section. You can also add a credit to the image from the credit section. Also make sure that you have the rights to use the image, as using copyrighted images can get you in trouble.
That’s all you have to do when adding an image-based question.
Question with Video
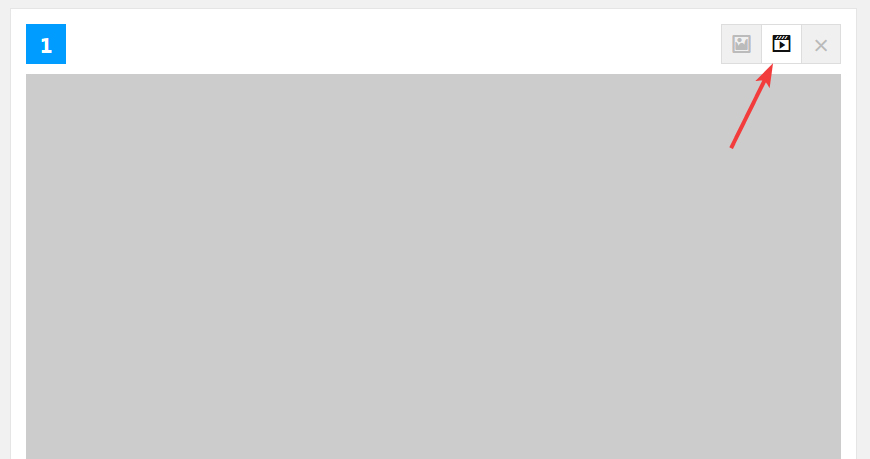
Questions with video aren’t much different; they just need to be set up differently. First, switch to the video option by clicking the video button.
The next step is to specify a video which will be used. You can either use an uploaded video or specify a URL.

For using an uploaded video, just click the Upload Video button and select the video from your library.
For the video URL, you can paste a link from popular video sharing websites. YouTube, Vimeo, and DailyMotion are supported. WP Quiz Pro will automatically detect the video and display a preview for you. If you’d like to change the image placeholder, you can use one from the media library, or paste a URL.
Adding the Question
Regardless if you’ve used a video or an image, you will need to add a question.
Just type in the question in the question tab.
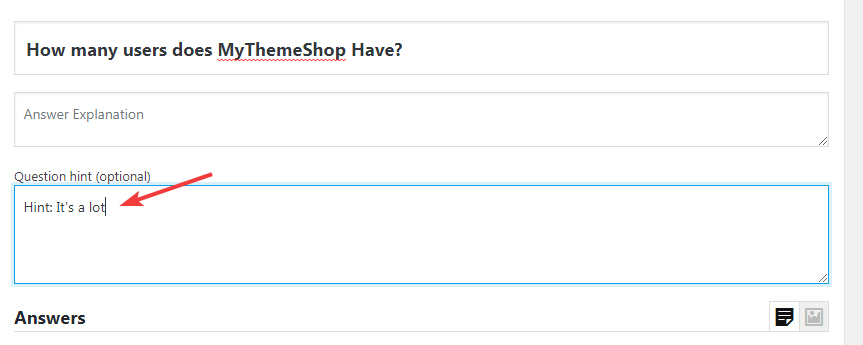
You can also add a hint so that your users find it easy to answer the question.
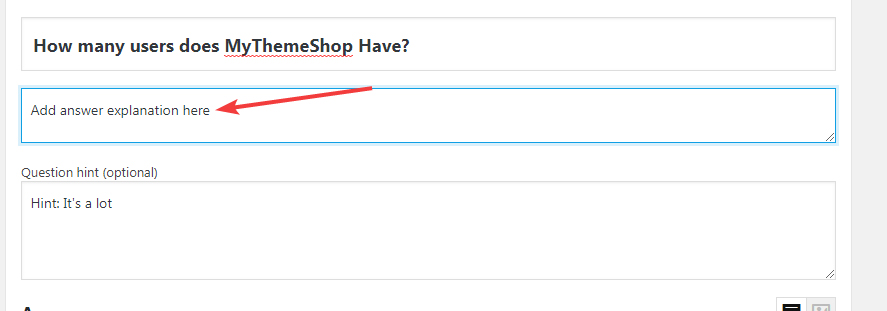
If you’d like to add some background about the answer, you can also add an answer explanation which will be shown to the user after they’ve answered the question.
That’s it. You’ve added a question successfully.
Adding the Answer
The question is of no use if you don’t add an answer. In the case of Trivia, you’ll need to add multiple answers so that the user can choose the one they think is the right answer.
Answers can be plain text or text accompanied by an image. You can only have one type for each question. That means either all your answers have to be just text or text with an image.
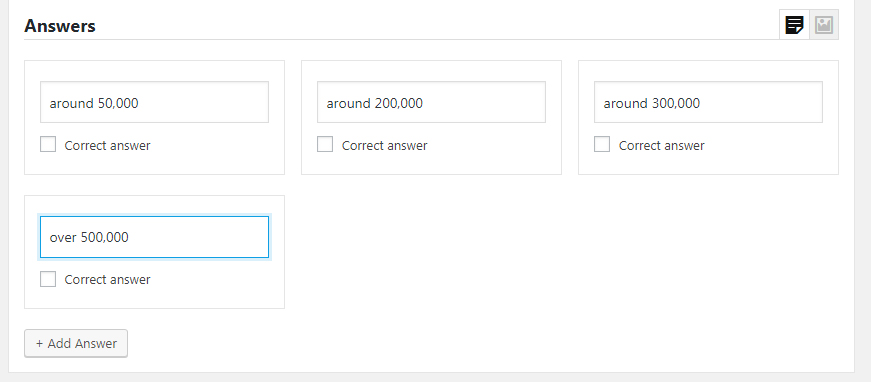
Add an answer by clicking the + Add Question button.
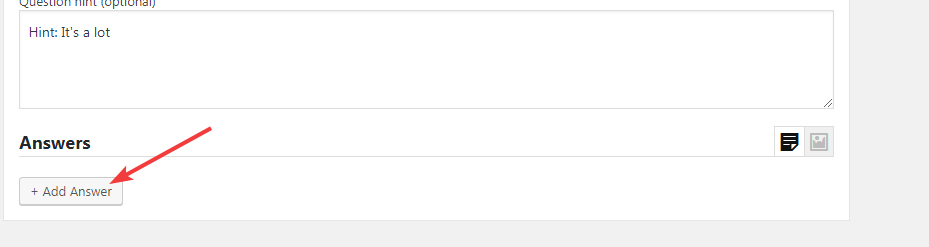
You’ll see that space for an answer pops up on the screen.
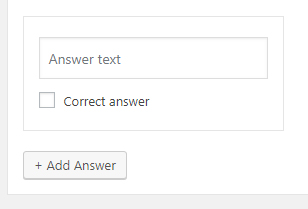
Add the text for the answer in the Answer Text field. Click the Add Answer button again for adding more options. You can add a lot of answers, but don’t go overboard.
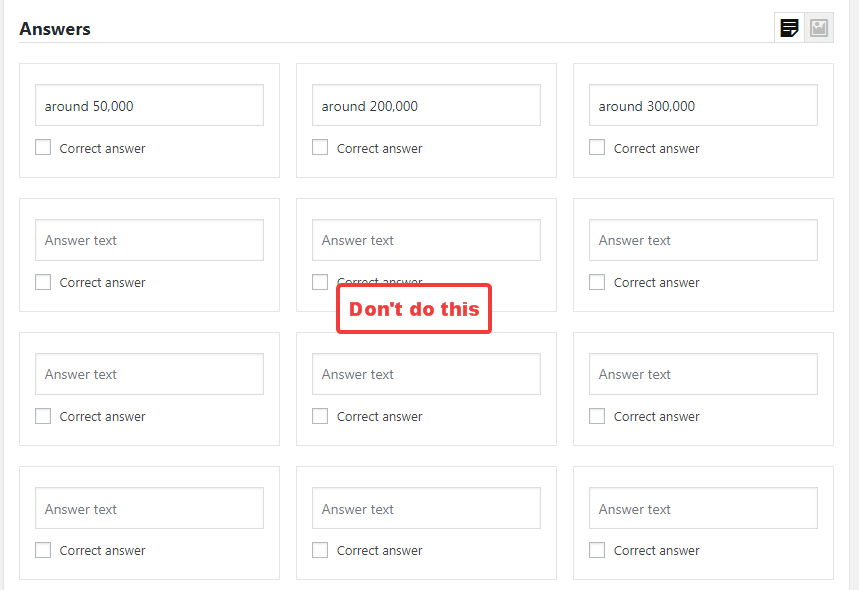
Ideally, 3-5 options are the best.
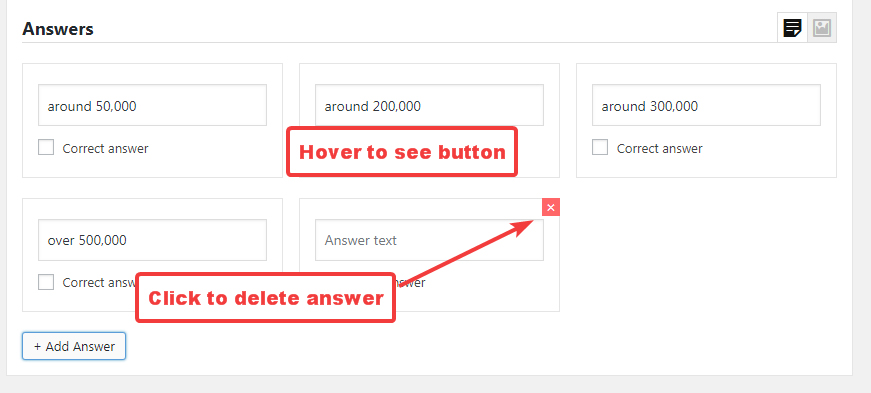
If you wish to delete an answer, hover over it, then click the red cross that appears on the top right of that answer.
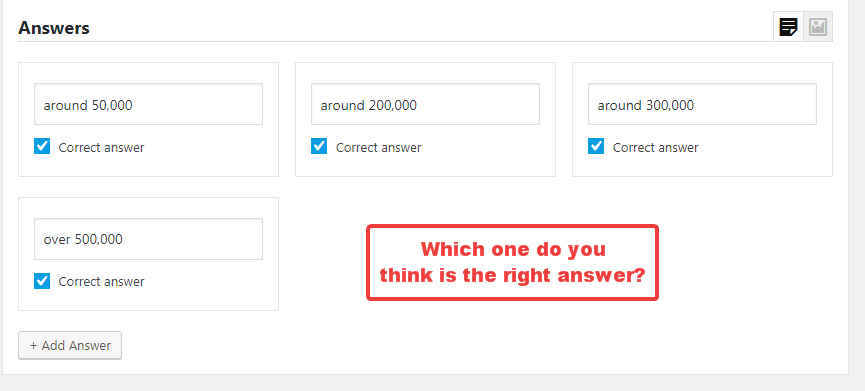
Last, but the most important step, don’t forget to mark one answer as the correct answer. You can mark more than one answer as correct too.
Adding a Result
Once a user has answered all the questions in the quiz, they’ll want to know how did they do? Were they right or wrong about the questions they answered?
While users will be able to see the answers to individual questions after they complete the quiz (or during the quiz, depending on how you configure it), you’d have to declare the results.
Think about it this way. If a student takes an exam, he or she doesn’t care much about which questions they got right or wrong. The final score is what’s most important. Once they know the score, only they (maybe) they care about the individual questions.
Your users will also act in the same way. That is why it’s important to declare the results after a quiz is taken.
To add a result, click the +Add Result button.

The Results Options will show up, which are quite similar to the question options. Here is how the screen should appear.

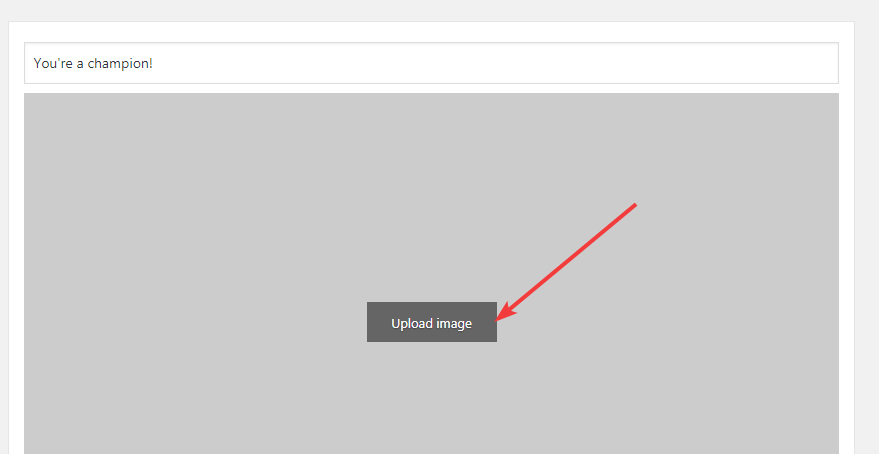
The first thing you should add is the result title. This title will be shown to the user, and it should be something that signifies the user’s performance. For example, if a user scored really high, you can use the title, “You’re a champion!”

The next thing is to add an image. As with the questions, the image is not necessary, but it enhances the experience for the user. Add a new image by clicking the Upload Image button.
Next comes the Min and Max fields.

It’s important to understand what these mean.
When you create a quiz, most of the time it will have more than one question. For every right answer the user gives, they score one point. At the end of the quiz, they reach a final score.
You can then declare results to the user based on the score they received in the quiz. The minimum and maximum fields help define a score range for a particular result. For example, if you have a quiz with 10 questions, you might create 3 results each with a range of 0-3, 4-6, 7-10.
The next field is the description field. Here you can get some more information about their result, or add some encouraging words for the user to read.

The last step is the Redirect URL field. This is a powerful option, which lets you redirect the user to a particular URL based on their result.
Before you decide to use the redirect field, you have to enable it. From the quiz settings, makes sure that the Redirect To option is selected for the Force action to see the results. If the option is not selected, users will not be redirected to the URL even if you add the URL in the field.

Redirecting users to specific URLs has many benefits. You can take users to specific landing pages, product pages, affiliate offers, or informational pages. You can also retarget users who visit the landing pages on Google or on Facebook, which can be very powerful in itself.
Enter the URL in the Redirect URL field to set up the redirect.

Adding Multiple Questions and Answers
In the examples above, we demonstrated the capabilities of WP Quiz by creating a single quiz. The process of creating additional questions and results is exactly the same. Just follow the same steps to create multiple questions, add answers to the questions, and also create results.
Demo of a Live Quiz
Once you’ve added a question (and maybe a result), you can see the fruits of your labour by clicking the Preview Button.
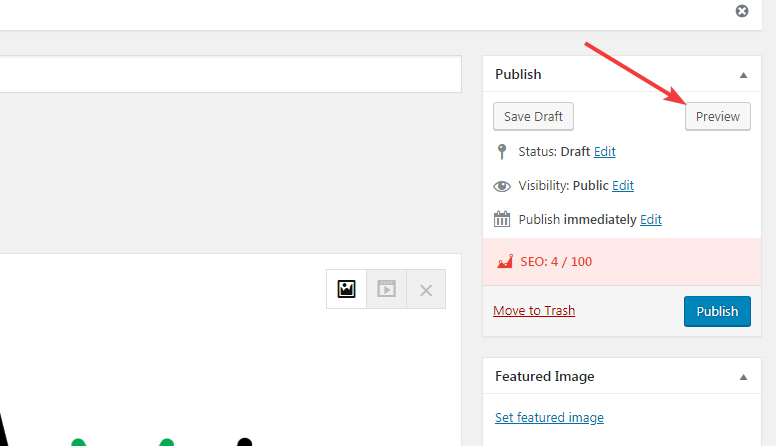
Here is a preview of how the quiz we created turned out.
Styling Tab
The Styling Tab changes how your quiz looks, mainly changing some colors and other options. Here is a preview of all the options in the Styling Tab.

Here is a brief description of all the settings.
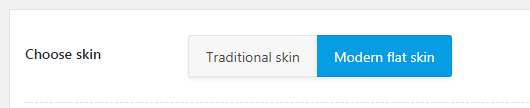
Choose Skin
WP Quiz Pro supports two skins out of the box. A modern skin, and a traditional skin. You can choose the skin that you prefer for the quiz.
Question Layout
The questions of a quiz can be presented in 2 ways to the user. Either all the questions can be on the same page, or each question can be placed on another page. The choice of layout will depend entirely on your preferences.
If you choose the “Show All” option, which is the single page layout, then there are no settings to configure. However, choosing multiple questions opens up some additional settings.
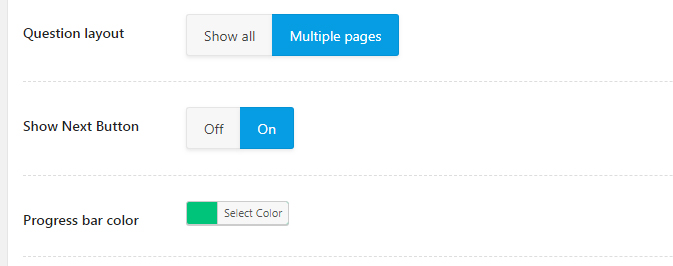
- Show Next Button: When a quiz is on multiple pages, then there are 2 ways to move the user to the next question
- A manual option
- An automatic option.
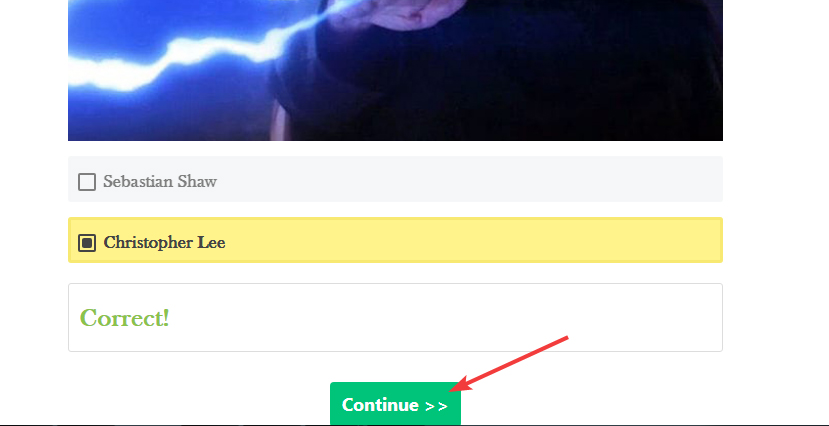
If the Show Next Button is disabled, then the user will be taken to the next question automatically. In contrast, if the option is enabled, the users will be presented with a Continue button after answering each question. Only when the user clicks the button, will they be taken to the next question.
- Progress Bar Color: To give users an idea about how many questions exist in a quiz, we include a progress bar on the screen on top of the quiz. This option lets you customize the color of the progress bar to your liking.

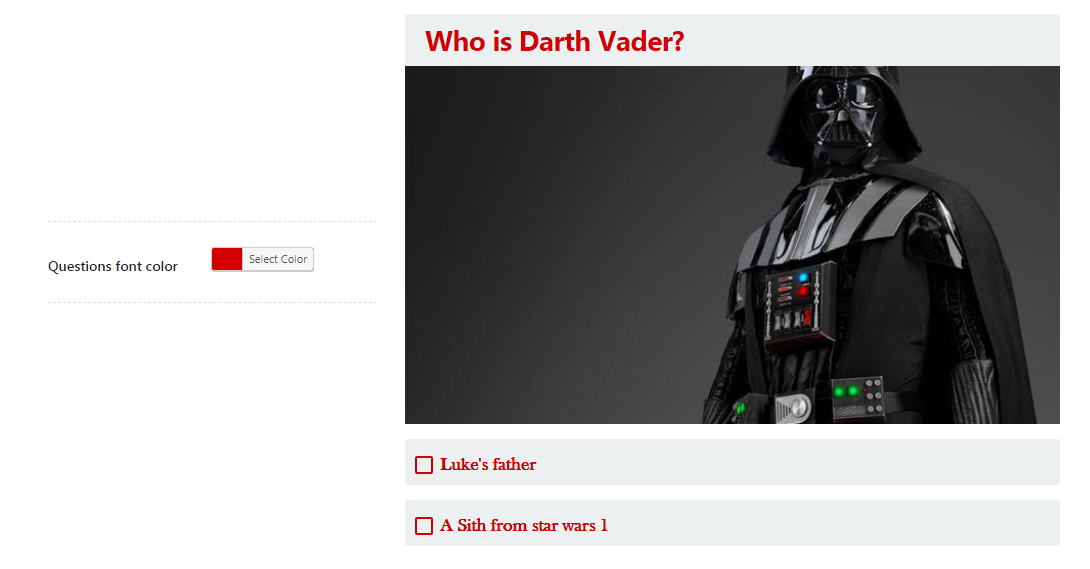
Questions Font Color
This option helps change the color of the text that the question appears in. You can use this option to match the quiz to your website’s branding.
Here is how it will affect the quiz.
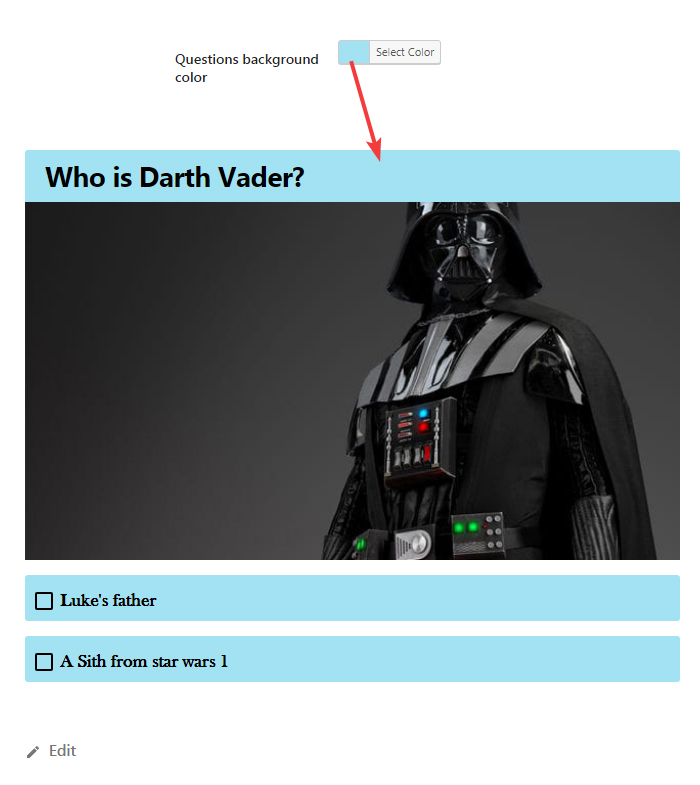
Questions Background Color
If you’d like to change the background color that the quiz uses, you can use this option. Here is how it affects the quiz. This is the default color of the background.
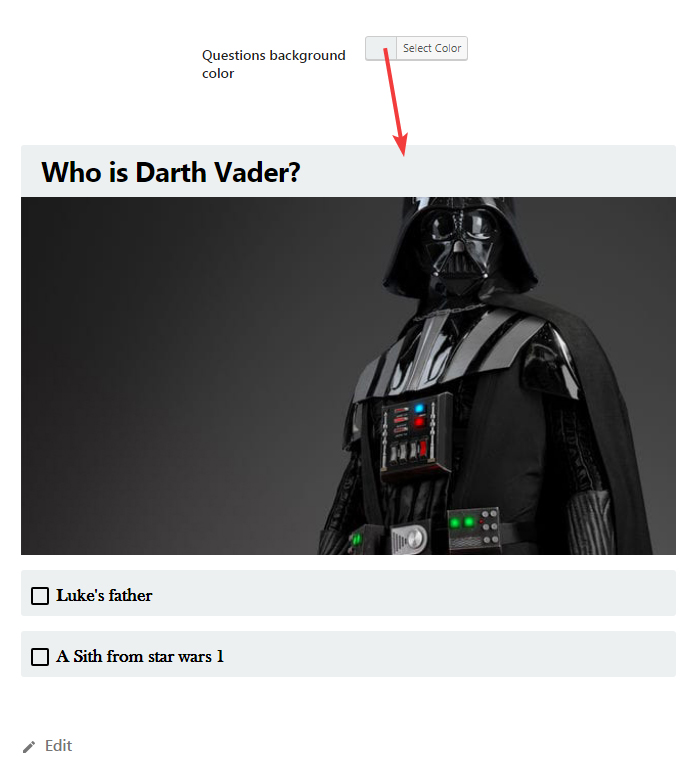
Here is how it looks after changing the background color.
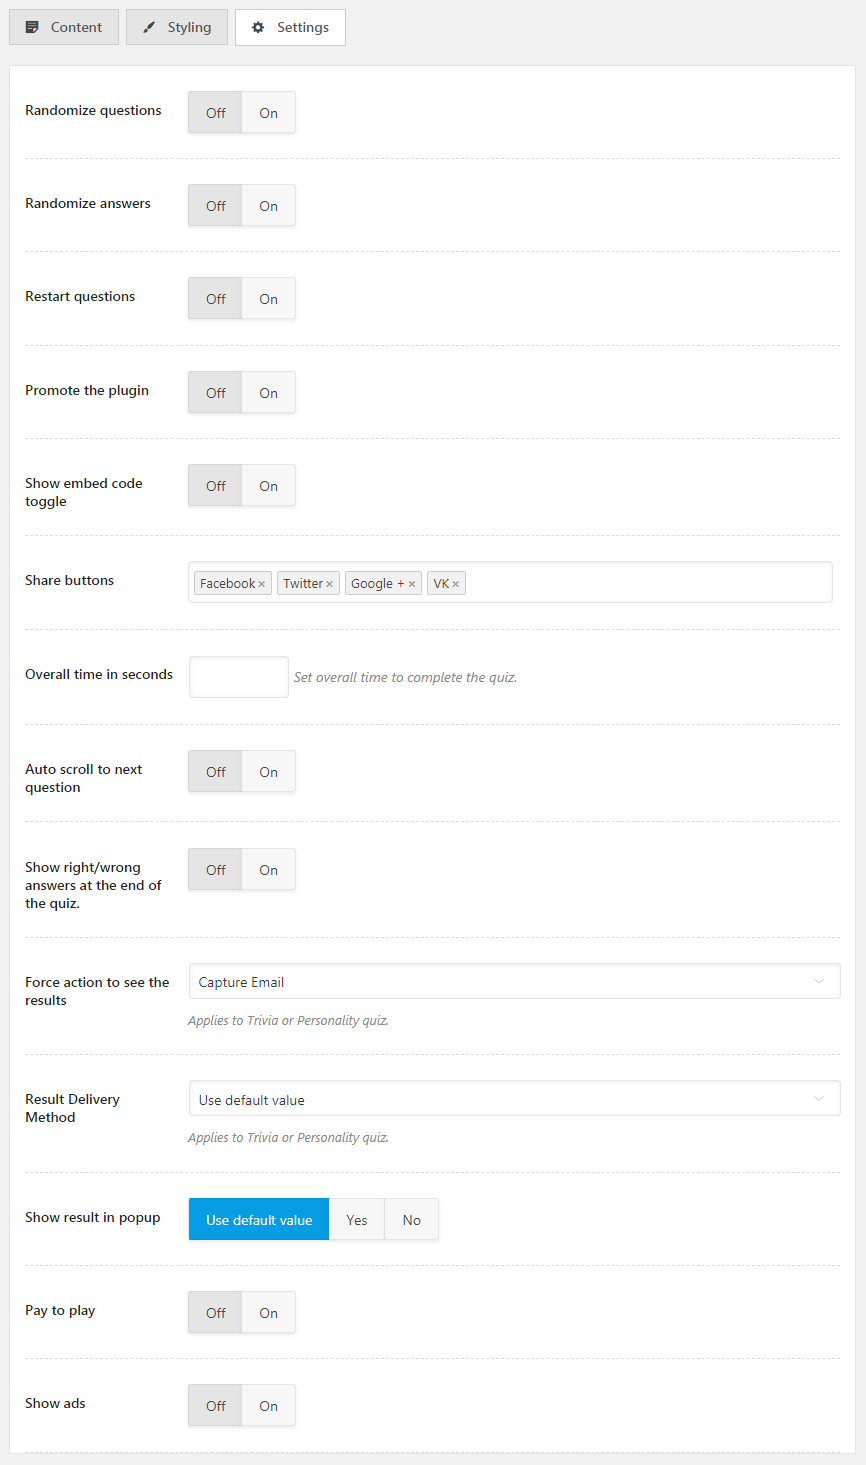
Settings Tab
As we mentioned, the settings tab contains all the settings that affect the behavior of the quiz you create. Here is a complete list of settings in the Settings Tab.
Before we begin exploring, there are 2 things that you need to understand.
First, you might see that the settings for your quiz might be configured differently than the image above. That is because many of the settings here are inherited from the global settings, and you might have configured them differently.
Second, most of these settings apply to all quizzes, but some are unique too. We’ve covered all the settings that apply to all quizzes in our WP Quiz Pro Settings guide, and we will briefly explain what each setting does in this guide. We highly recommend that you go through the Settings guide if you haven’t already done so.
Let’s begin.
Randomize Questions
When this setting is enabled, the questions in the quiz are randomized.
Randomize Answers
When this setting is enabled, the order the answers appear is randomized for all questions.
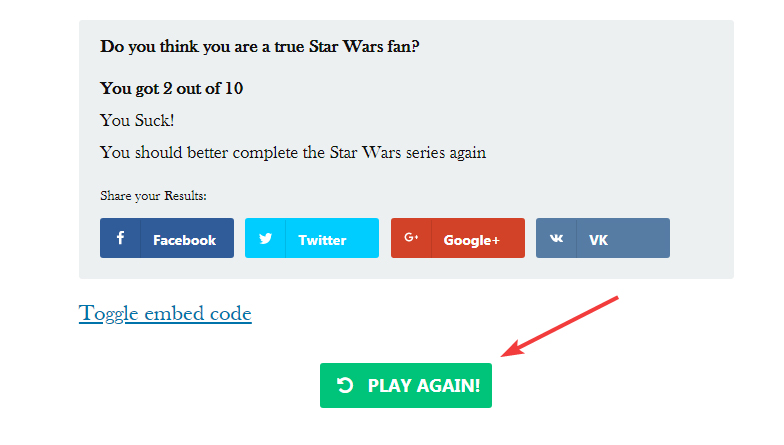
Restart Questions
When enabled, gives users the option of re-attempting a quiz. Looks something like this.
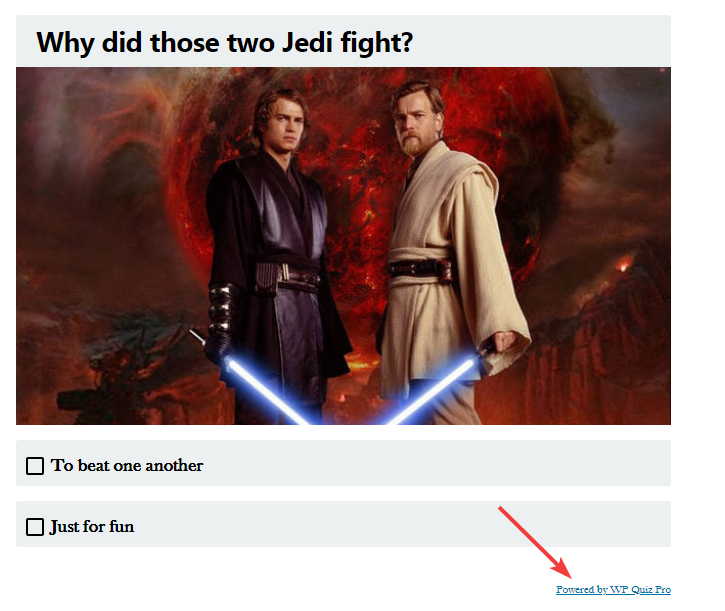
Promote the Plugin
When enabled, adds a small link to the end of each quiz which says “Powered by WP Quiz Pro”. If you add your MyThemeShop username in the settings, you will earn affiliate commissions everytime someone clicks and purchases WP Quiz Pro through the link.
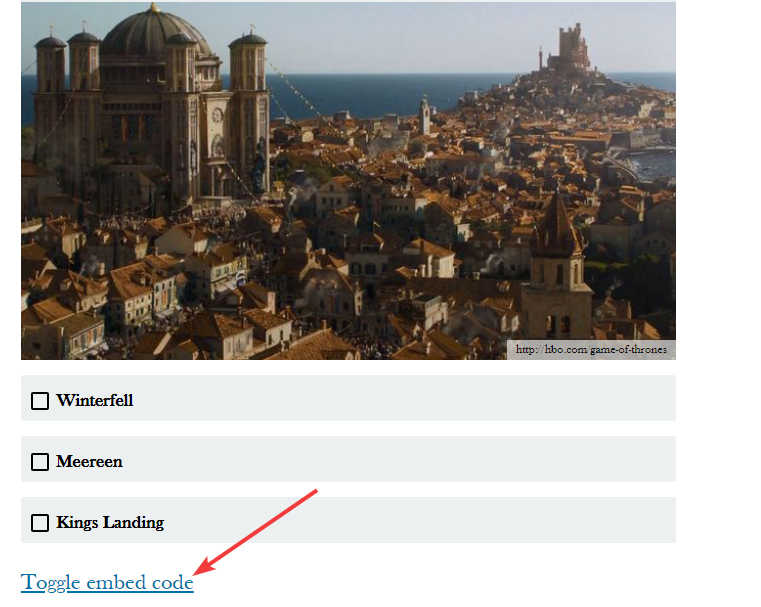
Show Embed Code Toggle
When enabled, adds a link to the quiz to toggle the embed code. Using the embed code, your created quiz can be embedded on any other website.
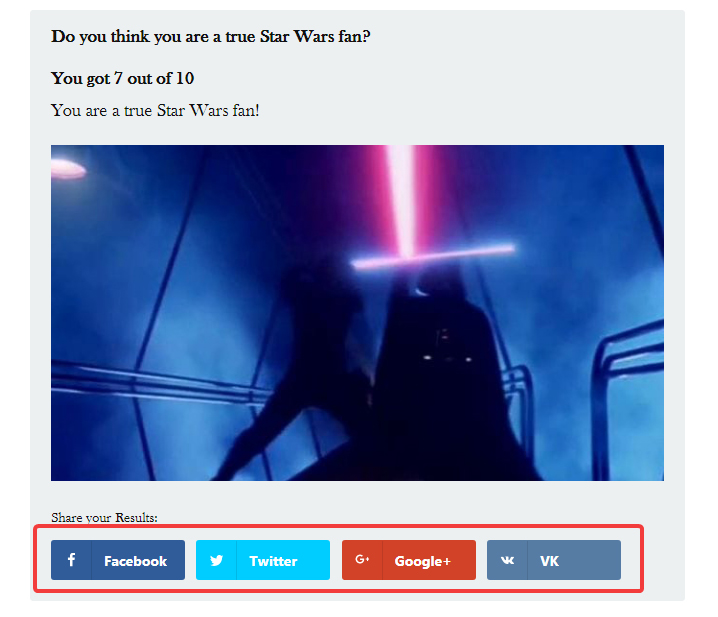
Share Buttons
Adds sharing buttons when the results of a quiz are shown to the user. Currently supports 4 social networks.
Overall Time in Settings
Lets you configure a time (in seconds) that the users will get to complete the quiz. Here is a small demo.
Auto Scroll To Next Question
When enabled, users are automatically taken to the next question once they answer. It’s recommended that you use this option. Here is a demo.
Show Right/Wrong Answers at the End of the Quiz
When turned On, users will see if they answered correctly at the end of the quiz. When turned off, users will see the answer immediately. If you’re using Auto Scroll to next question, we don’t recommend that you turn this option on.
Force Action to See Results
If you want to force users to take some action to see the results of the quiz, you can use this option. It offers the following options.
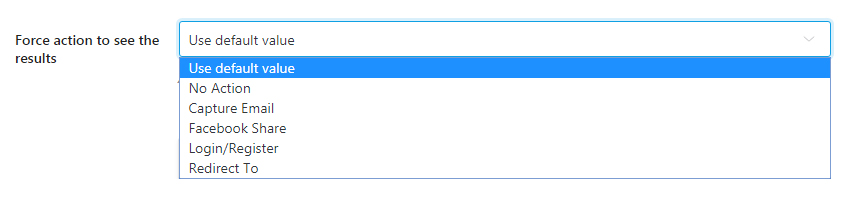
- Use Default Value
- No Action
- Capture Email
- Facebook Share
- Login/Register
- Redirect To
Use Default Value
When enabled, the option uses the default setting configured in global settings
No Action
Shows results on the screen without requesting any action from the user.
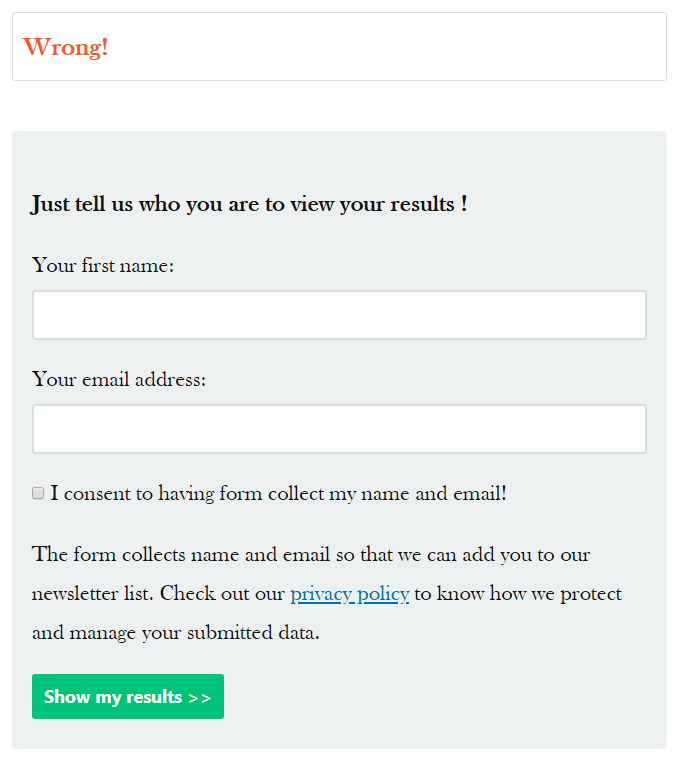
Capture Email
Asks the user to share their email address to send results to. Here is the form appears on the screen.
If you select the email capture option, you will see an additional settings panel open up just below it.
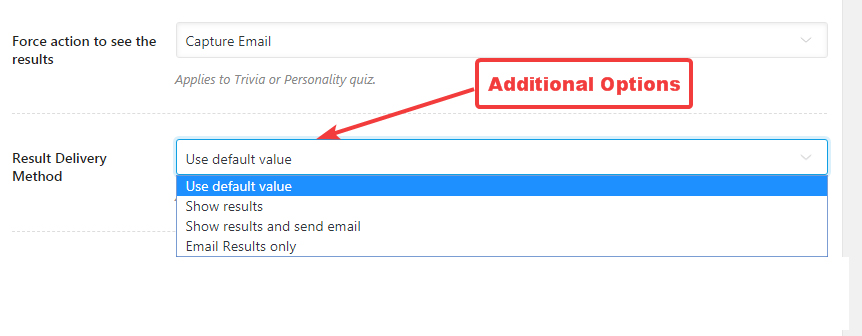
Here is what each of the options does.
- Use Default Values: Uses the settings’ global value configured in WP Quiz Pro’s settings
- Show Results: Captures email, then shows the result on screen
- Show Results and Send Email: Captures email, shows the results on screen, and also in email
- Email Results: Captures email, then sends the result in email only
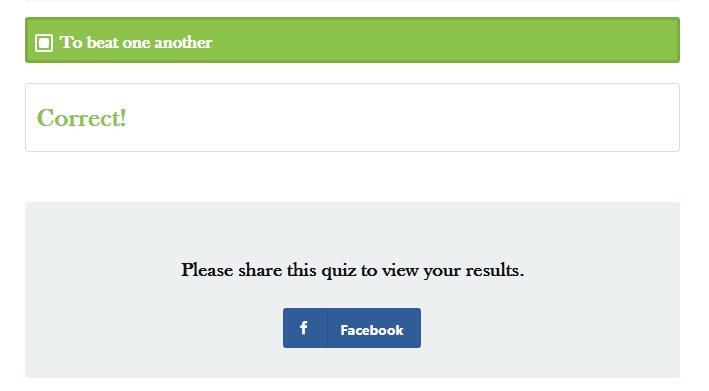
Facebook Share
Asks users to share their result on Facebook to see their results. Here is how it works.
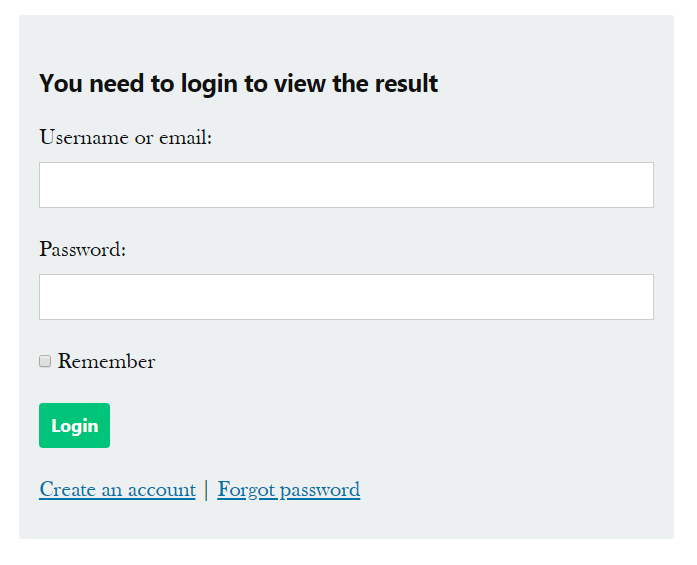
Login/Register
Asks users to Register or Log in to your website to see results. Here is how it appears to the user.
Redirect To
Redirects the user to the URL or your choice on a per-result basis. That means you can choose a different URL for each result. We’ve covered this in detail when we discussed the quiz creation process in the Content tab.
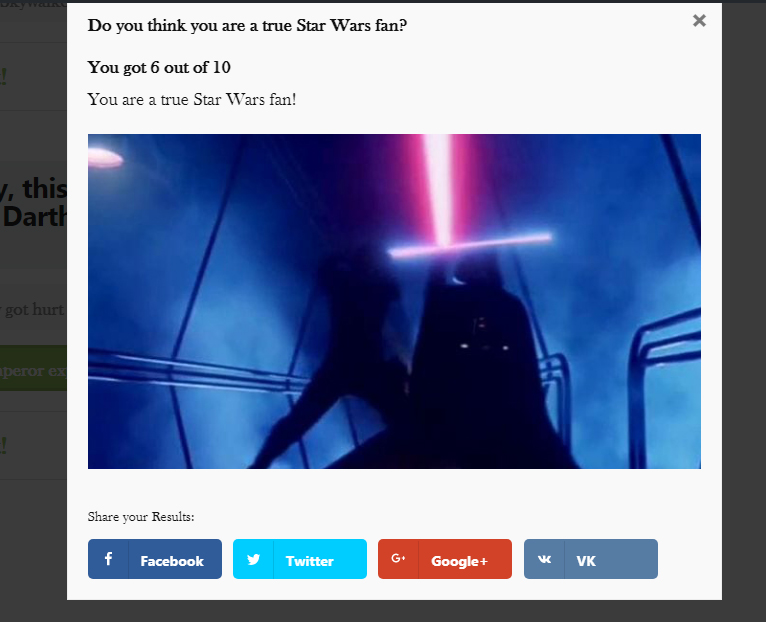
Show Results in Popup
When enabled, the results of the quiz are shown in a popup rather than on screen. Here is an image highlighting how it looks.
The options are self-explanatory.
Pay To Play
When enabled, makes the quizzes paid, i.e., users have to shell out money to play your quizzes. Enabling the option opens up another setting, where you enter the amount you want users to pay for the quiz.

You don’t need to enter the currency here. That is set inside the global settings. You can see those details in our tutorial about setting up WP Quiz Pro.
Show Ads
If you use AdSense or any other types of ads on your website, it makes sense to include some ads between the quizzes as well. This option helps you set that up. Enable the option to see additional ad related options.
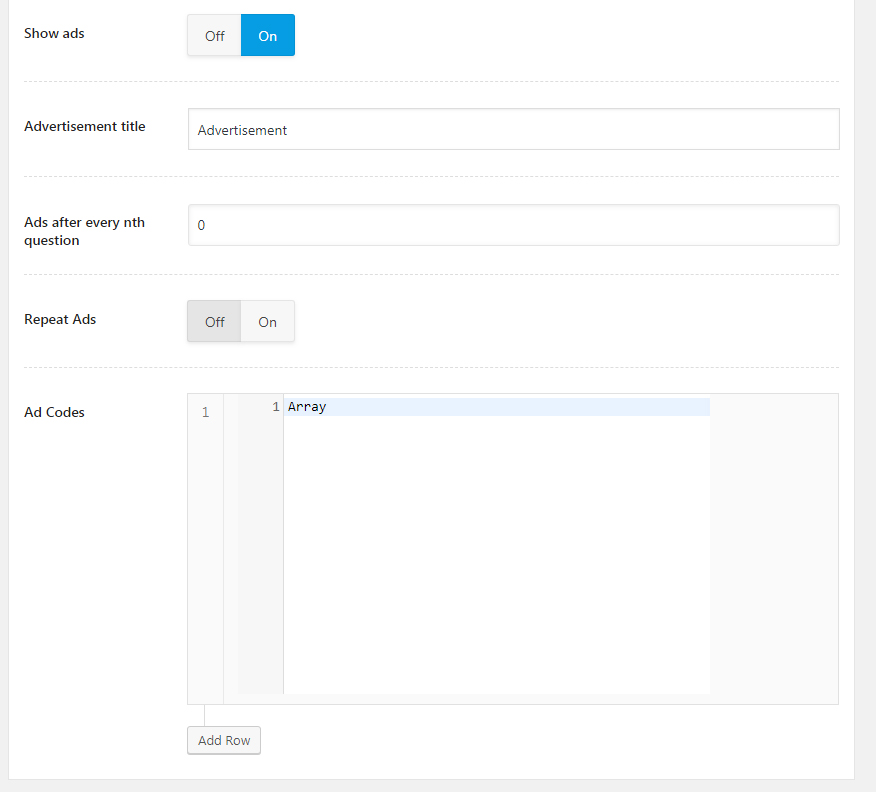
The options are self-explanatory, and we’ve covered them in details in our WP Quiz Pro Settings Tutorial
Using the Quiz in a Post
Till now, you’ve learned how to create and customize quizzes, even previewing them. But, what about actually using the quiz on your website?
The process is pretty simple. All you have to do is copy the shortcode accompanying the quiz and paste it in the post of your choice.
But first, you have to make sure that you’re quiz is published.
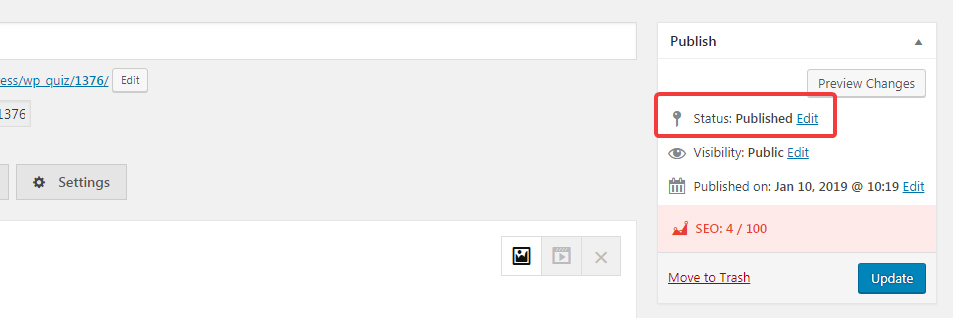
If it’s not, then Publish the post first; otherwise, you won’t be able to use it in your post.
The shortcode for the created quiz can be seen on the quiz page.
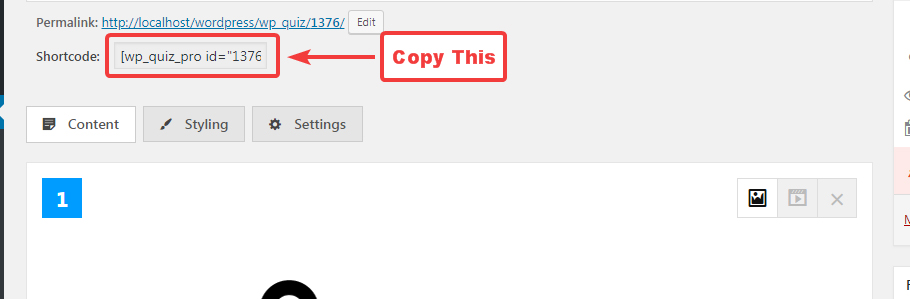
And on the All Quizzes page.

Copy the shortcode to your clipboard, then Create a new post, or edit an existing post.
Add the page title, and in the content, paste the shortcode. We’re using Gutenberg, and it works the same way in the classical editor.
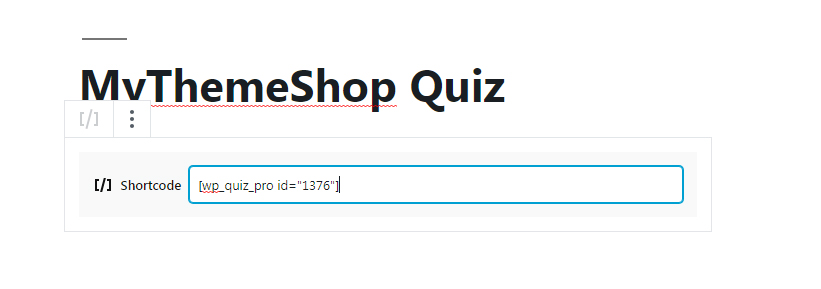
If you like, you can add content before or after the quiz as well.

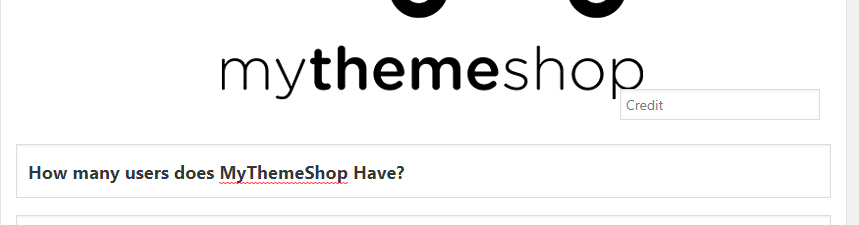
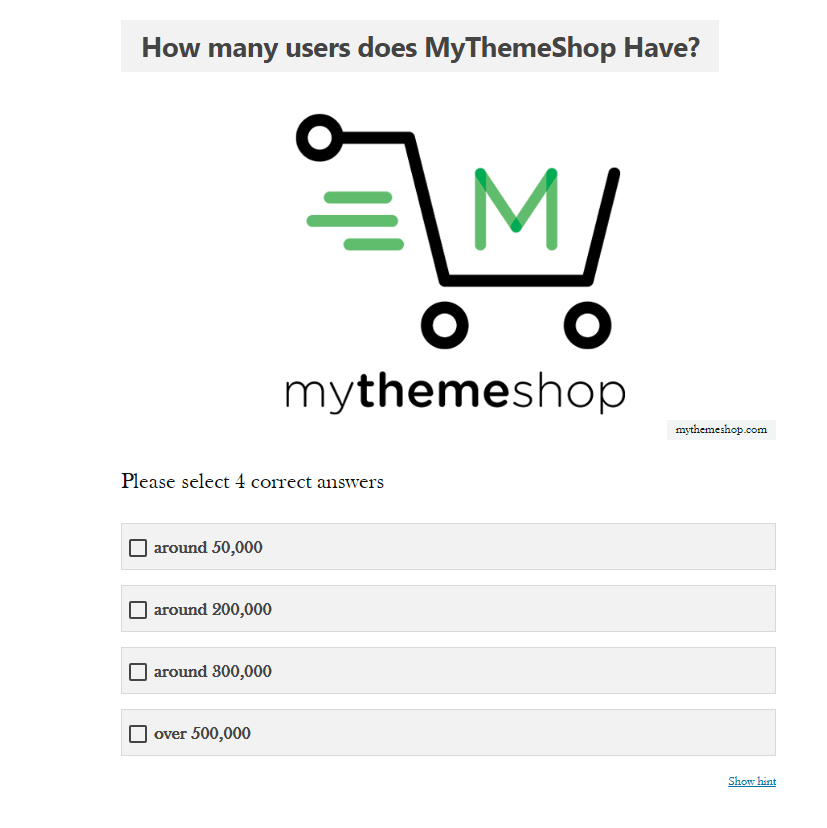
If you’re happy with the post, publish it. You can first preview the post as well. Here is how the quiz turned out on our end.
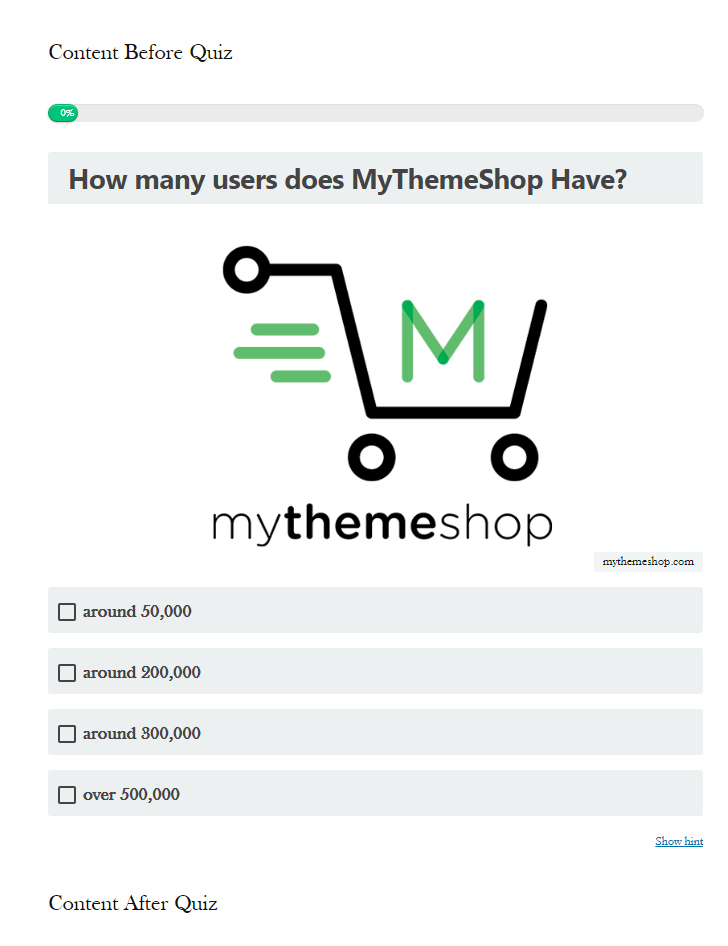
When we played the quiz, this is how we did.
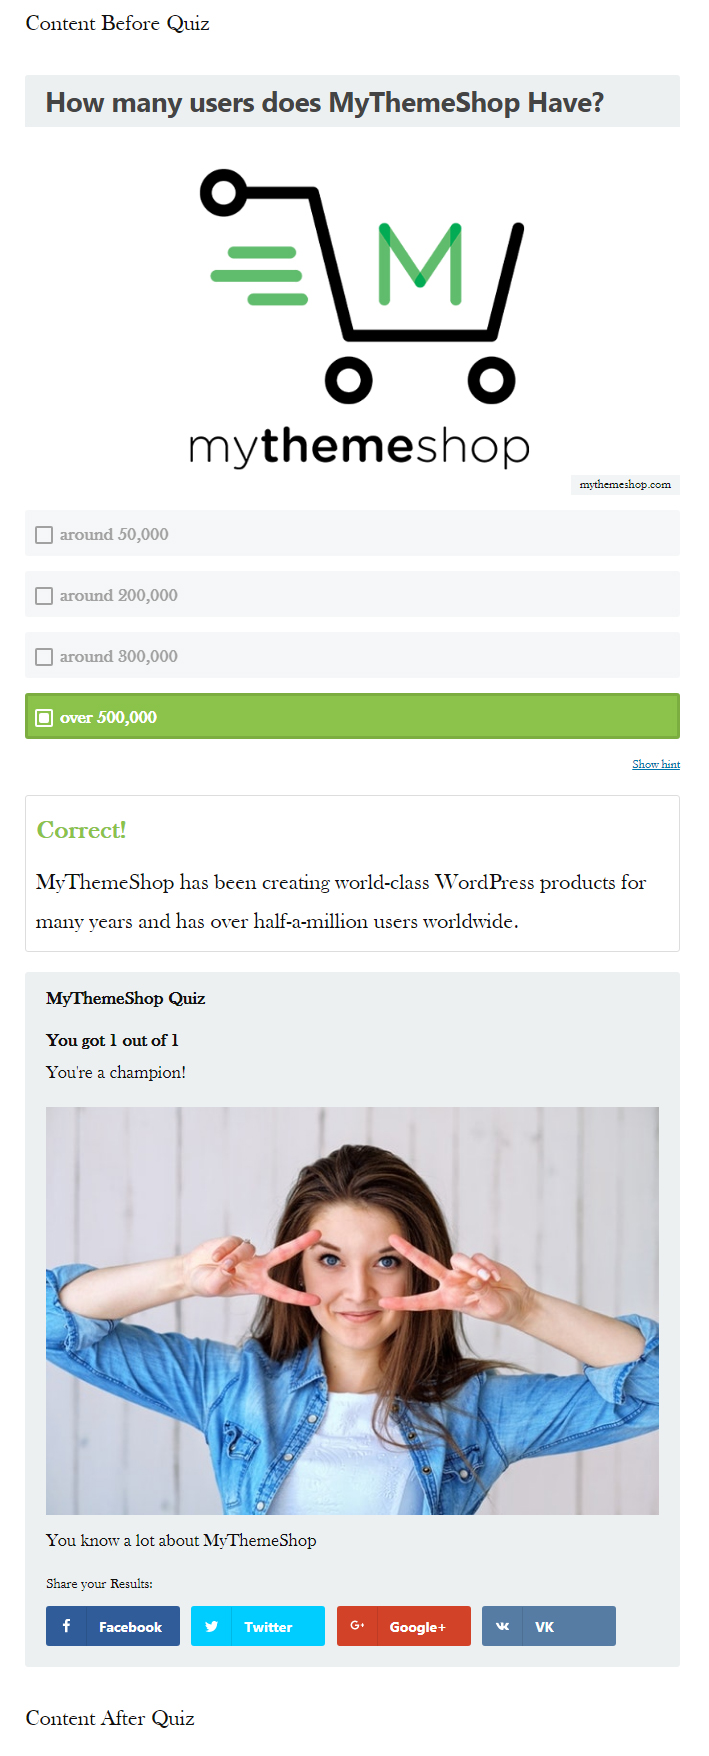
And what you read in the quiz is right. We do have over half a million users worldwide.
Conclusion
We hope that this tutorial helped you understand how you can create a Trivia Quiz using WP Quiz Pro. There are many options to take it, but you just have to do it a couple of times to become familiar with the process. If you have troubles, the MyThemeShop support staff is always eager to help you out.
