In this tutorial/article, we are going to discuss a unique feature of WP Shortcode Pro. That feature is the ability to map existing shortcodes from other plugins to WP Shortcode Pro.
If you did not understand what that meant, let us explain.
On your website, there will be other plugins that use shortcodes. You might even use these plugins regularly. Using WP Shortcode Pro will eliminate most of your needs for other plugins, but there might still be some functionality that you use with other plugins.
Using multiple plugins means going back and forth many times when working on a single post. Obviously, that is not efficient.
To help you work faster, we created a feature in WP Shortcode Pro that will let you use another plugin’s shortcode through WP Shortcode Pro by mapping it to WP Shortcode Pro. This has many advantages.
- You can work faster on your content
- The entire workflow becomes more organized
- It makes training easier when outsourcing work
and many more.
In simple terms, the shortcode mapper makes your life easier and helps you work faster on your website.
Things Required Before Mapping Shortcodes
Before we start mapping out shortcodes to WP Shortcode Pro, there are pre-requisites to understand.
- The plugin with the shortcode to be mapped should be installed and activated on your website
- The plugin must remain installed and activated till you want to use the shortcode on your website
Now that you understand the requirements of the shortcode mapper, let us check out the process of actually mapping out the shortcode.
First, you will need WP Shortcode Pro to be installed on your website. If you don’t know how to do that, we have a helpful tutorial in place for that as well.
Second, the other plugin, whose shortcode you want to map, should also be installed and activated on your website.
For this example, we will use the Content Locker plugin, which is a great free plugin from MyThemeShop.
If you haven’t installed a plugin before, don’t worry, we will show you the step by step process on how to install the Content Locker plugin.
Installing The Social Locker Plugin
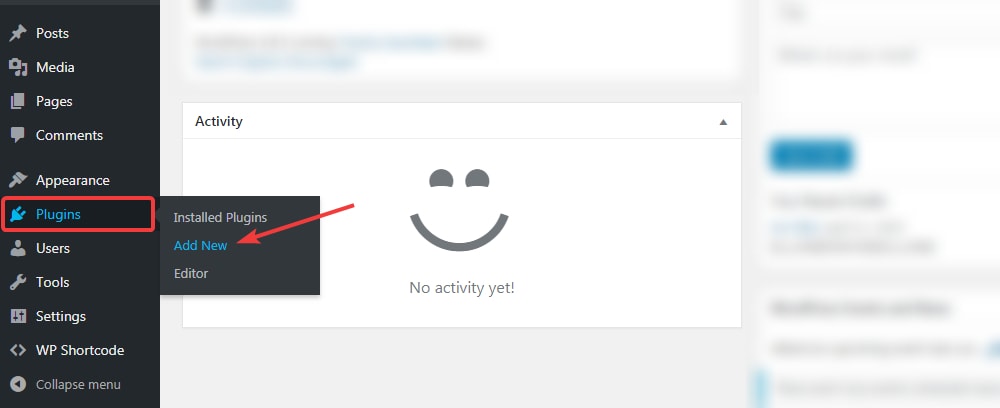
Log into your website’s backend and navigate to Plugins -> Add New.
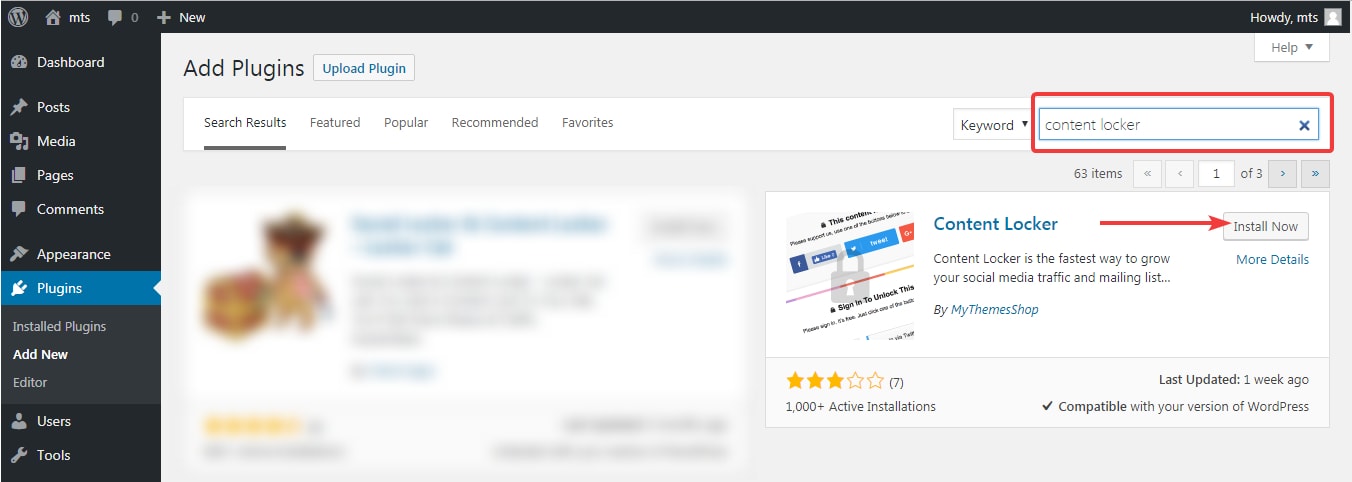
On the next screen, use the search bar on the top right and enter ‘Content Locker’ in the search field. The list of plugins will refresh automatically. Locate the plugin by MyThemeShop and click ‘Install Now’.
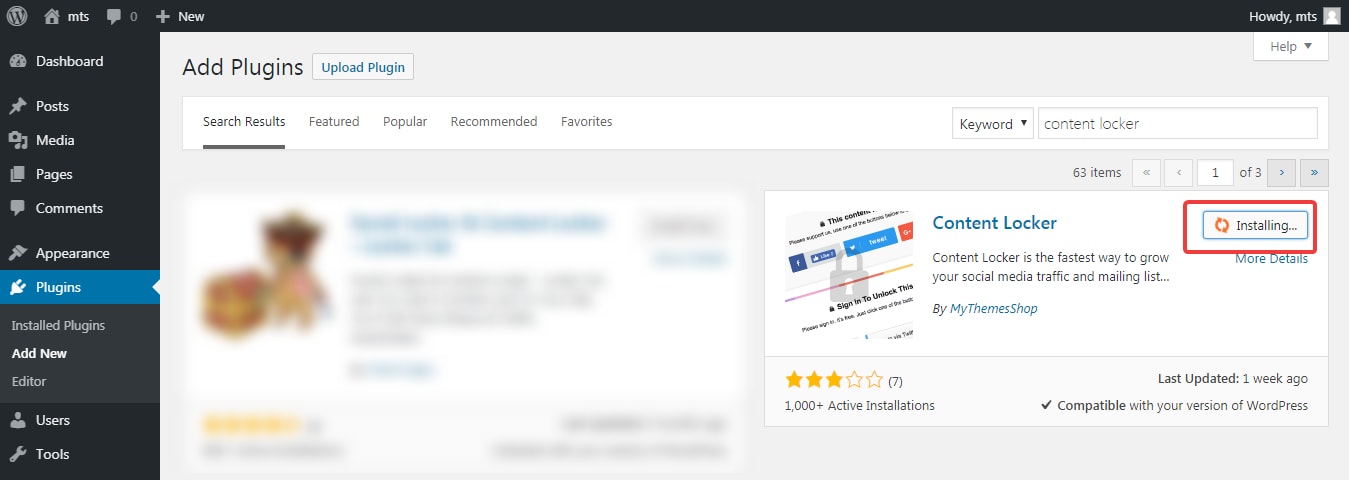
The button would change, and you will see a rotating icon on the button, which represents the background operation of the plugin install.
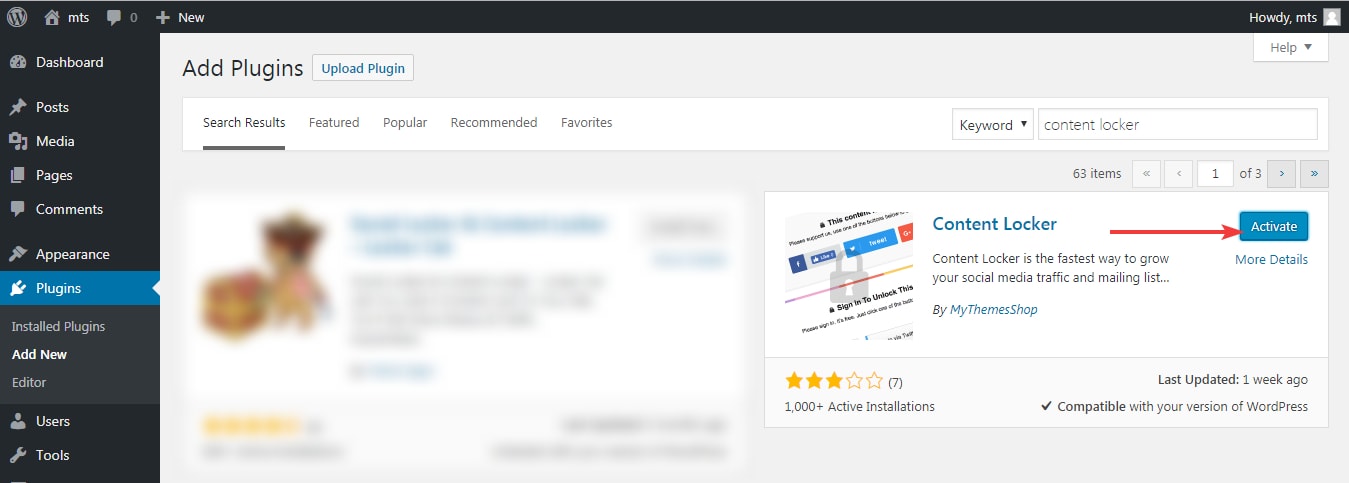
In just a few seconds, the plugin will install, and the button will change again, saying ‘Activate’ this time. Click on the activate button to start the activation of the plugin.
Depending on the plugin you choose, you might get a setup wizard or another screen. Setup the other plugin to finish the process.
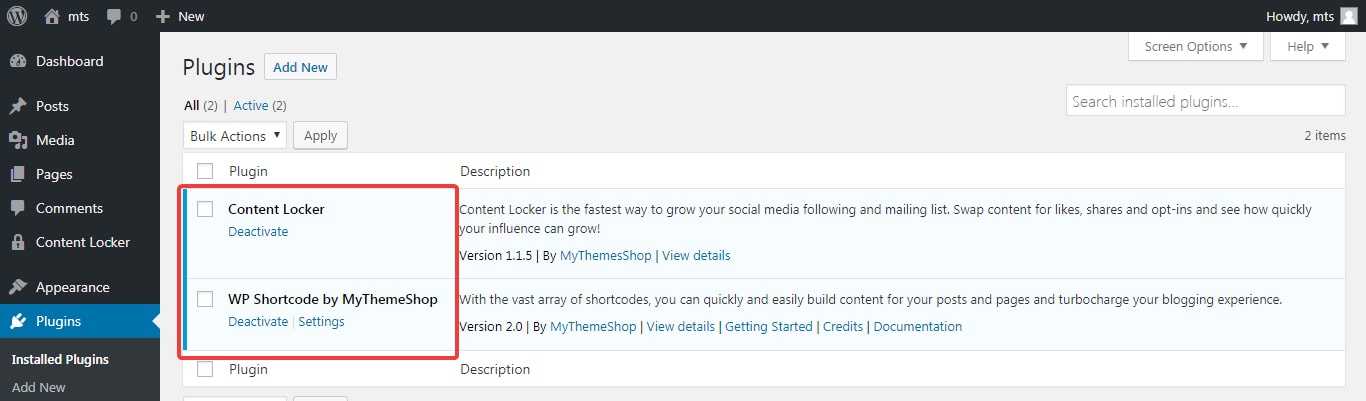
You can verify that both the plugins are installed by going to Plugins -> Installed Plugins menu and checking the list of plugins there.
Setting up the shortcode mapping
To start the mapping process, you need to know the shortcode that you want to map to WP Shortcode Pro. Each plugin is different, and the shortcodes they use will be different as well.
Some plugins will use just a shortcode without a parameter. For example:
[shortcode] content [/shortcode]
Some plugins might use one or more parameters in the shortcode. For example:
[shortcode parameter1="param1"] content [/shortcode]
In our example plugin, Content Locker, the shortcode can be found in its settings.
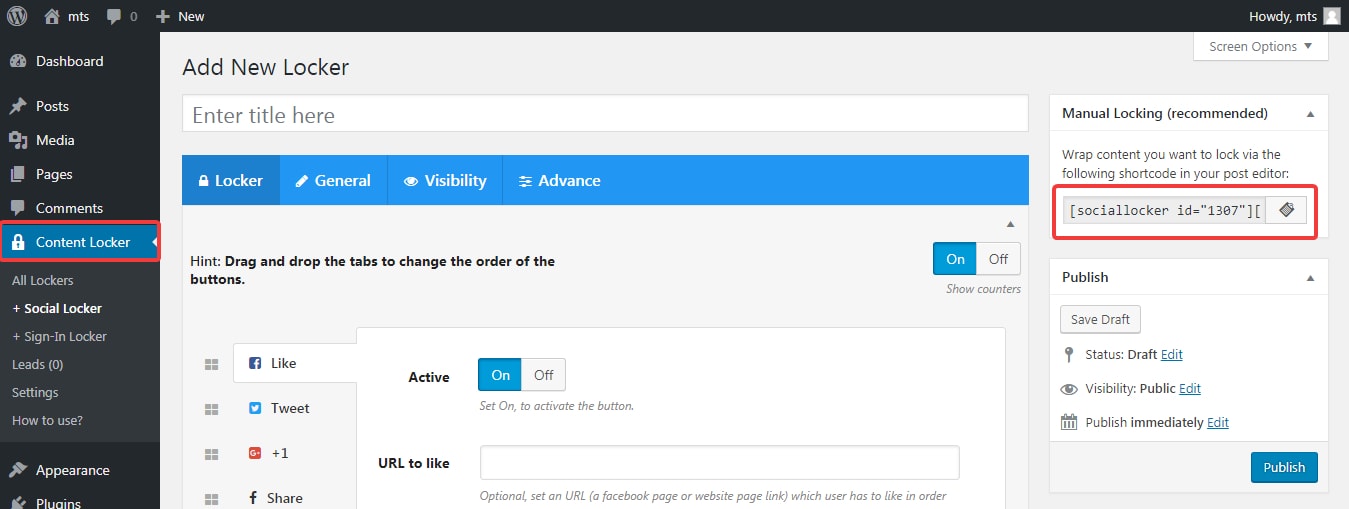
In the screenshot, the complete shortcode is not visible, but this is the complete shortcode.
[sociallocker id="1307"] content [/sociallocker]
The id 1307 represents specific settings in the content locker. If we save a different configuration of the content locker, then the id would be different.
Mapping the shortcodes
Now that we have the shortcode, we can start mapping the shortcode to WP Shortcode Pro.
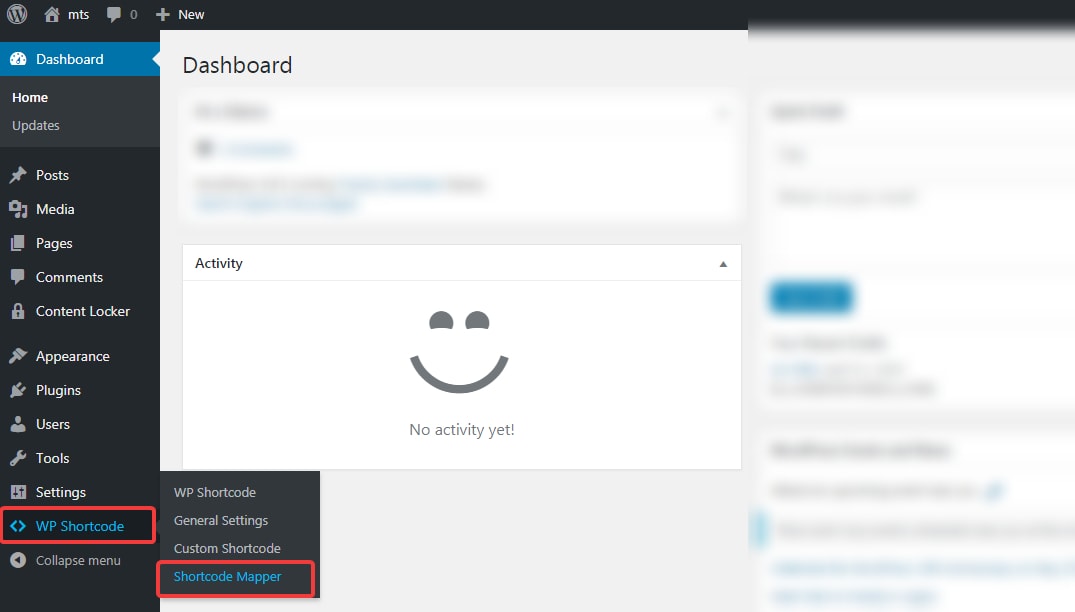
To start the process, use the side menu on your WordPress admin to locate WP Shortcode Pro, hover over it, and then click the ‘Shortcode Mapper’.
You will reach the following page.
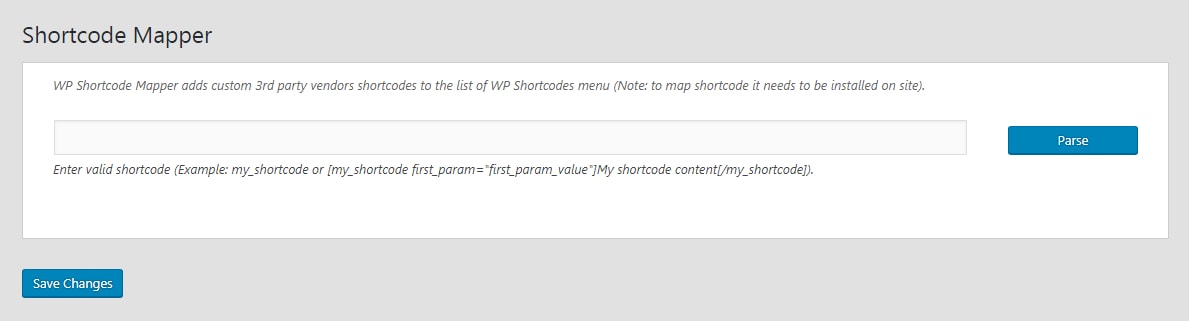
There is only field present, where we will paste the shortcode from Content Locker, then click the ‘Parse’ button.
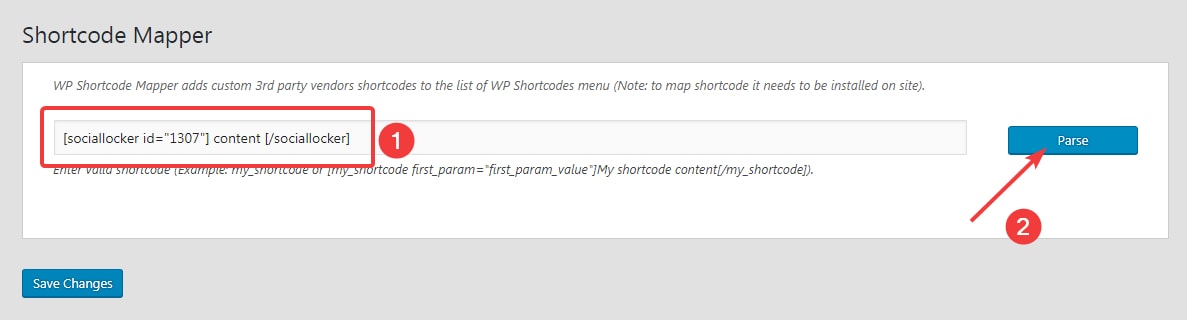
WP Shortcode Mapper will parse the shortcode and create the configuration for the shortcode.
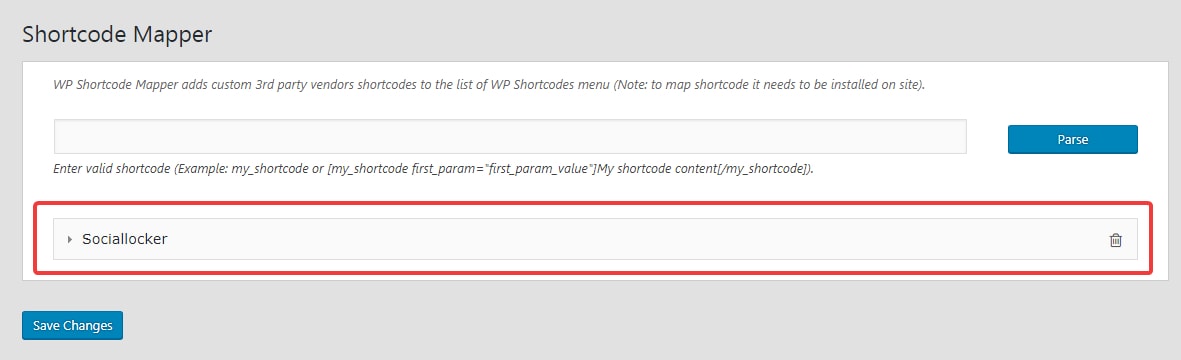
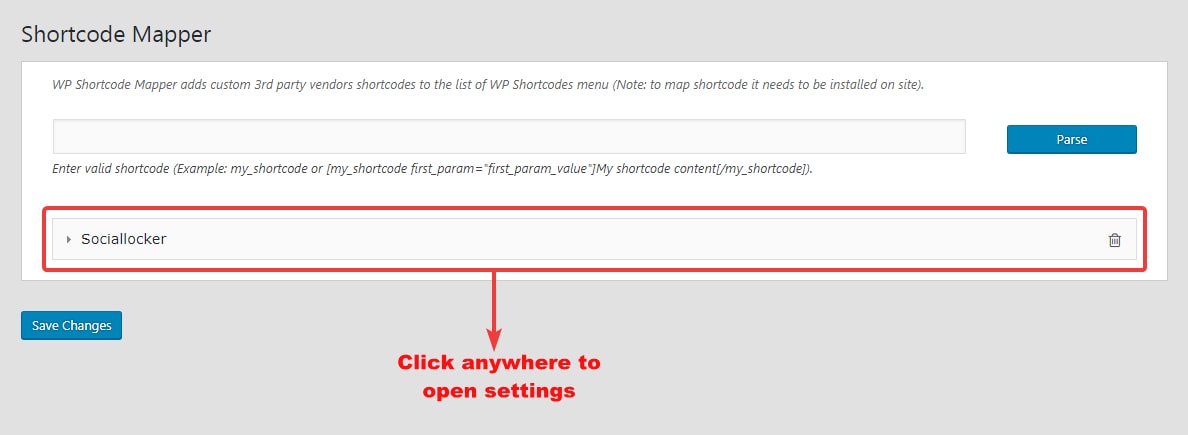
Click anywhere on the configuration to expand it.
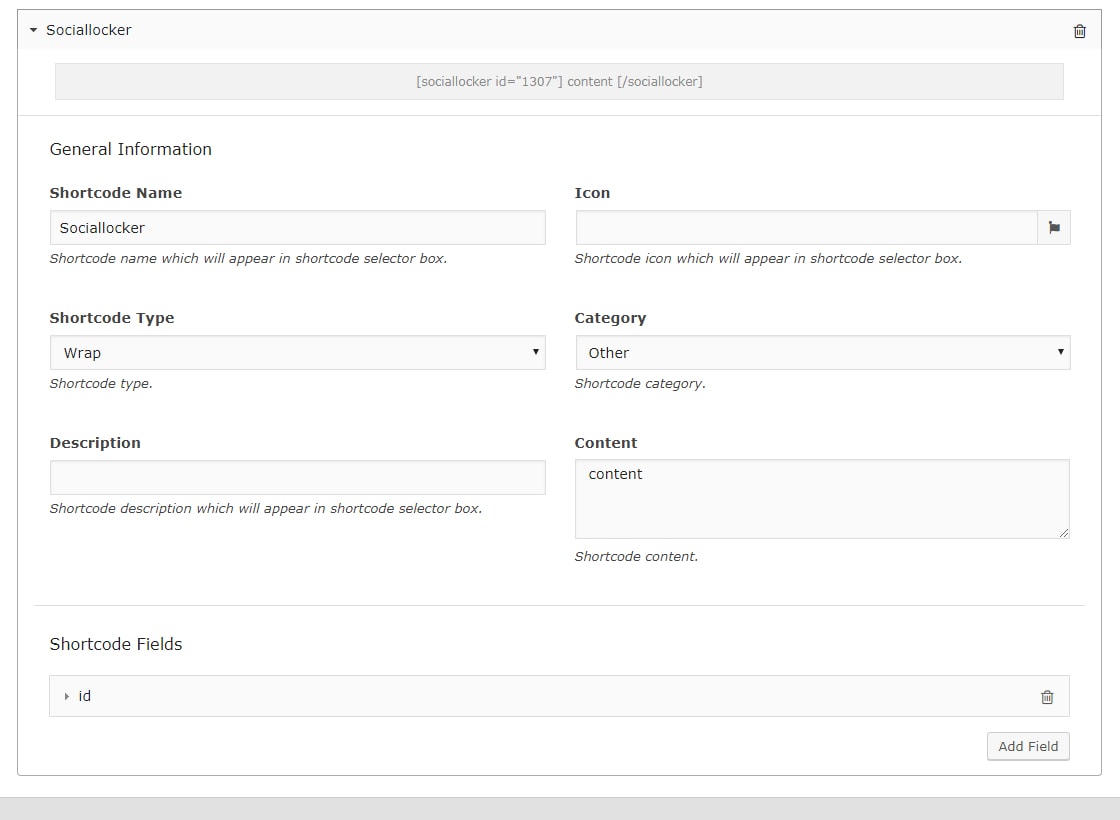
There are plenty of settings, but none of them are complicated. Let us understand the usefulness of each of them one by one. The screenshot will give you a brief overview.
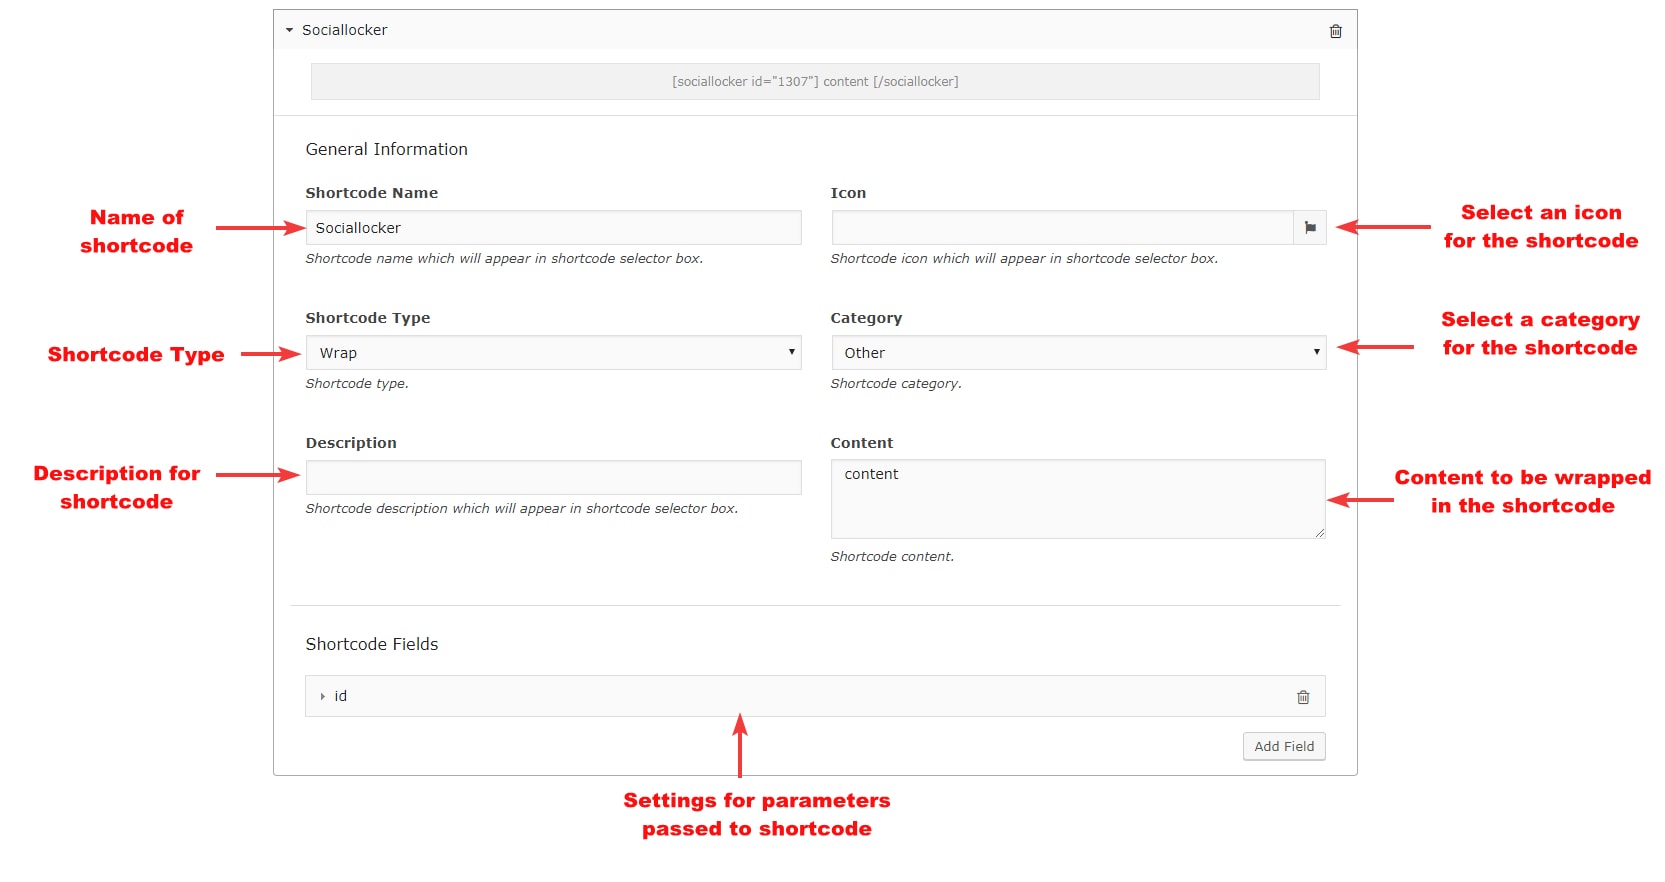
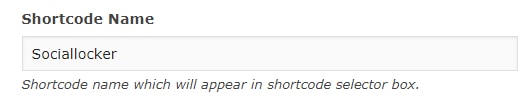
The shortcode name setting defines the name that will appear for this shortcode in WP Shortcode Pro. It will be prefilled, but you can always change it.
Shortcode Icon is the setting that lets you define the icon that this shortcode will use in the WP Shortcode Pro’s menu. You can select from hundreds of icon options.
![]()
![]()
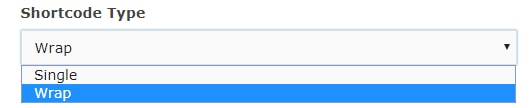
The shortcode type setting lets you define the type of the shortcode that you are mapping. This setting will be pre-filled based on the shortcode parsing.
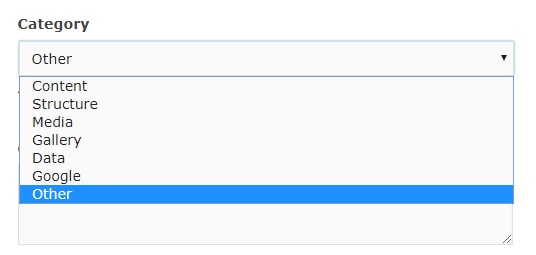
The shortcode category defines which category the mapped shortcode will appear in. You can assign it to any of the categories that are built in with WP Shortcode Pro.
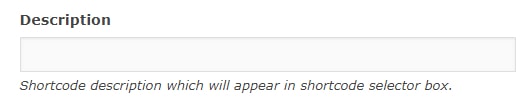
The description tab lets you define the shortcode description. The description appears in the selector box and should describe the shortcode briefly.
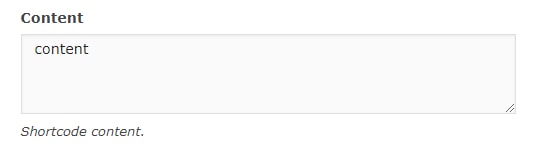
The content tab will hold the content that you want to place in the shortcode. You can enter any content here.
This covers all the basic settings of shortcode mapping. However, since this shortcode had a parameter, we can configure some additional settings.
The shortcode Fields represents the various parameters that are passed to the shortcode. In this example, the settings of the parameters appear like this.

Click anywhere on the section to open up its settings. Here is how the complete settings look like.
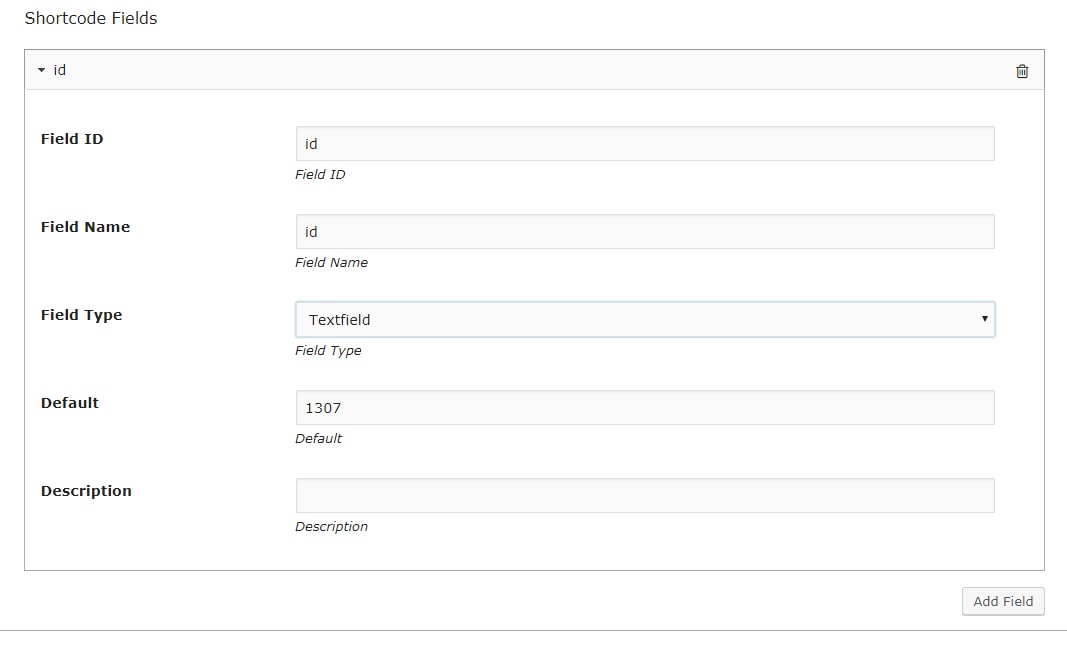
The Field ID and the Field Name can be left at default settings.

The field type shortcode lets you define the type of data you want to pass through the shortcode. There are several options available to choose from, each of which is suitable for a particular scenario.

The default tab lets you set the default value of the parameter being passed. In this example, the 1307 value came from our example shortcode.

The description option lets you set a description for the parameter being passed. If you have multiple parameters, then setting a description will help you identify the individual options easily.

You can also add additional fields to the shortcode mapping by clicking the ‘Add field’ button. Use this option only if the shortcode supports the additional parameters.

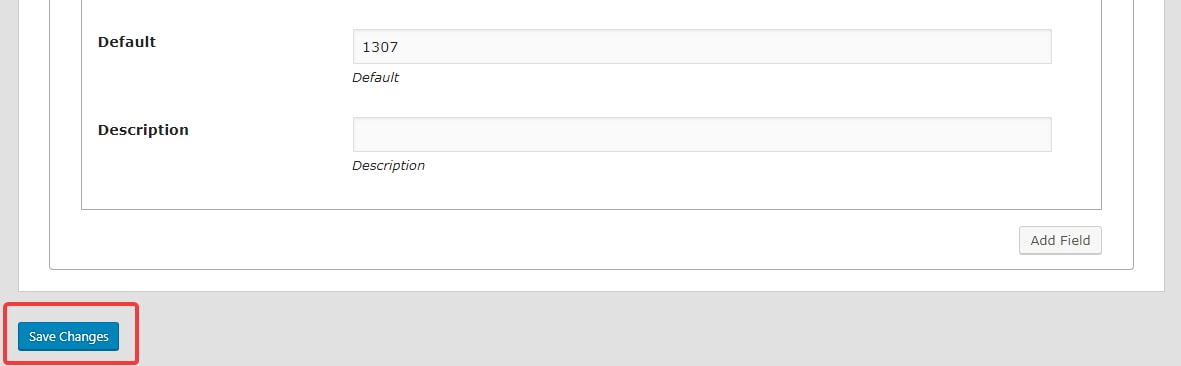
Once you have set up the shortcode mapping to your liking, press the ‘Save Changes’ button at the bottom of the screen to complete the process.
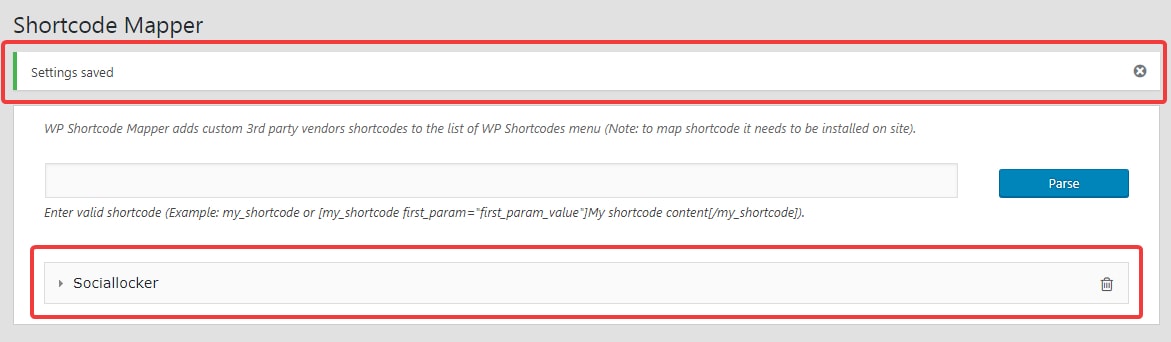
If you did everything right, you should get a success message confirming that the settings were saved. Also, you will be able to see the mapped shortcode in the settings window.
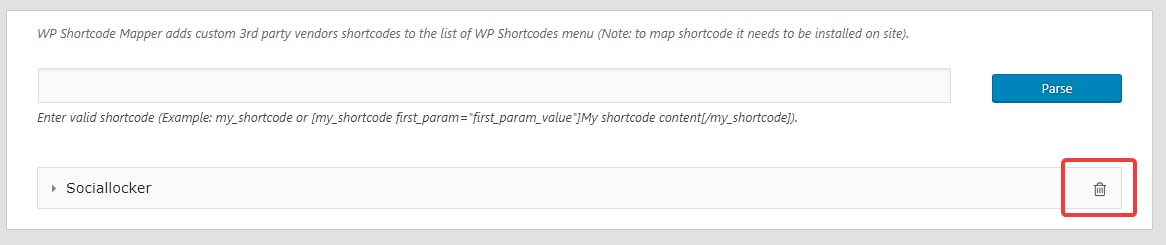
Deleting the mapping
If a situation arises where you have to delete a mapped shortcode, then you can absolutely do it. Just remember that deleting the mapping will only delete the mapped shortcode and the original shortcode will work normally.
To delete a mapped shortcode, click the bin icon on the right of the mapped shortcode and confirm your action. The shortcode will be deleted.
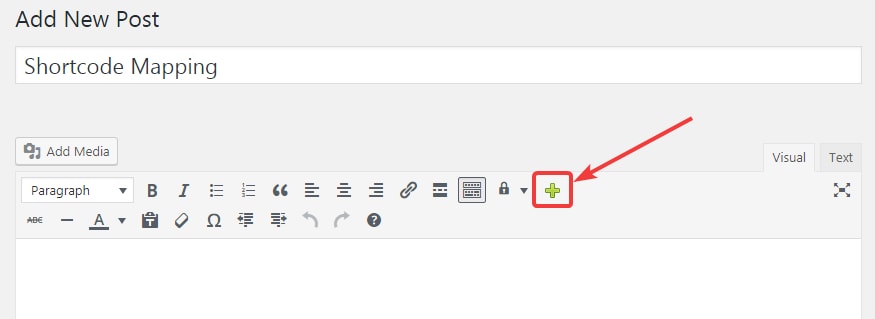
After successfully mapping the shortcode to WP Shortcode Pro, comes the time to use the shortcode. To do that, open up a new or existing post. For this example, we will use a new post. Click on the green plus icon to open up WP Shortcode Pro’s menu.
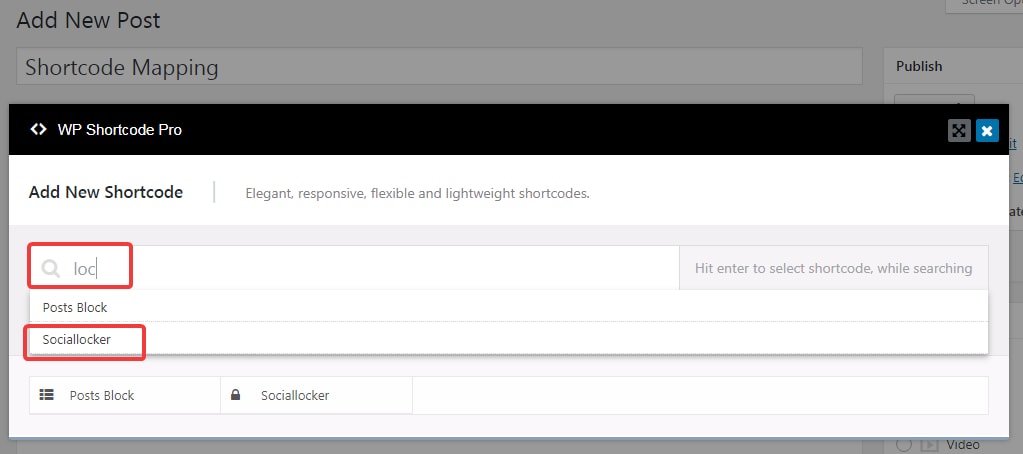
We will use the keyboard search option to find the mapped shortcode. For this example, we typed in ‘loc’ in the search field and voila, the social locker is available to use inside WP Shortcode Pro.
As we click on the social locker, we will open up its options menu, which looks like this.
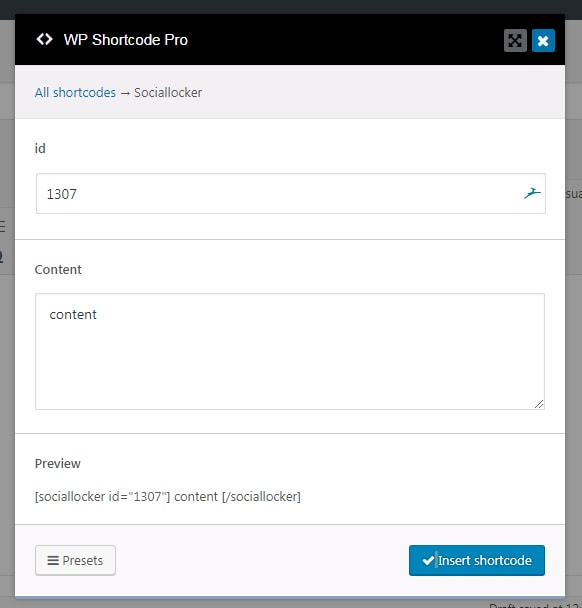
In this example, you can enter custom values for the ID, as well as the content. This helps with the mapping being flexible. Also, you can use the presets feature to create multiple custom settings and use them in a single click. The preview feature shows you how the inserted shortcode will appear in the post.
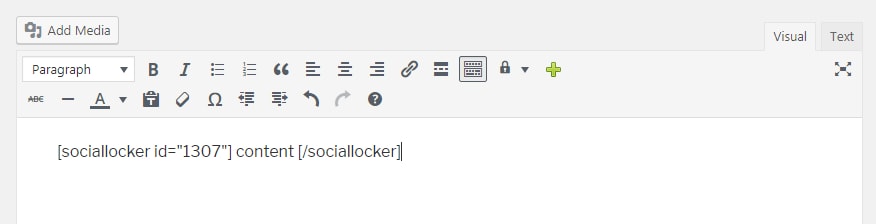
Press the ‘Insert Shortcode’ button to insert the shortcode in the post. Here is how it would look.
That’s it! These are all the steps that you need to follow to map an existing shortcode to WP Shortcode Pro. If you have any doubts or difficulties while doing this yourself, feel free to open a support ticket. Our helpful staff will be happy to assist you.
