As with any platform, it’s not uncommon to experience an error when uploading images to your WordPress site. This rather vague HTTP error can be somewhat difficult to decipher for most people.
Table Of Contents
- 1. What is WordPress HTTP Media Upload Error?
- 2. Possible Causes of the HTTP Media Upload Error Issue
- 3. How to Fix WordPress HTTP Errors: Easy Steps?
- 3.1. Solution #1: Refresh the Page
- 3.2. Solution #2: Switch Browser
- 3.3. Solution #3: Resize the File
- 3.4. Solution #4: Rename the Image File Name
- 3.5. Solution #5: Deactivate Plugins and Themes
- 3.6. Solution #6: Increase WordPress Memory Limit
- 3.7. Solution #7: Make GD Library Your Default WordPress Image Editor
- 3.8. Solution #8: Disable mod_security
- 3.9. Solution #9: Remove Custom Media Library Path
- 3.10. Solution #10: Check the Version of Your PHP
- 4. Wrapping Up
Fortunately, there are numerous ways to deal with the HTTP media upload issue. In this tutorial, we’ll look at some of the possible causes of this type of error and the recommended fixes.
But before we dive into the details, let’s first get acquainted with what WordPress HTTP media upload error is and some possible causes.
What is WordPress HTTP Media Upload Error?
WordPress HTTP media upload error is a code that signals an issue with the file upload process. Typically, this error occurs when you attempt to upload videos and images to the media library in your WordPress site.
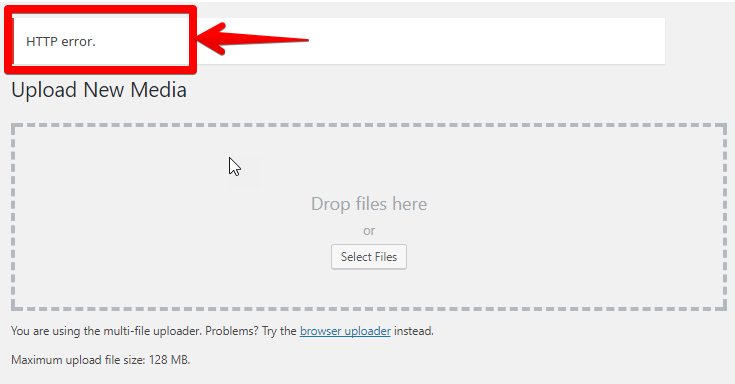
Once the error occurs, you’ll see a generic message. What’s so frustrating about this error message is that it’s completely unhelpful since it does not give any hint as to what may have caused it. Thus, as an end-user, it’s up to you to establish the source of the problem and come up with a solution.
Possible Causes of the HTTP Media Upload Error Issue
The HTTP error issue can arise due to two broad possibilities. These can be due to errors arising from the hosting provider or from the client’s side.
The client’s side errors could be related to an unstable internet connection, a filename with bad characters, or your login session.
Hosting errors, on the other hand, could be related to problems with low server resources, WordPress memory limit, or unusual traffic. Note that some WordPress hosts limit the size of the file you wish to upload.
How to Fix WordPress HTTP Errors? – Easy Steps
Now that we already have a hint of some possible causes of the HTTP media upload error, let’s look at some quick fixes that you can apply in order to get your website back on track.
Solution #1: Refresh the Page
At times the HTTP media upload error is just a temporary glitch that you might be able to fix in a matter of seconds. All you have to do is refresh your browser, by hitting the F5 key on your keyboard or clicking on the reload button.
Refreshing your browser’s page will fix HTTP errors that might have been caused by a poor internet connection causing the upload process not to complete.
Similarly, refreshing the page can suddenly kick you out of your session. This indicates that your login session has already expired. Here you must log in again and try to upload the media again. In all likelihood, you should not be able to see any error at this time.
Solution #2: Switch Browser
While this may seem like a no-brainer, there have been reports of HTTP media upload errors when using Google Chrome.
While Chrome is one of the best browsers, you can check whether the problem persists after switching to a different browser. If the problem does not go away, move on to the next solution.
Solution #3: Resize the File
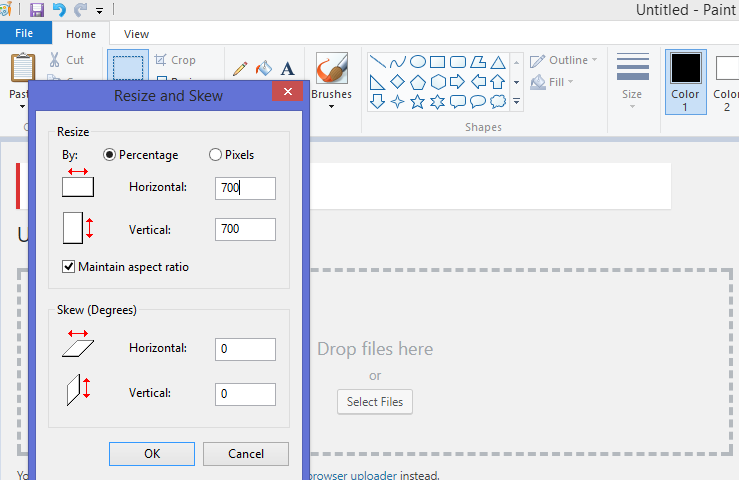
Sometimes your image may fail to upload because it has a large number of pixels. As such, you might be required to adjust the image size into something that’s more acceptable to see if it resolves the issue. If reducing the image works, try experimenting with different pixel counts so that you can get an image that is of suitable quality and one that does not bring the HTTP error.
There are numerous free online tools that you can use to resize your images. However, if you use Windows, you can use Paint to resize your image.
Mac users, on the other hand, can open and reduce the number of pixels in the Preview application.
Solution #4: Rename the Image File Name
This is the type of error that makes you want to curse yourself. While it is sometimes possible to make these errors as we type, special characters and accent letters can sometimes lead to HTTP media upload errors. The same goes for files with insanely long names.
Unfortunately, it’s impossible to rename your image file once it has been uploaded. So what you’ll need to do is rename the file on your device and then upload it again.
To ensure that you do not fall into this menace, ensure that you only upload image files with letters, numbers, and dashes. It’s also a good idea to make it a habit of adding sequential numbers at the end of the image files.
For example, image-file-1.png, image-file-2.png or image-file-3.png. Adding a dash ensures that Google does not read the name of the file as one word and hence won’t hurt your SEO.
Solution #5: Deactivate Plugins and Themes
Sometimes the HTTP media upload error can arise after installing a plugin or a theme. To ensure that this is not the cause of the problem, your best bet is to temporarily deactivate any image optimization plugins that you have recently installed and switch your theme to default.
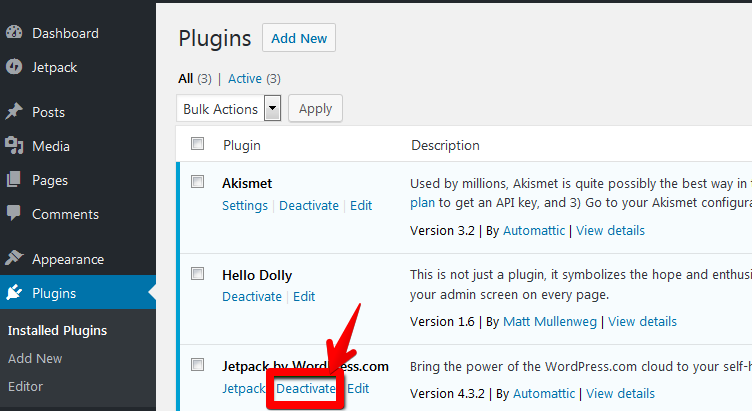
Note that image optimization plugins are typical culprits when it comes to this issue. If the error disappears, its time to look for alternative image optimization plugins. You might also need to create a backup for your entire website before switching to a theme.
However, if the problem persists, it’s time to move on to the next solution.
Solution #6: Increase WordPress Memory Limit
One of the key causes of WordPress HTTP media upload error is the lack of memory. As a result, the background upload process does not complete successfully and can even lead to a 503 service unavailable error.
Fortunately, fixing this error is super easy. All you have to do is type this line into your wp-config.php file.
define ('WP_MEMORY_LIMIT', '256M');
Note that the above code only adds the memory limit to 256 MB. You can also allocate 512MB memory in each file by adding the following code.
define ('WP_MEMORY_LIMIT', '512M');
Important to note, however, is that these codes will only be effective if the memory is available on the webserver. You should, therefore, ensure that you verify the maximum available memory limit in your server.
Solution #7: Make GD Library Your Default WordPress Image Editor
Did you know that WordPress uses two modules to process images? Yes, that’s right. These modules are known as Imagick and GD library. WordPress may use either one of them, depending on which one is installed on your server.
However, Imagick is known to cause HTTP media upload errors particularly. This is because there are very few resources allocated for the Imagick module, which causes it to drain the available memory.
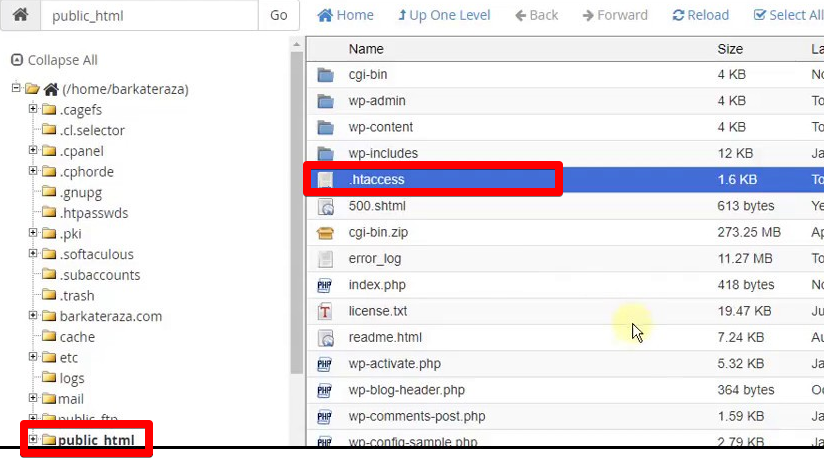
To circumvent this error, just add the following line to your .htaccess file.
MAGICK_THREAD_LIMIT 1
This should solve the issue right away. However, if the problem does not disappear, the other option is to make the GD library your default editor.
It’s pretty easy. All you have to do is add the code below to your theme’s functions.php file.
function hs_image_editor_default_to_gd( $editors ) {$gd_editor = 'WP_Image_Editor_GD';$editors = array_diff( $editors, array( $gd_editor ) );array_unshift( $editors, $gd_editor );return $editors;}add_filter( 'wp_image_editors', 'hs_image_editor_default_to_gd' );
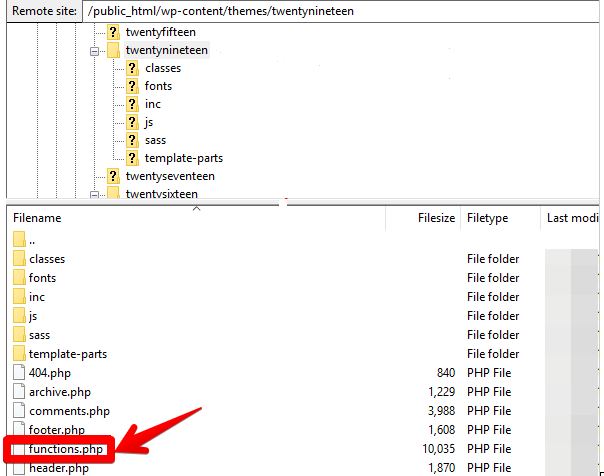
Save the changes once you are done and try uploading your file again. If this fix fails to work, erase the code, and move onto the next solution described below.
Solution #8: Disable mod_security
Mod_security is an open-source firewall that’s run by some servers to add a layer of security to hosted websites. However, despite its usefulness, it can, at times, cause problems with the WordPress upload dialog, making it responsible for HTTP media upload errors.
Fortunately, this feature can be disabled by writing the following code at the top of the .htaccess file on the server.
SecFilterEngine OffSecFilterScanPOST Off
Adding the above code should disable mod_security on your server and allow you to upload your media files.
Solution #9: Remove Custom Media Library Path
There’s a slight chance that the HTTP media upload error is as a result of an out of place media path. This is a common occurrence, especially after migrating your site to another hosting service.
By default, your media should be stored in /wp-content/uploads folder (broken into month-and-year based folders). This makes it easy for WordPress to know where to store your media files. To ensure that everything is okay, do the following:
- Go to Settings>>>Media on your WordPress dashboard.
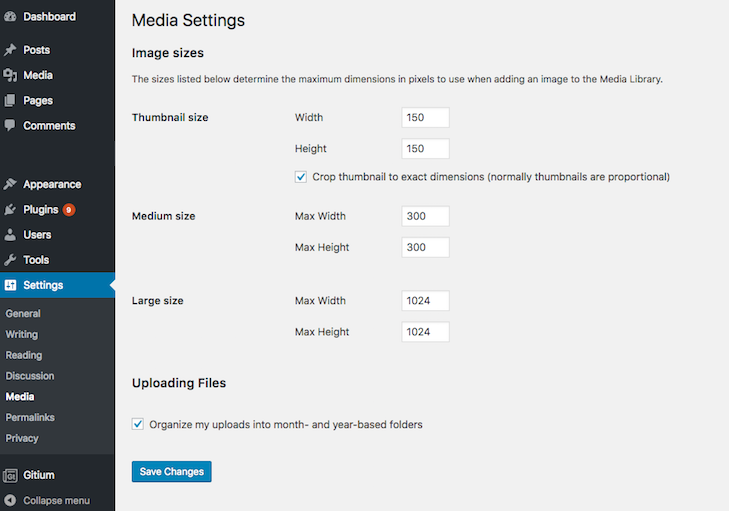
Check whether there is a path value listed. If it’s there, hit delete and then “Save Changes.”
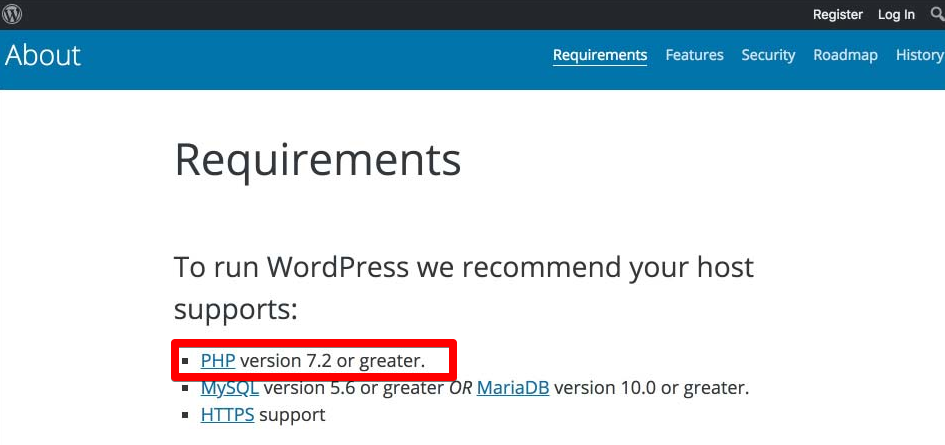
Solution #10: Check the Version of Your PHP
WordPress requires that you have at least PHP 7.2 or higher for your website to run smoothly. Therefore, if you haven’t updated your server, you may keep running into HTTP errors every time you want to upload images to the WordPress media library.
To ensure that you do not get into this problem, go to your hosting provider’s cPanel to check the PHP version they are using.
Wrapping Up
Getting WordPress HTTP media upload error is one of the most devastating feelings ever and can spell the end of your workday. The good thing is that with the right tips and tricks up your sleeve, and you can correct the issue in a matter of minutes.