WordPress has a whole slew of plugins fully capable of optimizing images for SEO purpose. They are good enough to make your site load fast and appear attractive to users.
However, at times you may not be able to use them properly due to some common image issues, which can further upset your day-to-day blogging experience.
These image errors not only slow down the websites but also damage the audience engagement, which in turn affects the overall conversion rate.
Should you want to double check that your blog loads fast and the user experience remains intact, then pay attention to these image errors and learn to handle them properly.
In this guide, we will discuss all the common image issues in WordPress and how to fix them in a hassle-free manner. Bear them in mind without any failure for a pleasant experience.
1 How To Upload Images In WordPress Site?
In order to make your blog posts look attractive and engaging to users, you need to have relevant images in place. Often, the process is simple and doesn’t require any hardcore technical skill to forge ahead.
There are two ways in which you can upload images on your site:
1.1 Drag & Drop Method
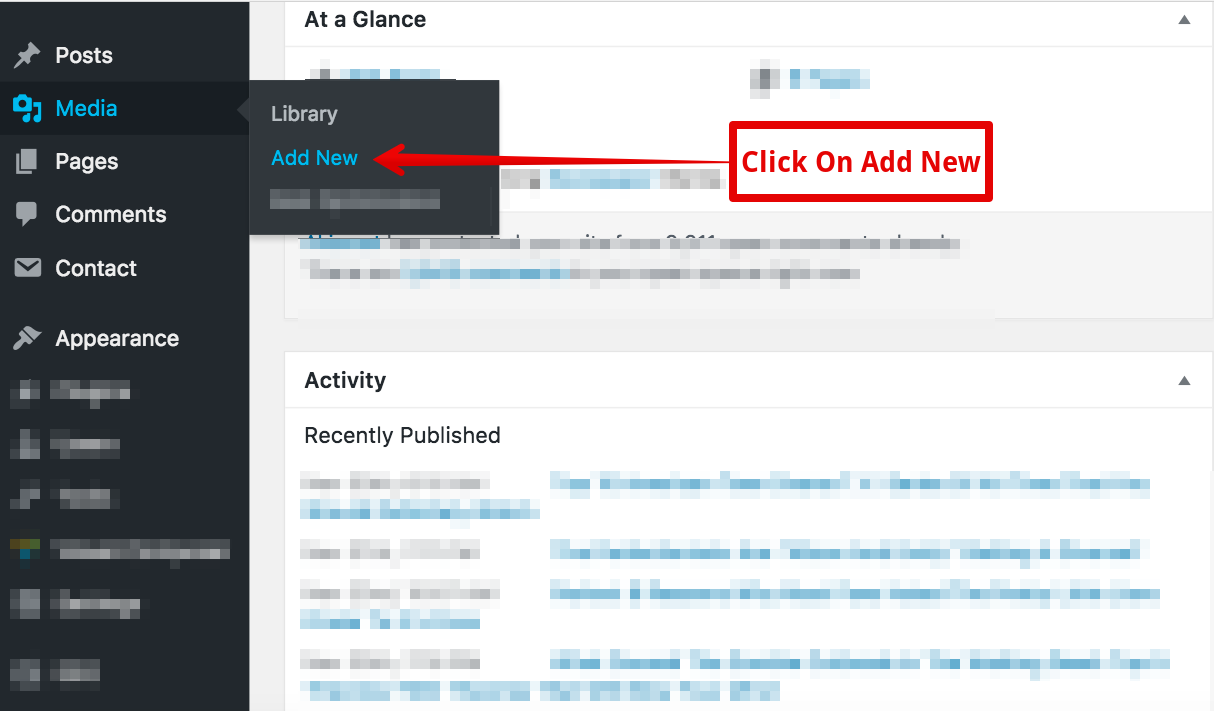
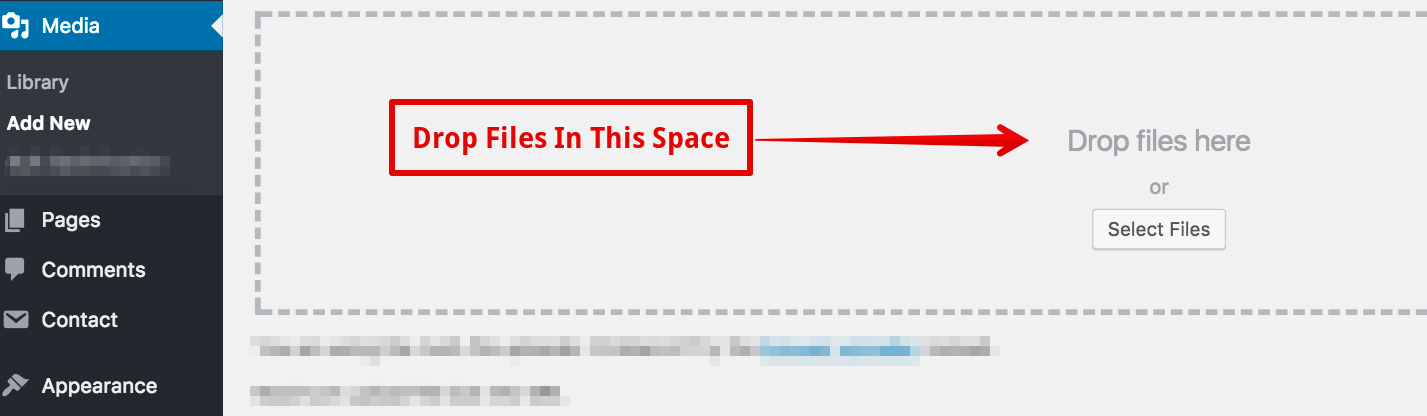
You can simply go to your media and click on Add New:
Once you do it, a new window will open on your dashboard. You can easily drag any media file from your computer and drop it here:
1.2 Select Media File From Computer
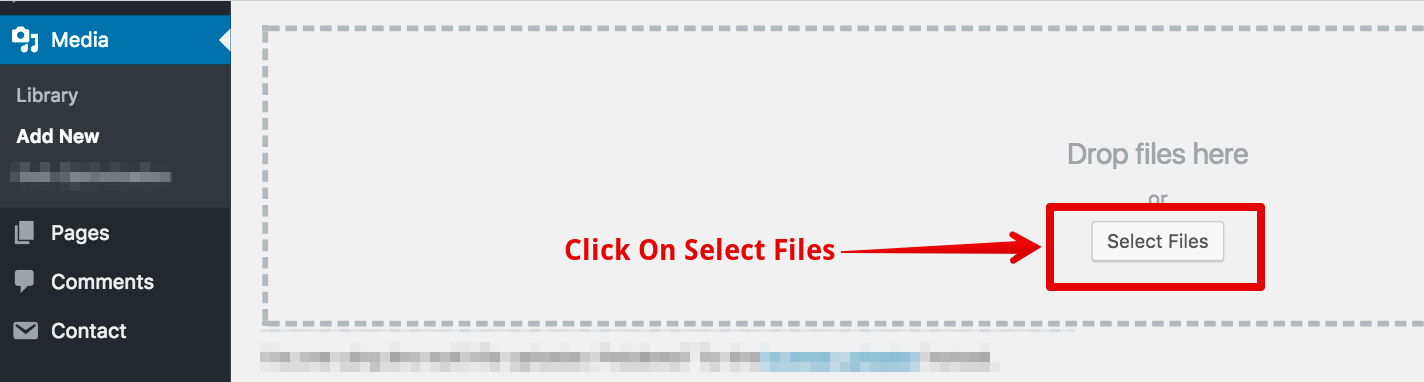
In case you’re not comfortable with drag & drop method, then you can use another method to upload images to your site. Go to Media on your WP dashboard and select Add New:
Once you are here, click on ‘Select Files’ and upload any image that you want from your computer:
The process is easy to understand and doesn’t take much time.
2 How To Align Images In Box Or Column
Whenever you log in to your website dashboard and access media library, you will see all the images that you have uploaded to the web server thus far.
Typically, these images are aligned in the box form; however, you can change the alignment and keep them in column form.
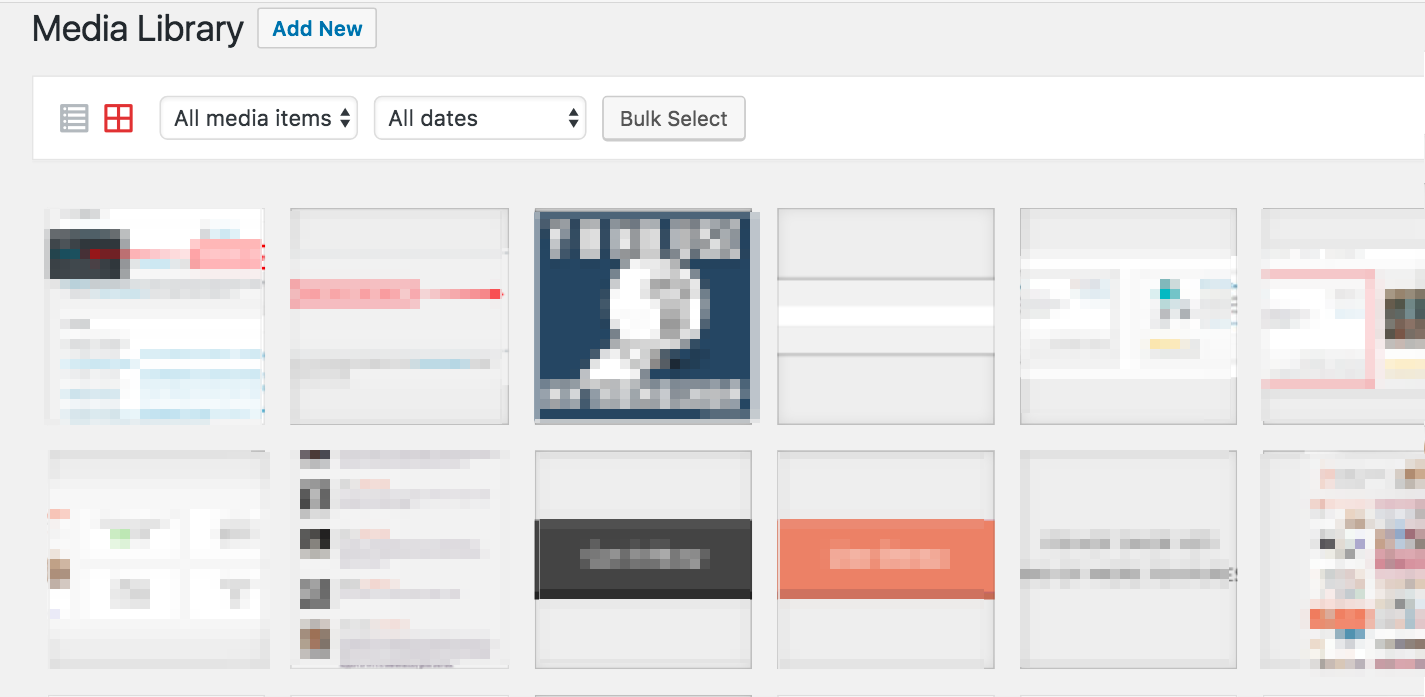
The standard media library appearance in which the images are aligned in box form is like this:
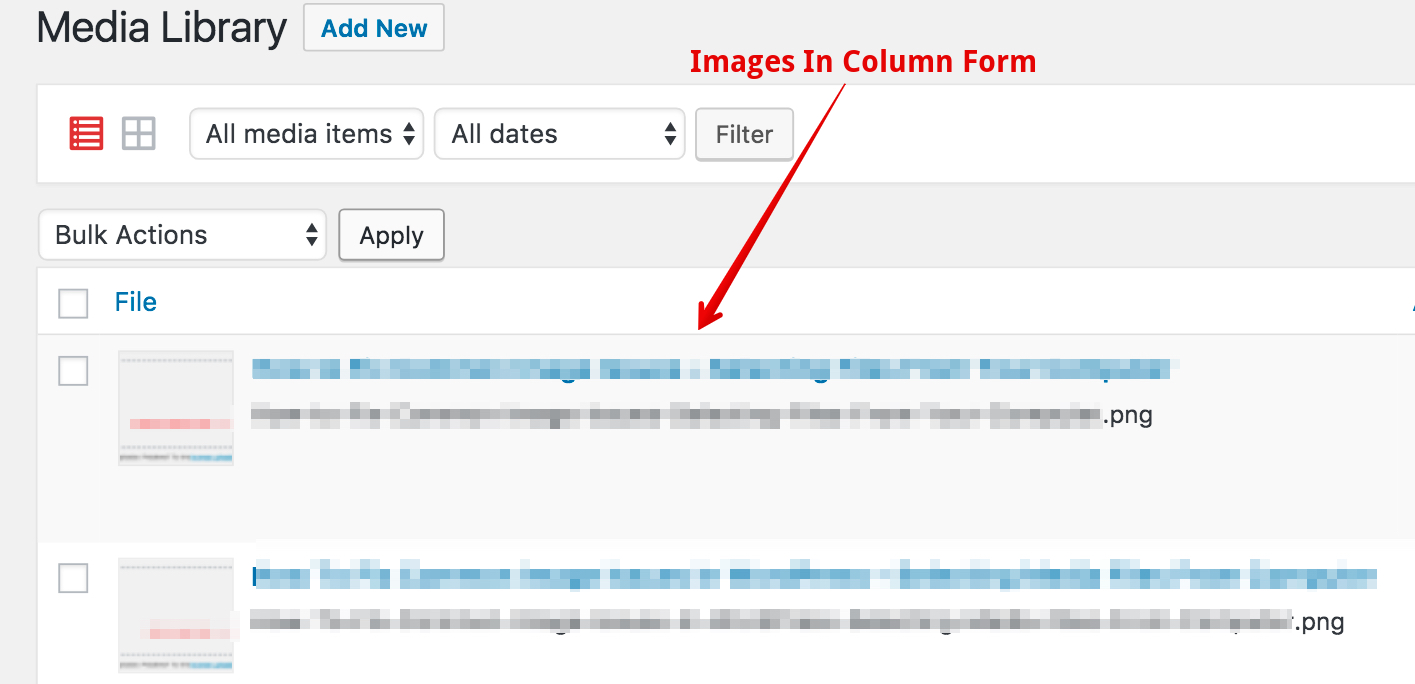
If you wish to align the images in column form, then you can select column option from the dashboard. The moment you click on it, all the media files will align in the column form:
You can use this method to change the image outlook in your blog’s media library.
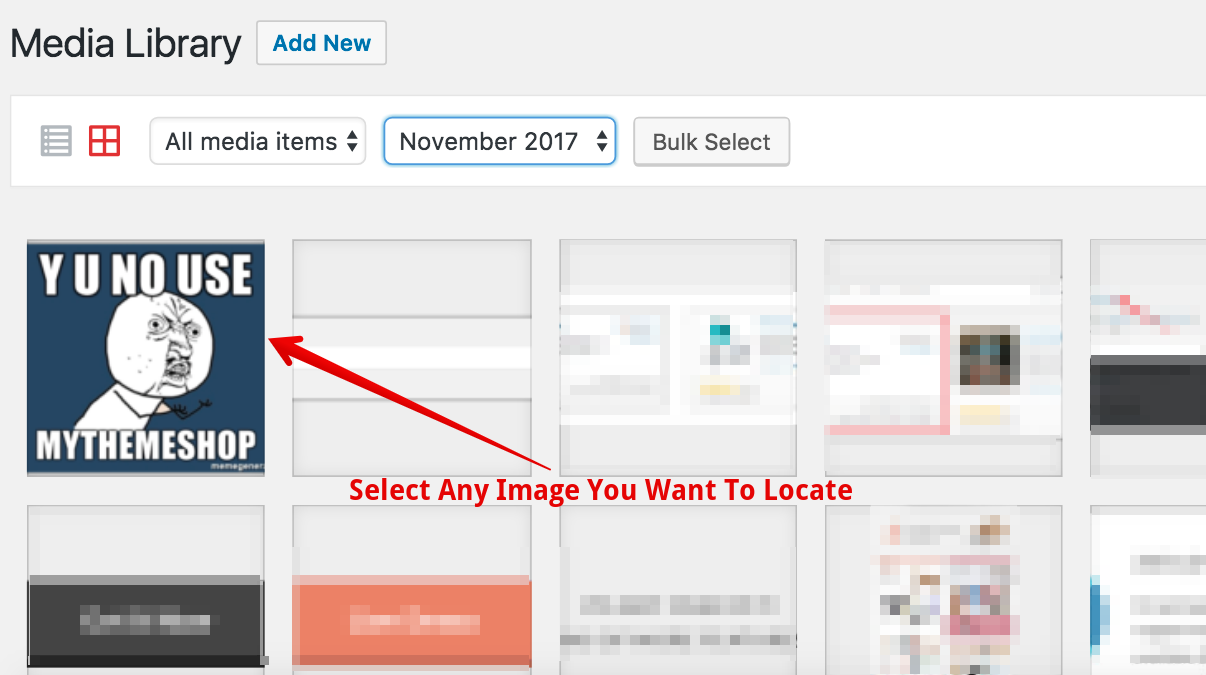
3 How To Locate Images On WordPress Site
At times, you may want to know the exact location of any image uploaded to your website. In that case, you can simply go to the library and click on the respective image which you want to locate:
Once you click, a new window with attachment details will open:

In this window, you can see a few options on the right side of the dashboard. While the first option tells you the exact URL of the image, the last option tells you the post in which that image was uploaded:
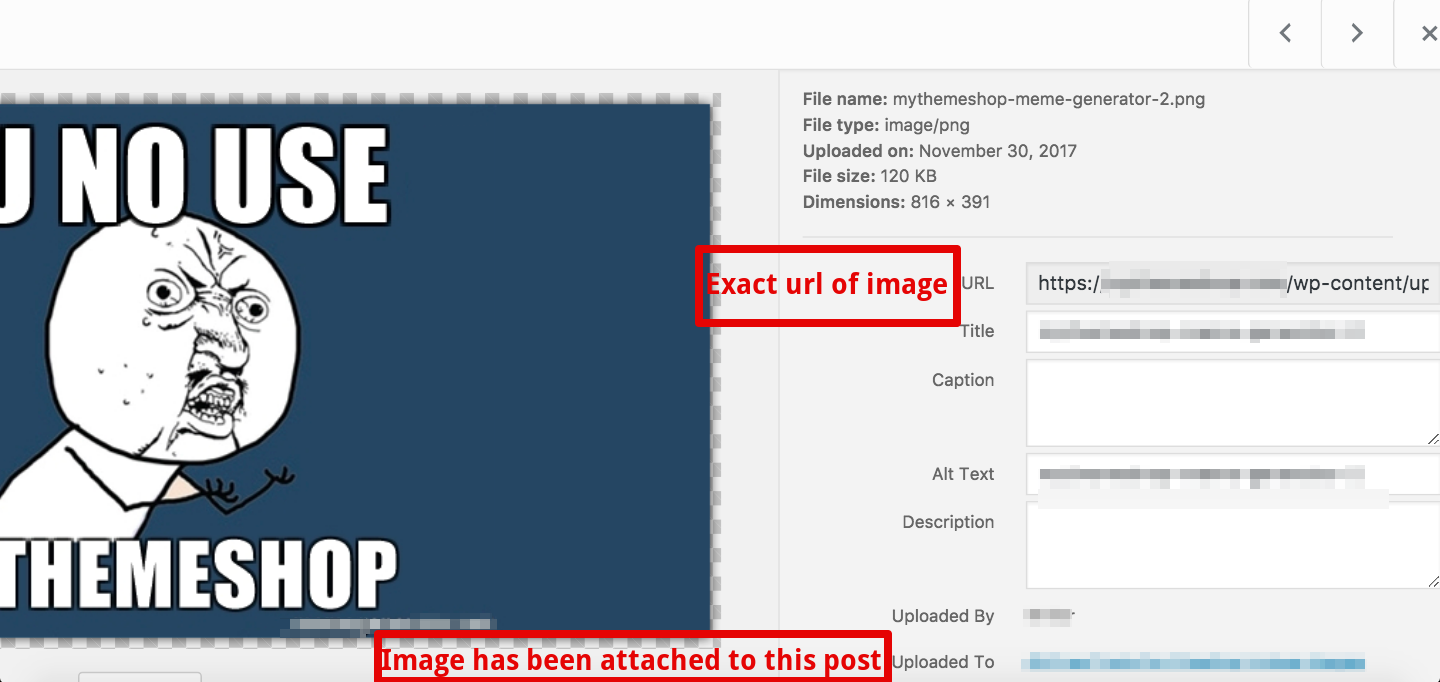
With the help of these two options, you can easily find out the exact location of any image on your website.
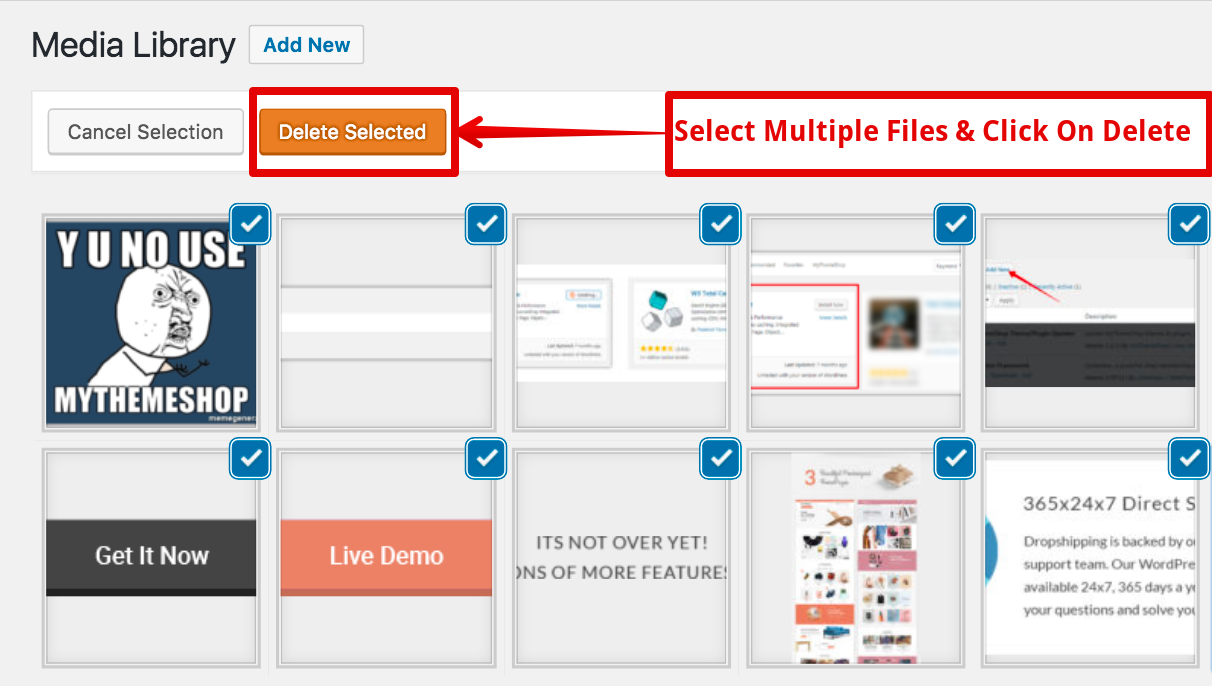
4 How To Delete Multiple Files At Once
If you have uploaded any wrong image on your blog or multiple copies of the primary image, and want to free some space on the web server, then it’s advisable to delete unnecessary files.
Instead of taking the trouble to access the web server via FTP, you can execute this process right from your WP dashboard.
Just go to Media and click on the library. Now, select multiple image files using Bulk Select option and click on Delete option:
If you are using shared web hosting with limited server space, then this step can reduce your site load time and also improve the overall performance of the site.
5 How To Edit Image In Library
It’s not necessary that all the images that are uploaded to your site are in line with the theme and post structure. Make sure you edit these images so that they can look attractive and improve the user engagement.
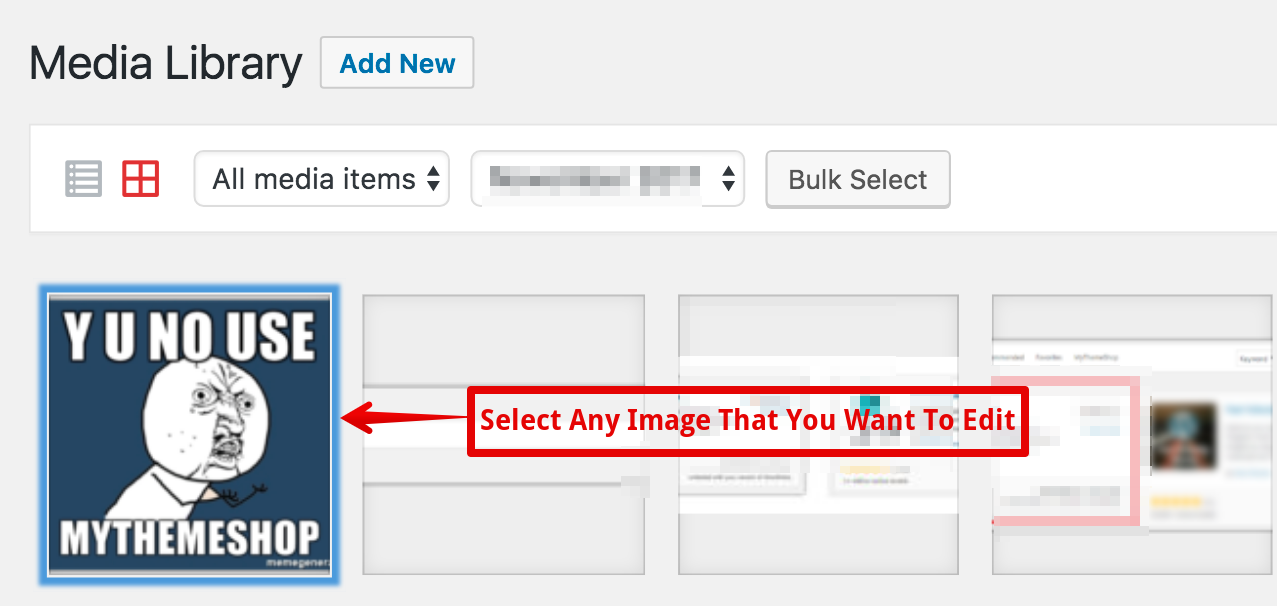
What you can do is make specific changes in the image library itself. For that, first go to Media and select Library:
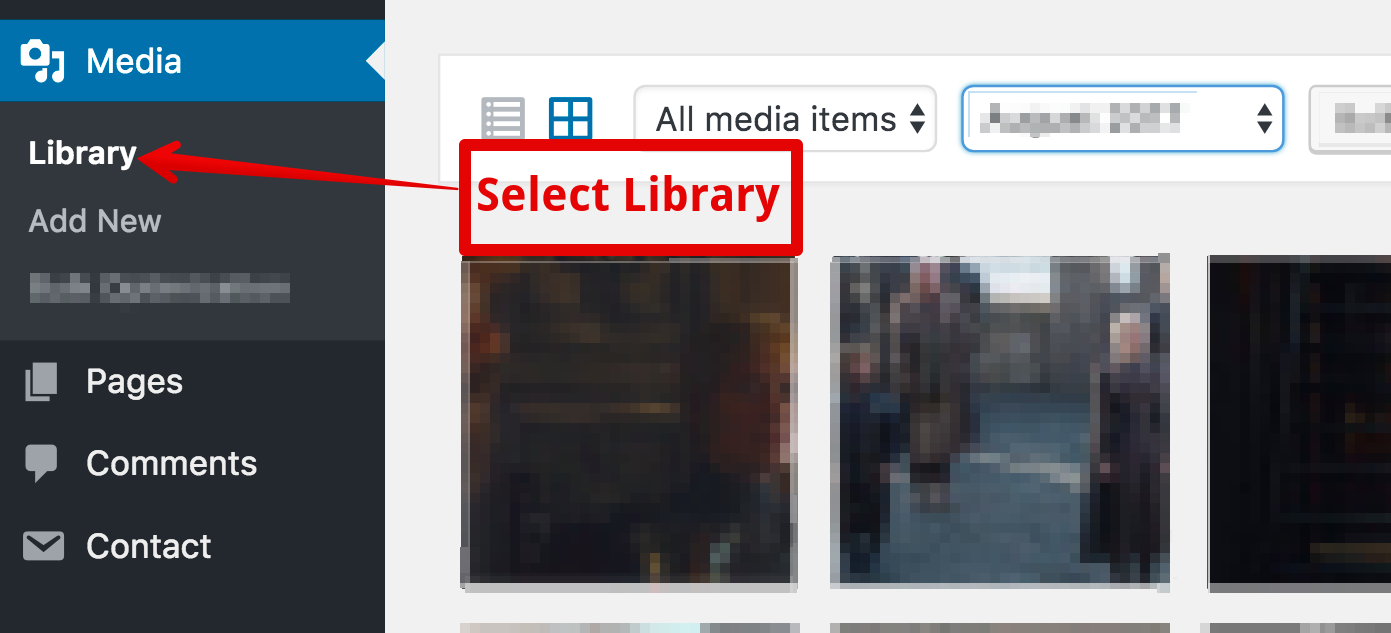
Once you are in Media Library, click on any image that you want to edit:
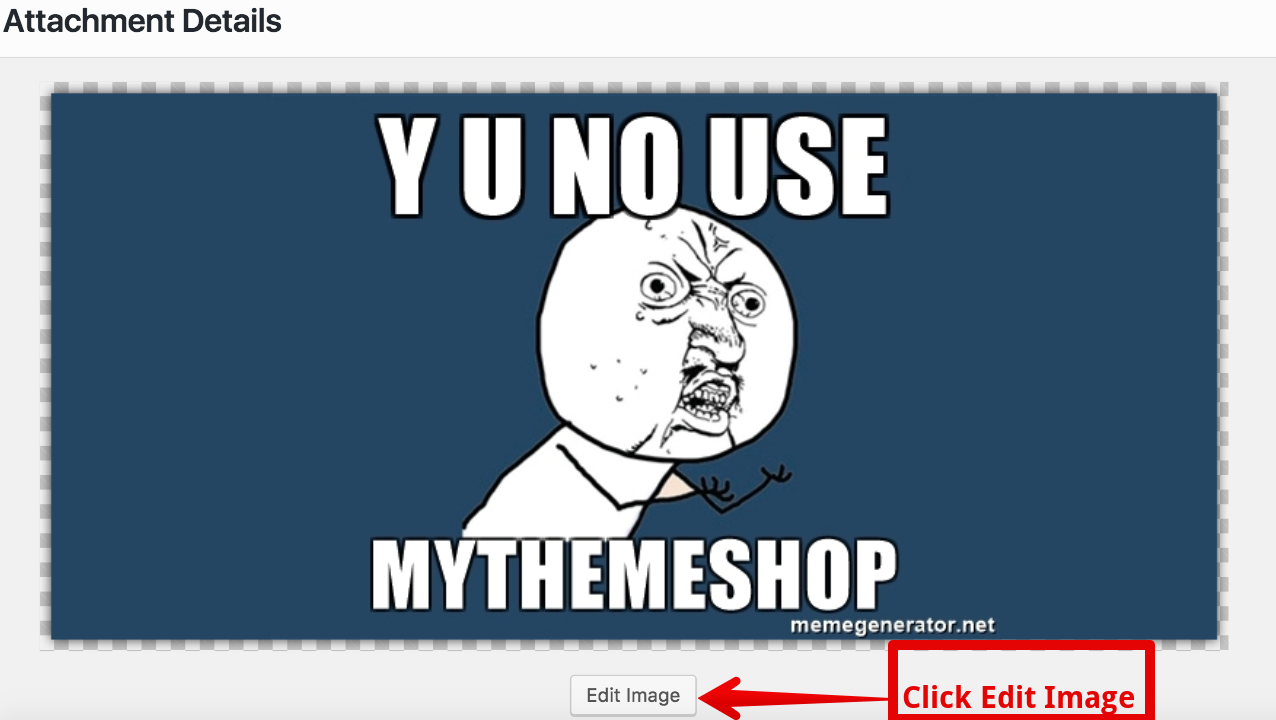
As soon as you select the media file, a new window pops up where all the attachment details are accessible. Click on Edit Image:
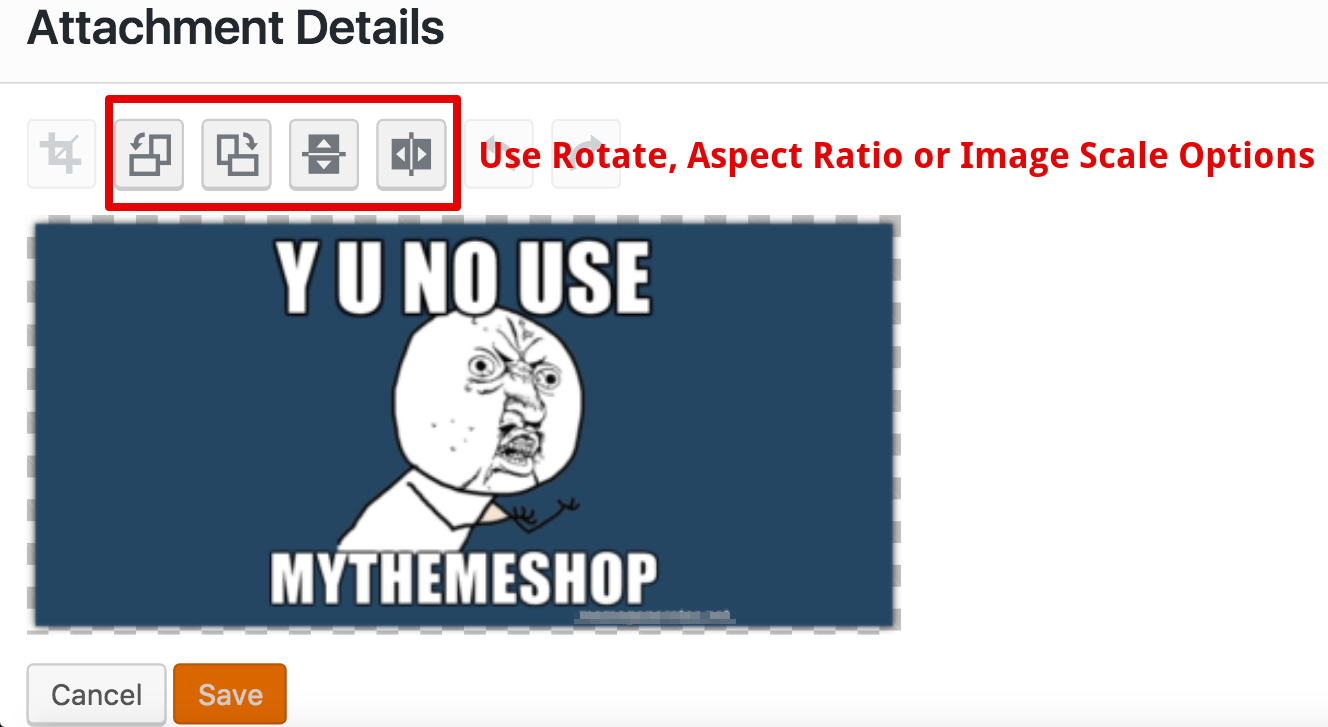
Now, you can make multiple changes as per your requirements.
On the left side of the window are options, such as rotate, aspect ratio, and image scale:
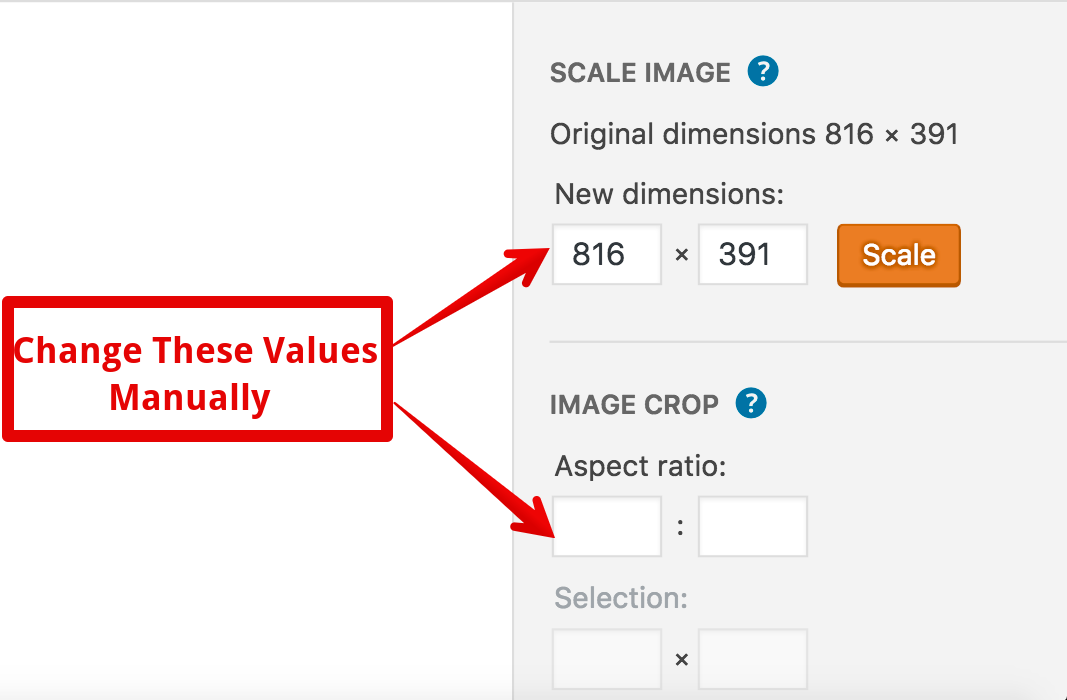
On the right side of the window, you can find different options to assign a manual value to the image dimensions and aspect ratio:
Use these edit options and then click on Save:
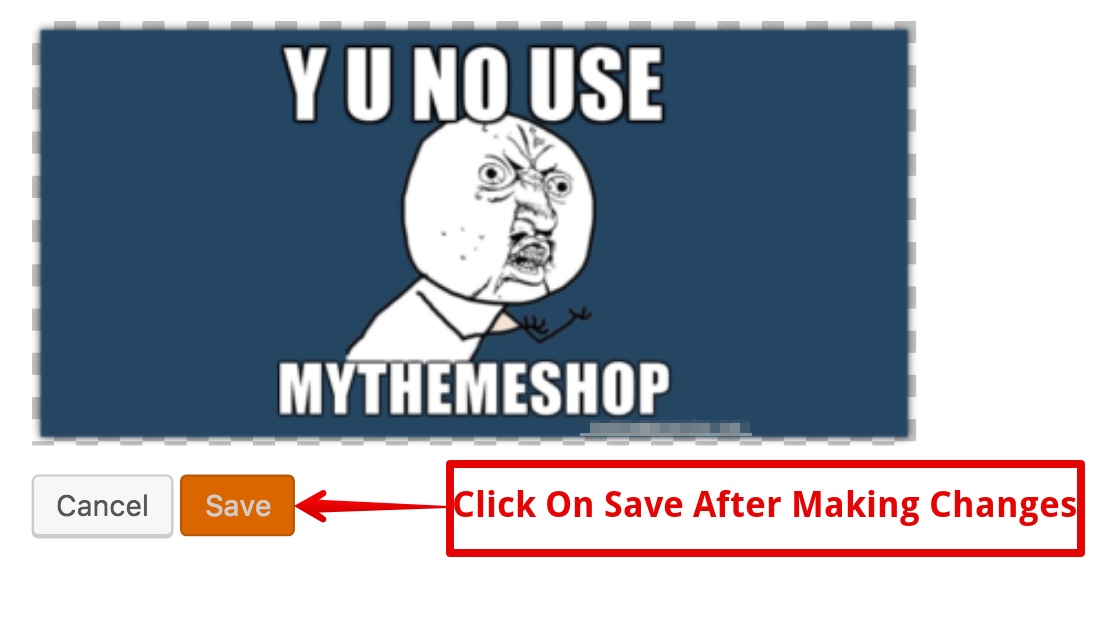 This process can be repeated as many times as you want with multiple images.
6 How To Add Images To A Blog Post
It may sound easy, but many users who have just started working on WordPress face difficulties while adding images to different blog posts. If you have ever encountered any trouble while adding images to any blog post, then pay attention to the below-mentioned guide.
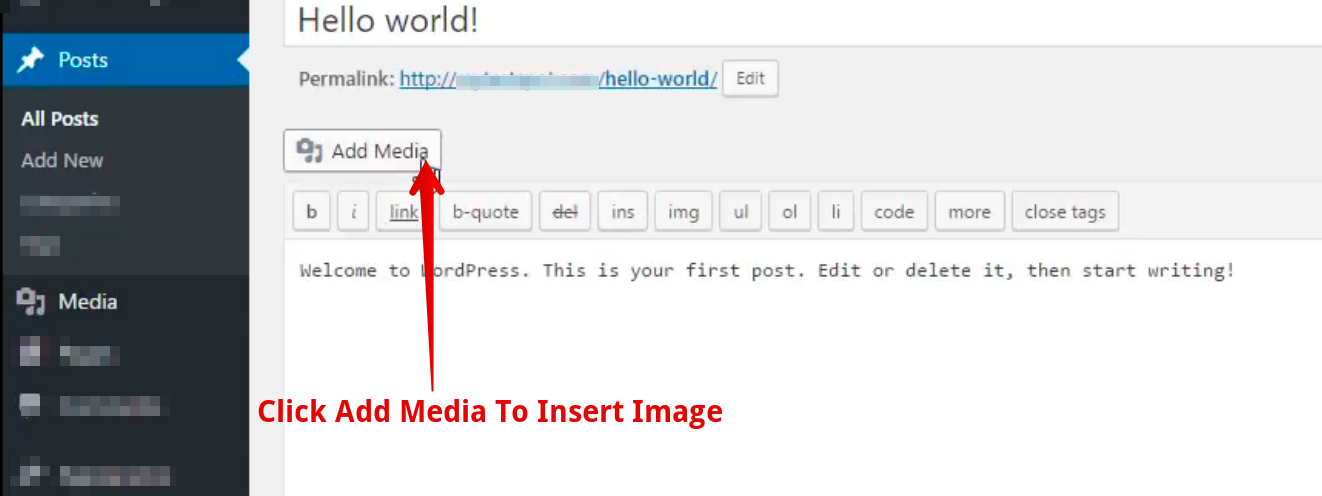
Typically, a blog post without images looks like this:
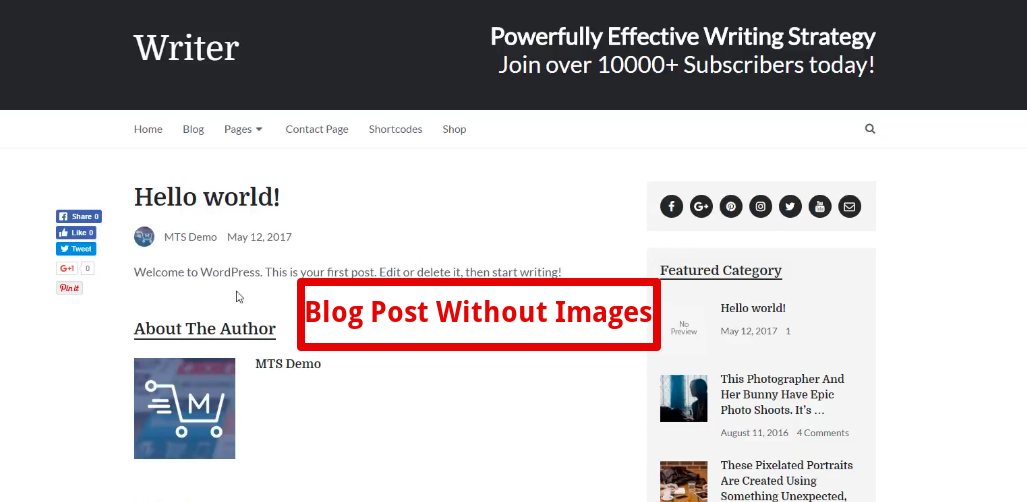
You can add images to make it look attractive. For this, click on Add Media:
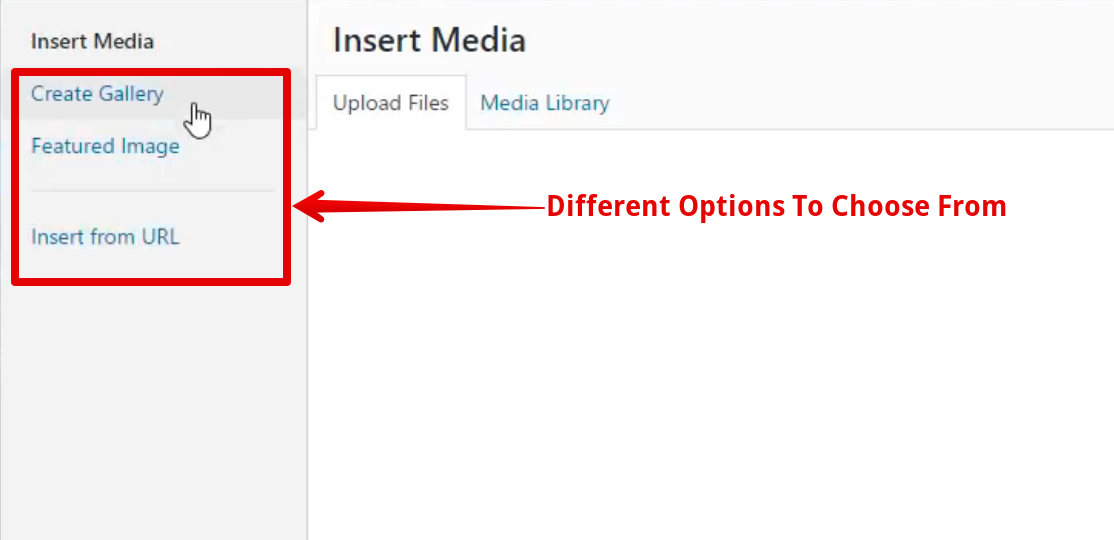
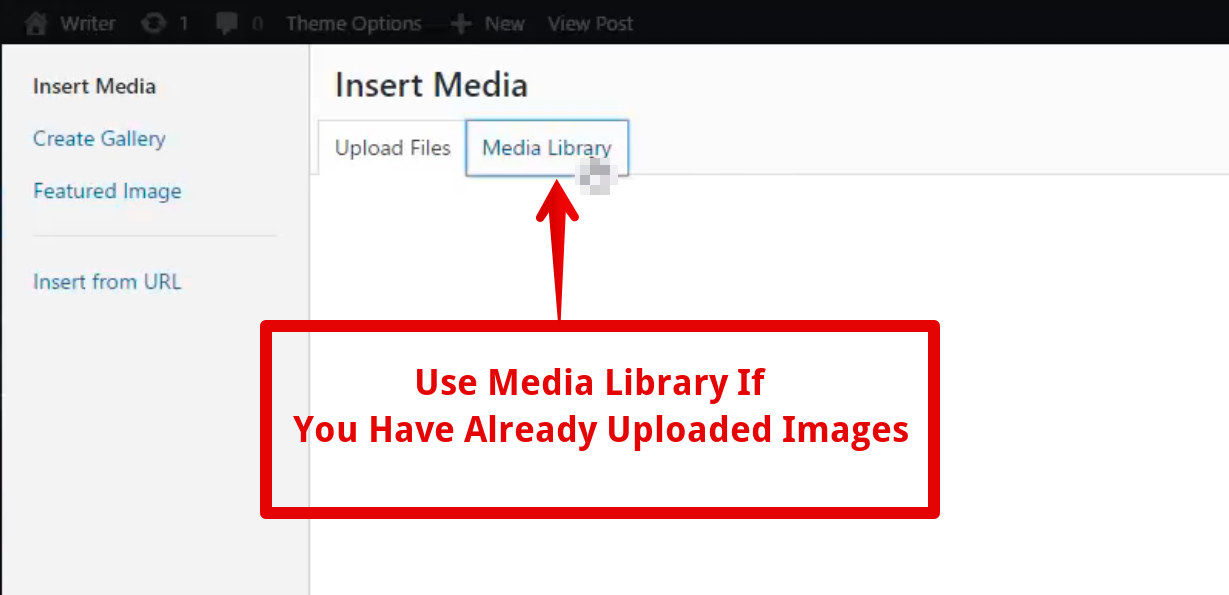
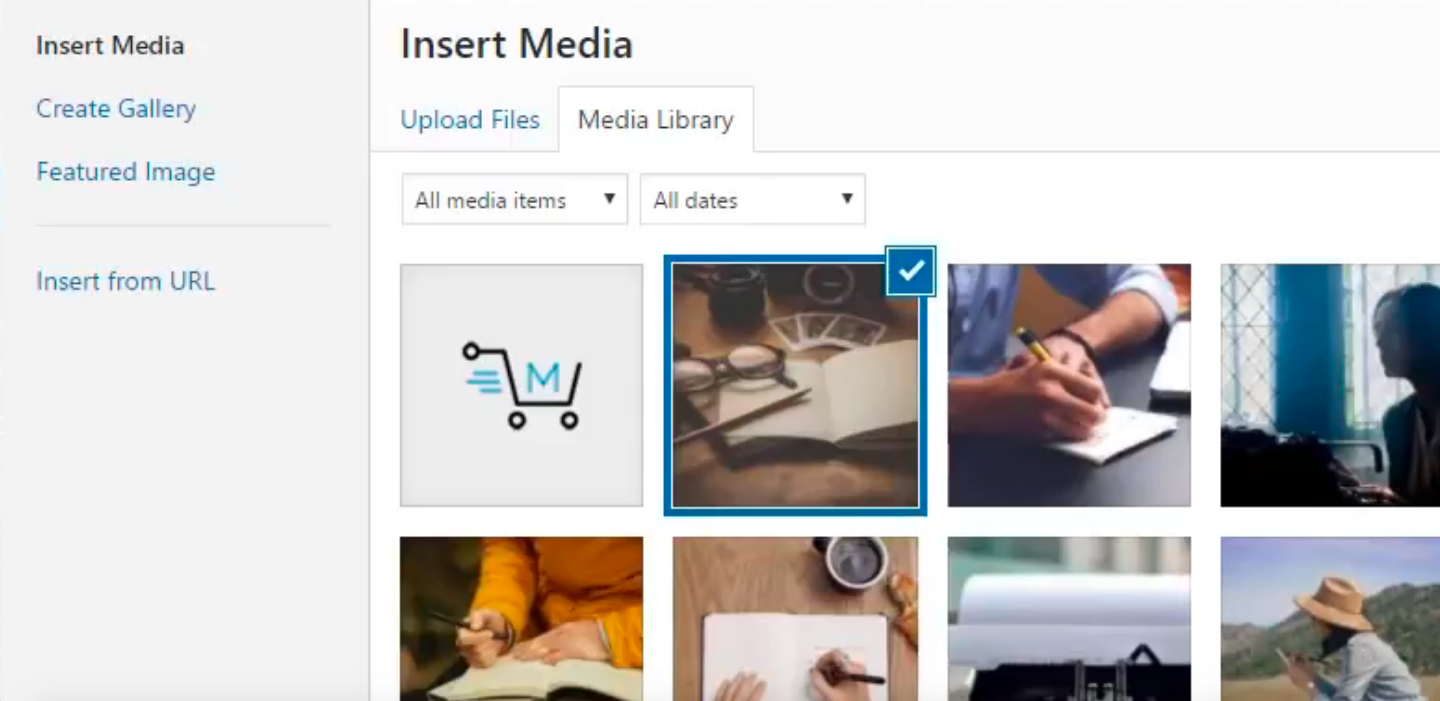
Here you can find different options on the left side of the panel, such as Create Gallery, Featured Image and Insert From URL:
When it comes to uploading images, you can either drag & drop an image or select files from your computer:

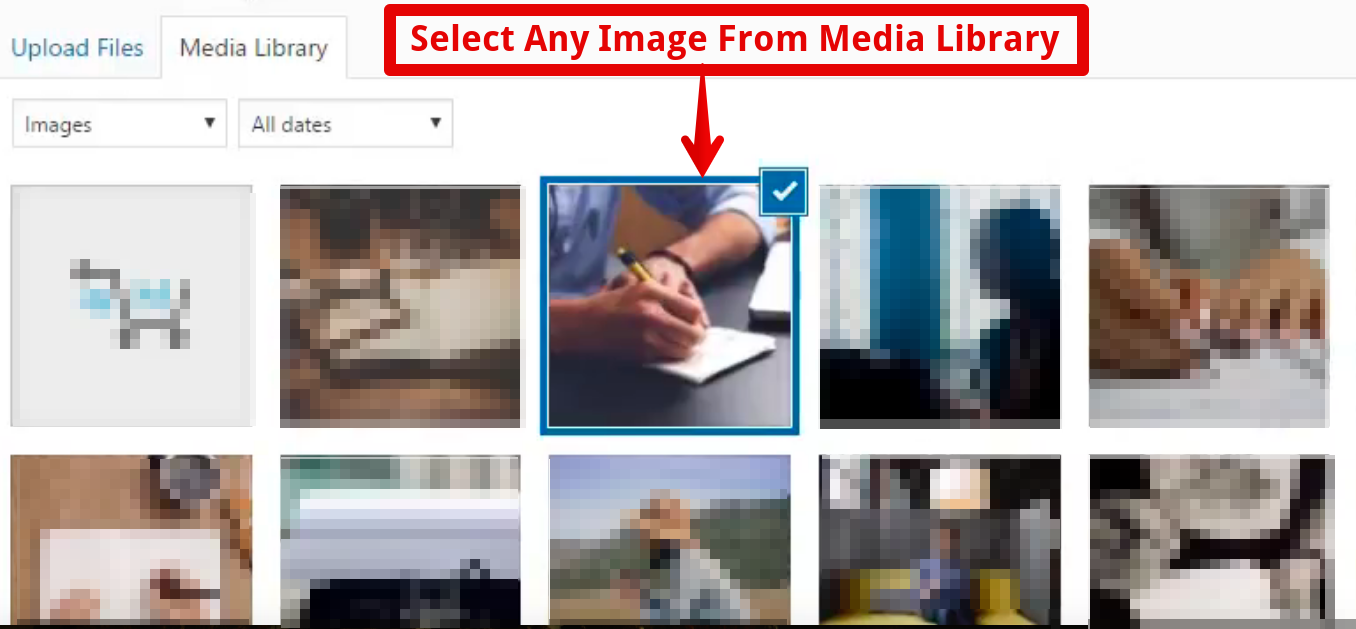
You can select Media Library if you have already uploaded images:
Let’s suppose you want to add an image from Media Library.
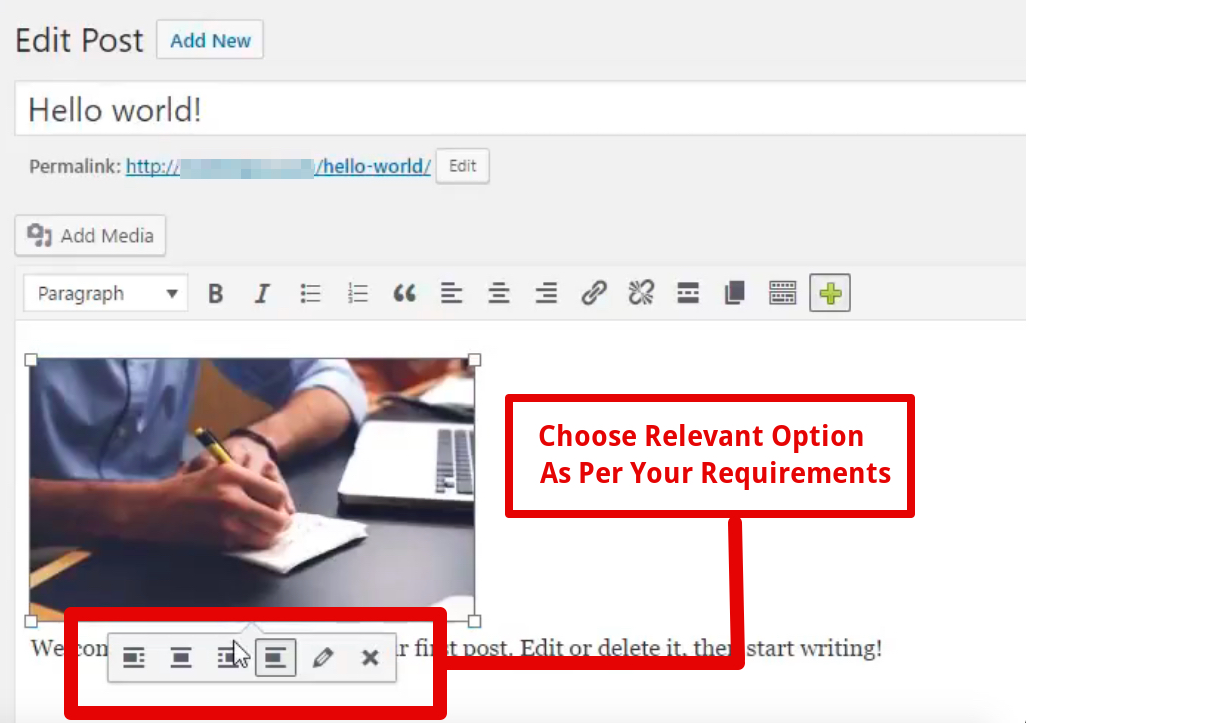
When you select an image, you can see multiple options, such as Caption, Alt Text, Description, Alignment, Link To and Size on the right side:
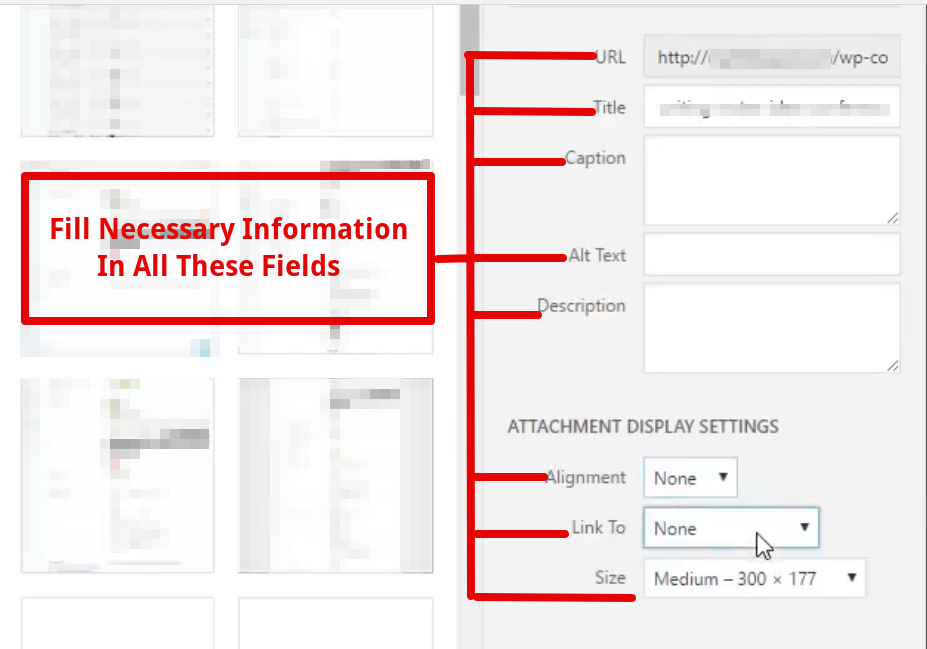
Use these options appropriately to optimize the image and then click on Insert Into Post.
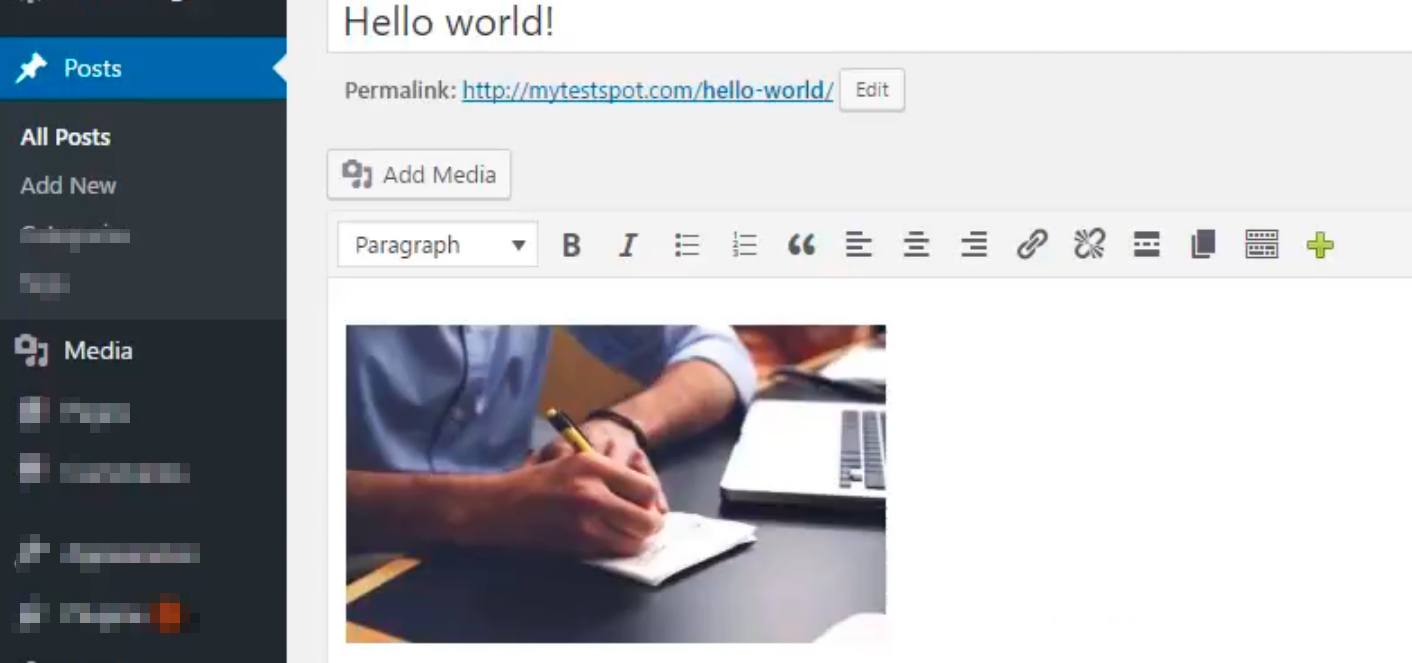
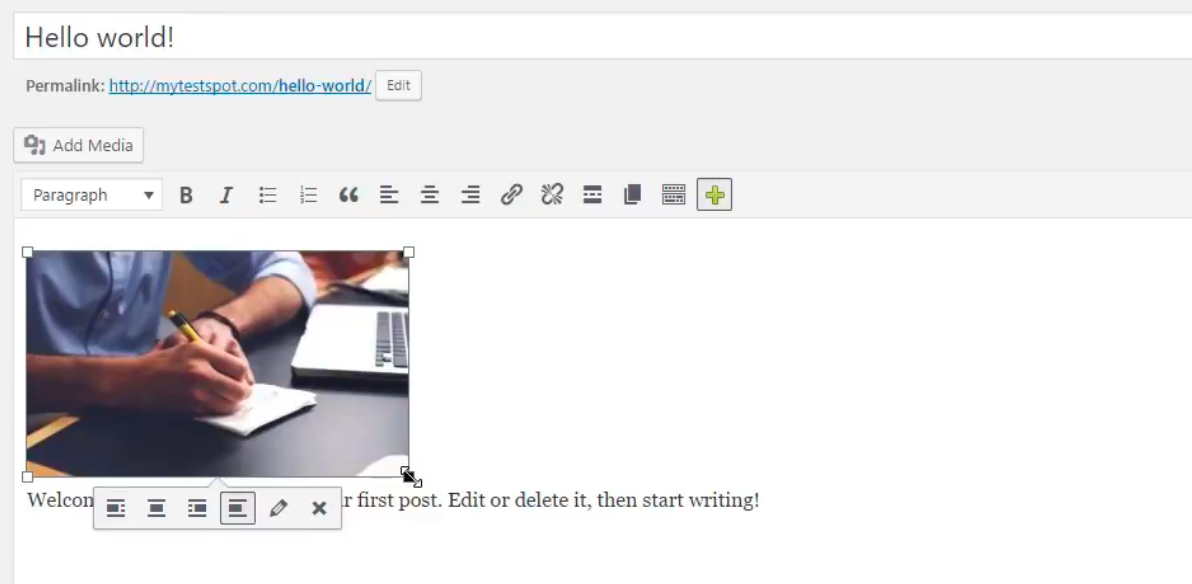
Now, you can see the image in the post:
Click on the Preview to see if it has inserted properly or not:
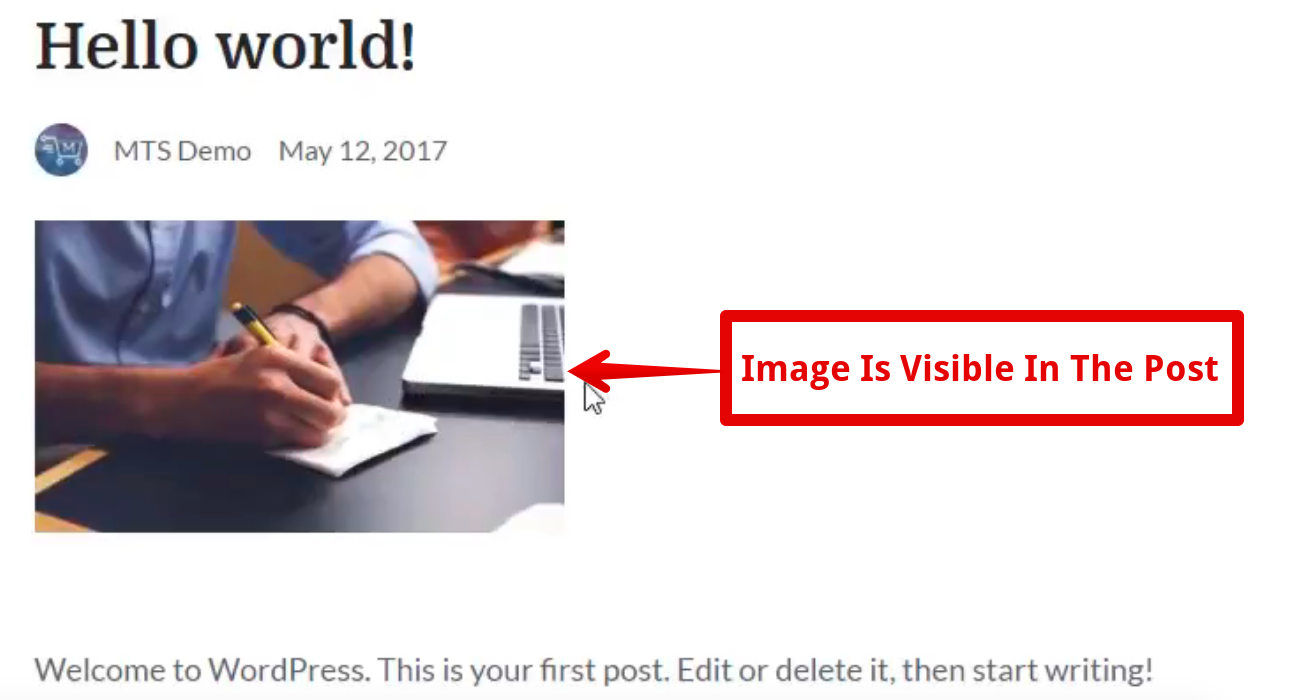
That’s it!
Adding image to any blog post is as simple as this. You can give it a try and increase user engagement on your site by a significant margin.
7 How To Add Caption, Alt Text And Description
As a WordPress user, you cannot leave any stone unturned when it comes to ranking your blog posts in the search engines.
Unfortunately, most users keep their efforts limited to just text content and forget the fact that images are equally important for any blog post to rank.
Don’t make the same mistake if you wish to attract tens of thousands of organic readers to your site regularly. Learn to add a proper caption, alt text and description to images in a trouble-free manner.
For this, you can go to media library and select an image of your choice:
Once you do it, a new page containing attachment details will open where you’ll find details regarding that particular image on the right side of the window. These details consist of image URL, title, caption, alt text, description and post URL where the image is attached:
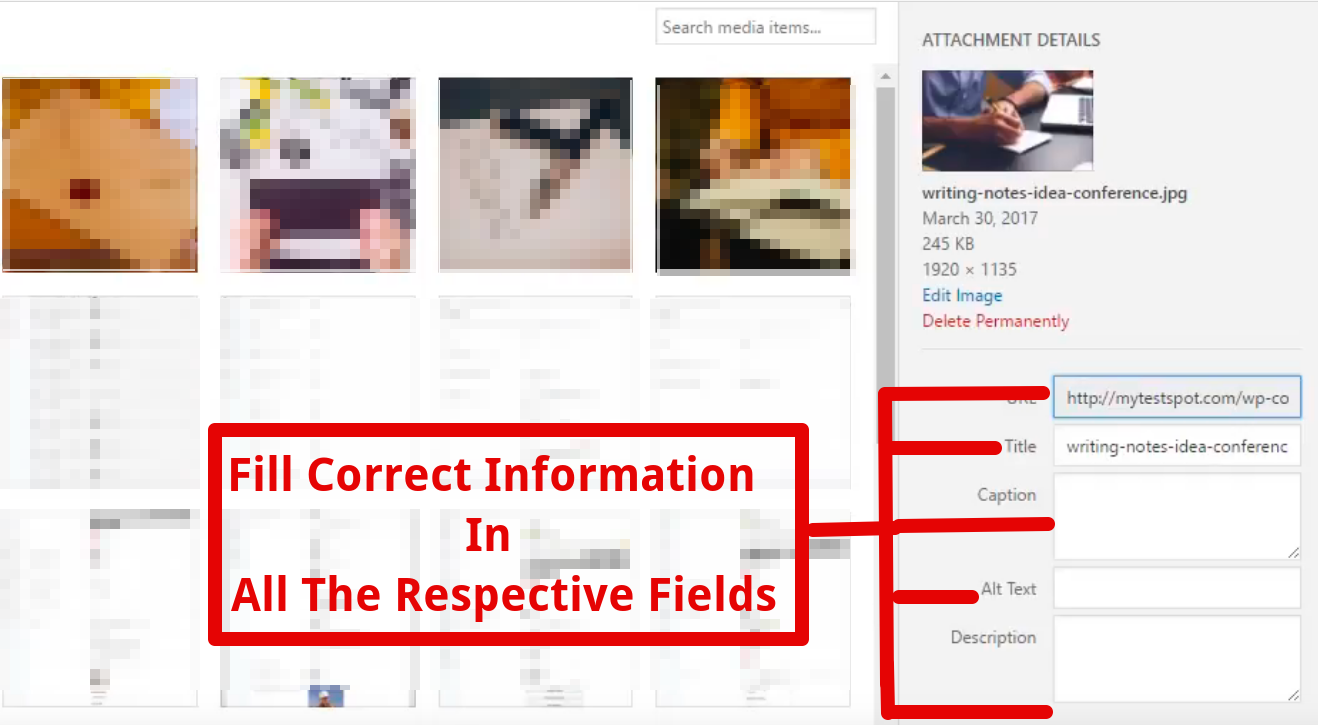
You can go to every field and enter proper details in order to optimize your blog post image. Put your desired keyword in the Alt Text, Title & Description fields, so that Google knows what this image is all about and gives it higher rankings in the search results.
If you want, you can also delete this image by clicking on ‘Delete Permanently’ option at the bottom of the page.
8 How To Do Proper Image Alignment In WordPress
It’s not enough to just upload the image to any blog post and add a proper caption, alt text, and description.
While all these elements play an important role in SEO of the website, you should also keep in mind the on-page user experience and align the images in such a way that they don’t look odd.
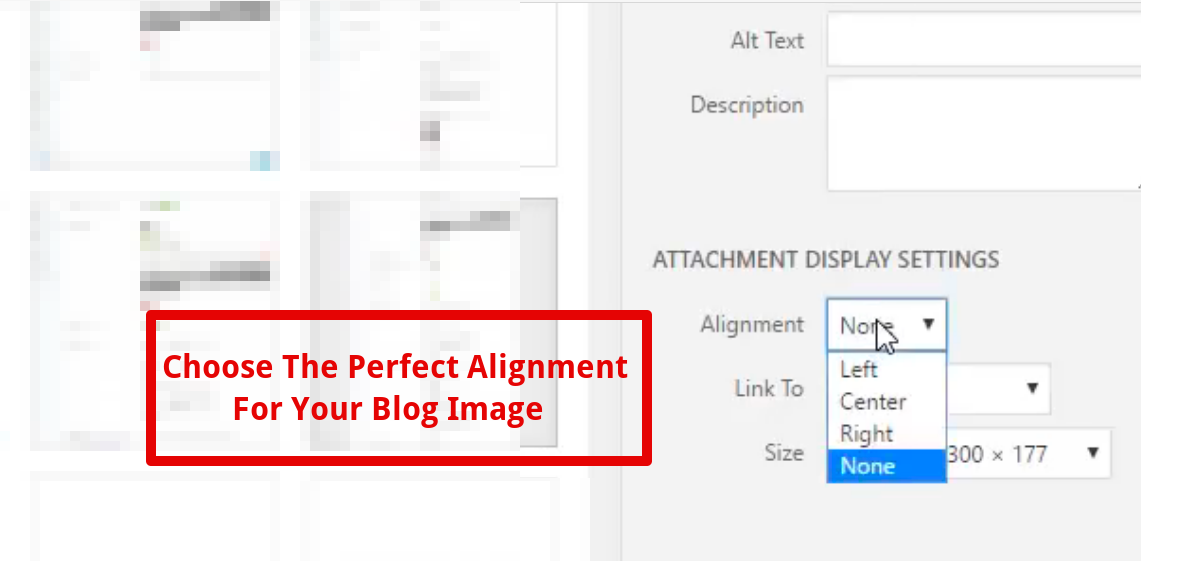
What you can do is select an image from your site’s Media Library. Once you click, you will see multiple options on the right side of the window.
Go to Alignment in the Display Settings and choose an appropriate option as per your wish:
Click on ‘Insert Into Post’ after making the changes:
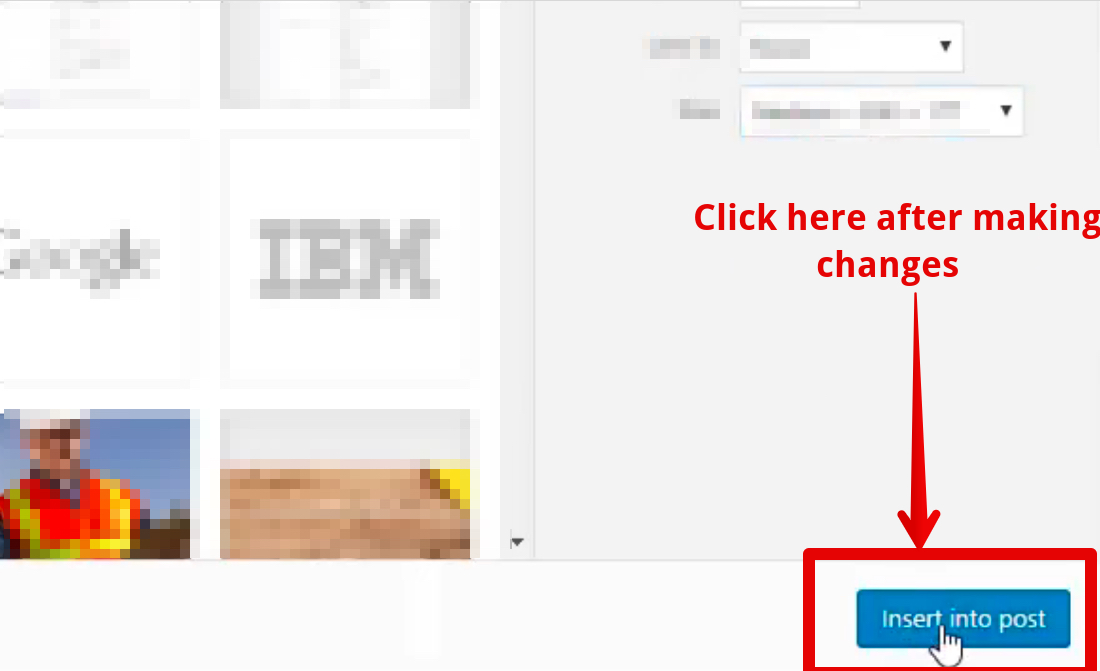
Alternatively, you can also change the image alignment once it’s inserted into the post. For that, you need to click on any image and choose an appropriate option:
After making the changes, you can click on Preview and see whether the image is fitting well with the text content or not. Keep making changes until all the images are correctly aligned.
9 How To Select Different Image Sizes
Along with proper alignment, WordPress also gives you the option to choose different image sizes. You can keep in mind the WordPress theme you’re using, and then select an appropriate image size which appears good to users.
To know which all image sizes you can choose from, select any image file from Library that is to be inserted into a blog post:
Once you do it, you get multiple options on the right side of the screen. Click on ‘Size’ from Attachment Details Settings:
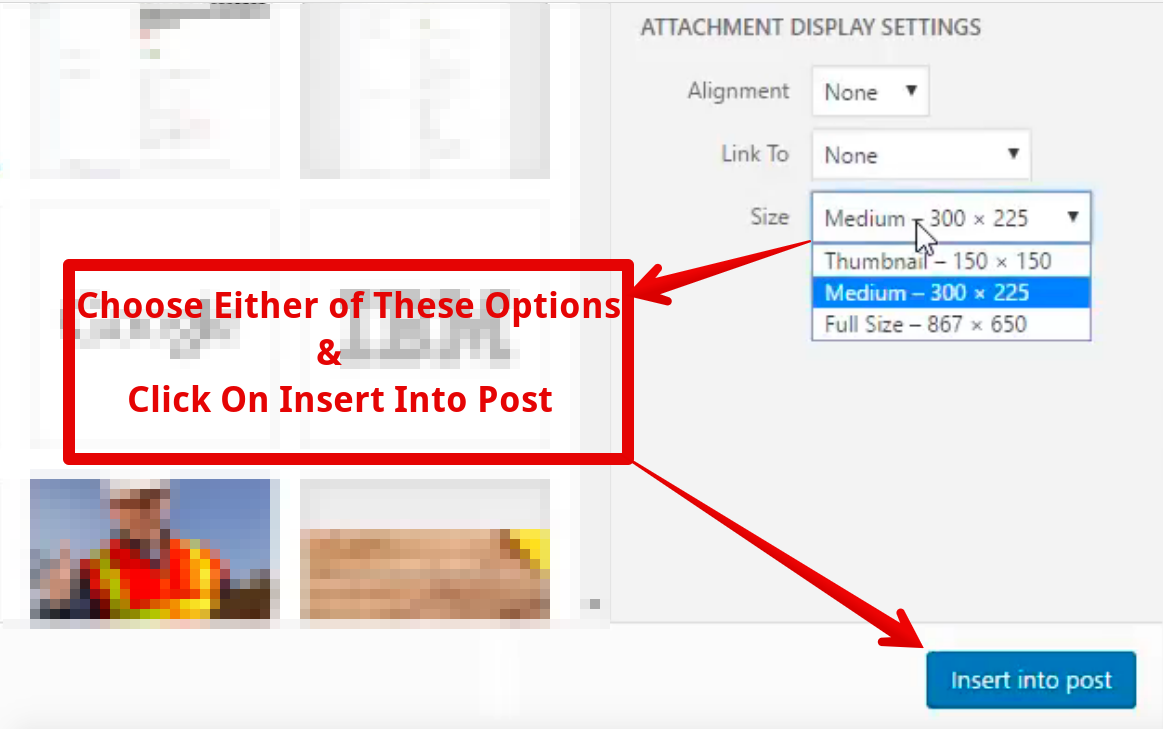
These are different options that you can choose from. Try each of them to see which one fits well with the overall appearance of your site.
Additionally, you can manually increase or decrease the size of an image. Just go to any blog post which already has multiple images attached to it. Once you’re there, click on any image that’s comparatively smaller or larger:
You can simply stretch out the image and change its appearance instantly:
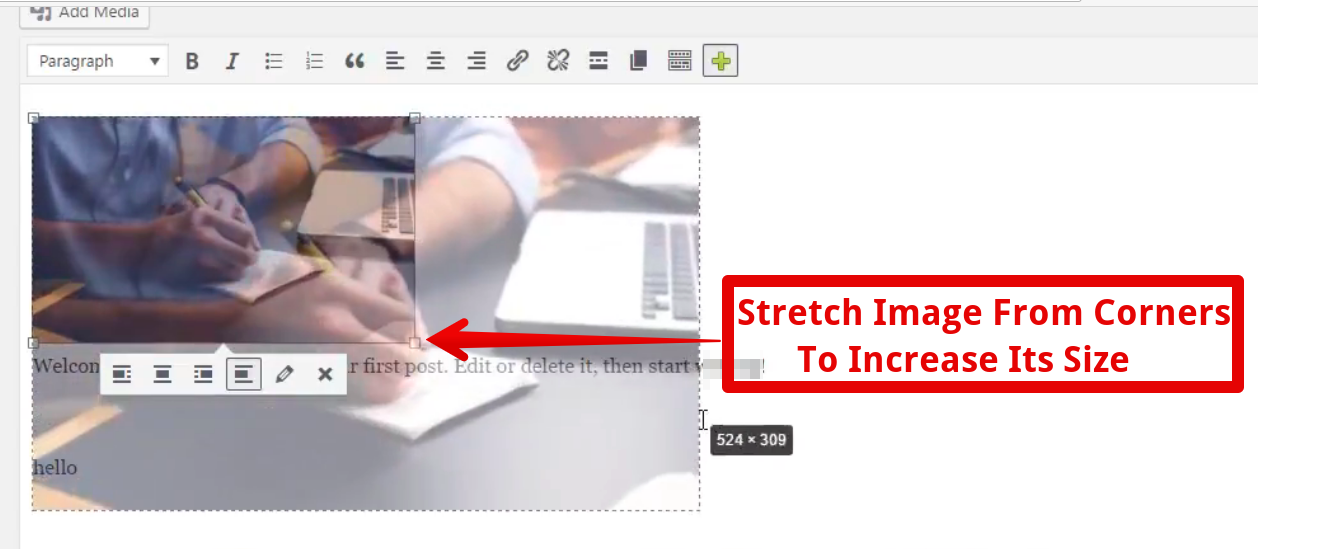
This is probably the easiest and most convenient way to change the image size on your blog without wasting any time.
10 How To Fix Blog Post Showing No Image In Blogroll Error
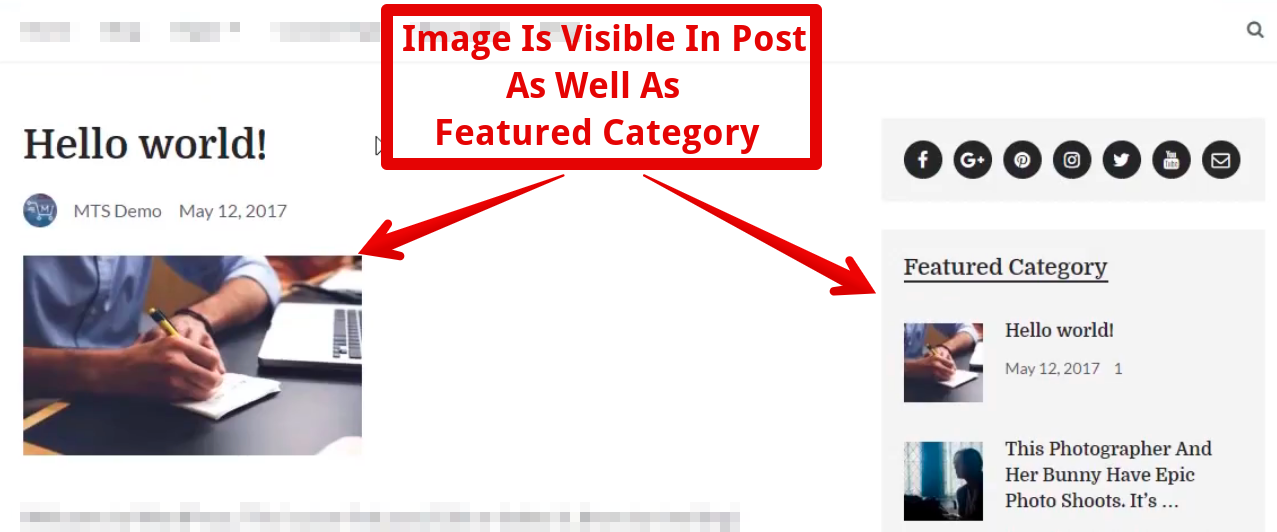
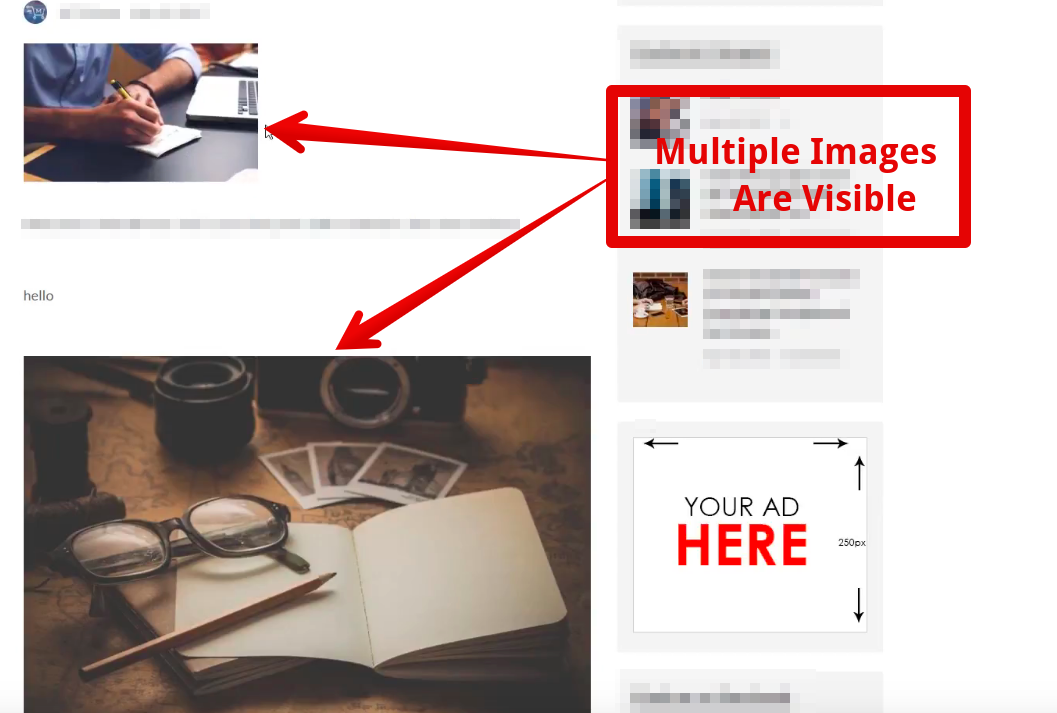
Sometimes, even after you have uploaded one or more images to any blog post, it doesn’t show up in the blogroll & featured category:
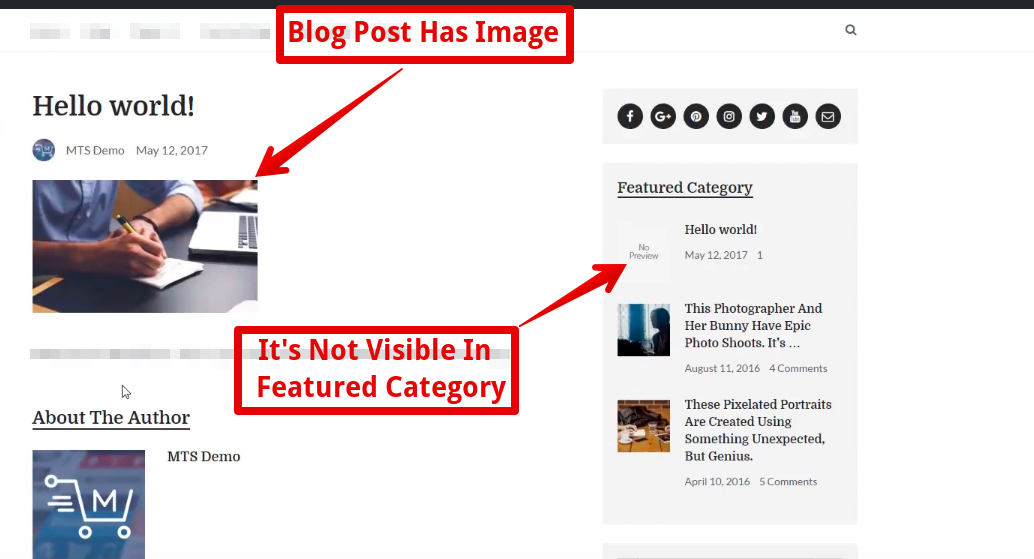
While the other posts have images visible, this blog post doesn’t show any such sign. It’s a pervasive error that gives a tough time to many users.
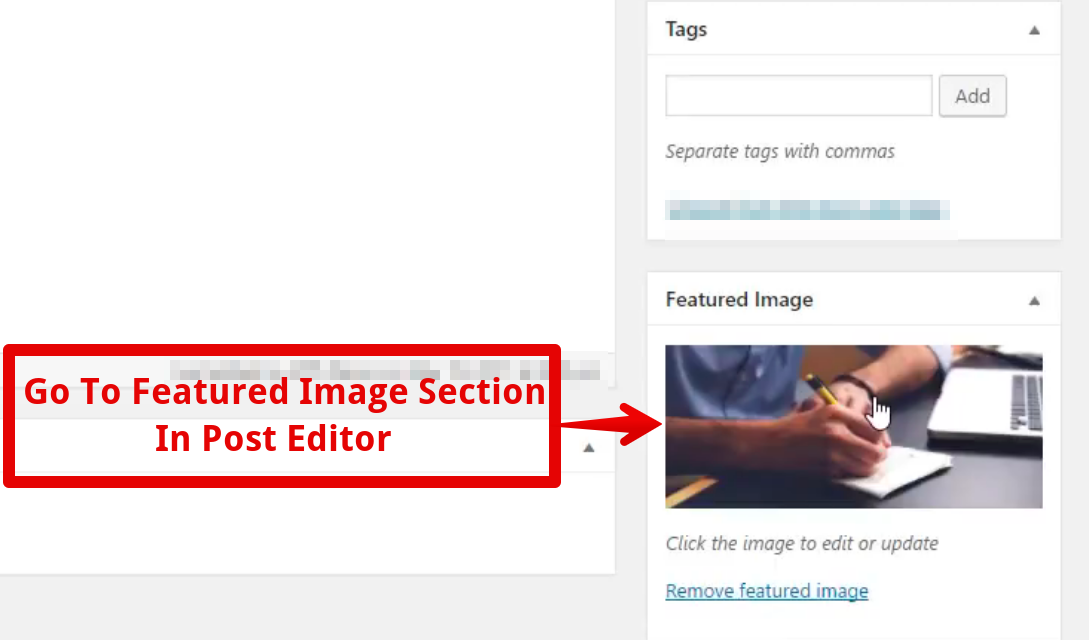
In order to fix it, you need to go back to blog post editor and check whether you have a Featured Image in place or not:
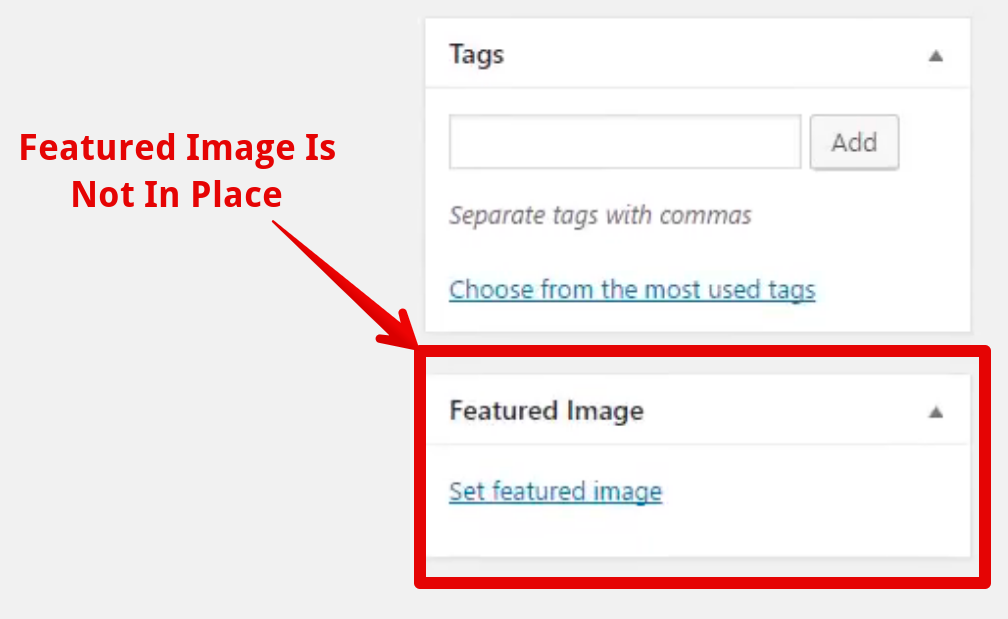
Now that you know the post doesn’t have a featured image, go ahead and fix this issue right away:
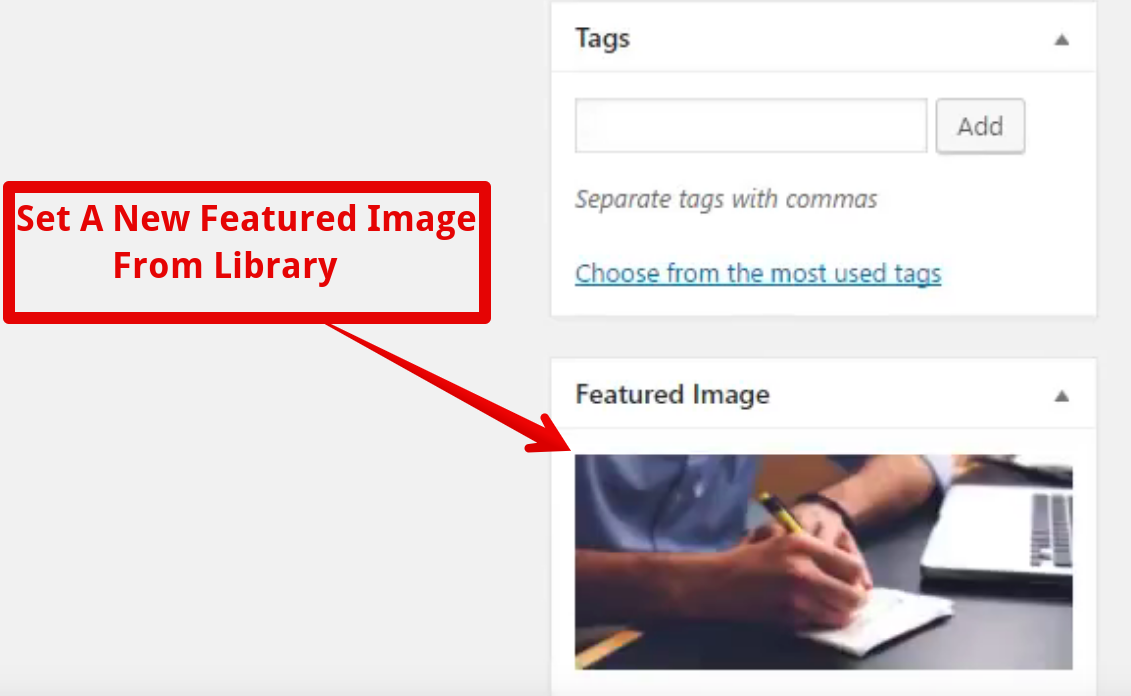
Once you do it, click on Update and go back to the blogroll. Now you can see the image in the right place just like other blog posts:
Typically, this error occurs when any blog post doesn’t have a featured image. So, next time when you see your blog post showing no image in the blogroll, have a second look at its featured image before arriving at any random conclusion.
11 How To Add Multiple Images To A Blog Post
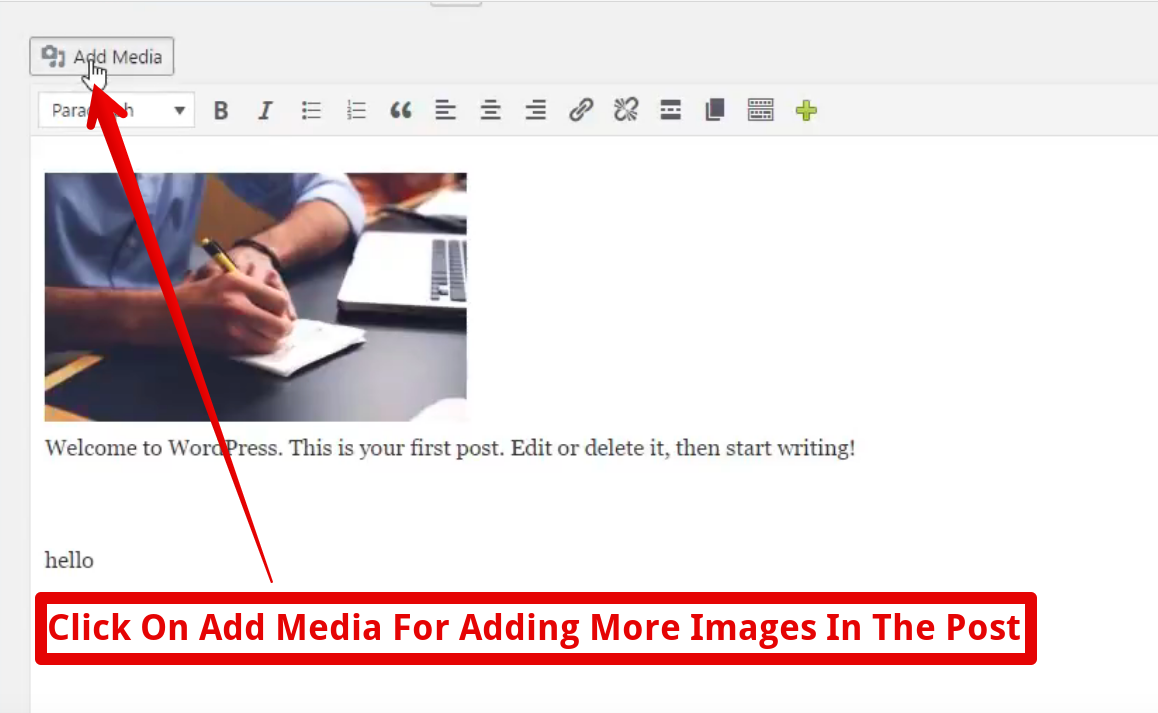
If you wish to add multiple images to your blog post, then go to the post editor and click on Add Media just like you did while adding the first image:
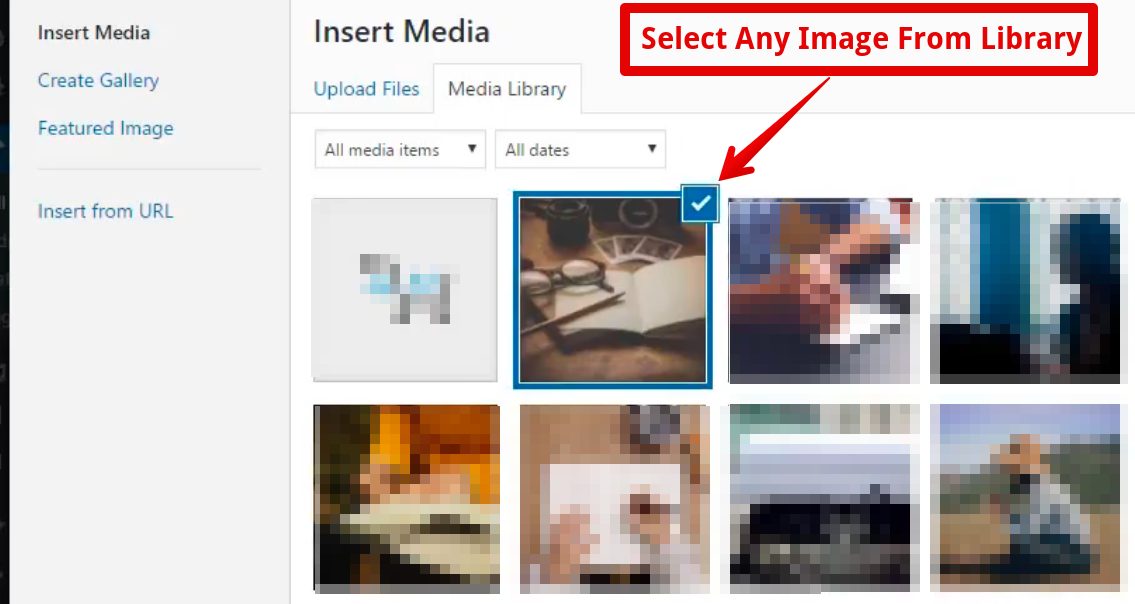
Now select any image of your choice from the Library or upload a new image from your computer:
Depending upon the requirements, you can make specific changes in its size and alignment, and click on Update:
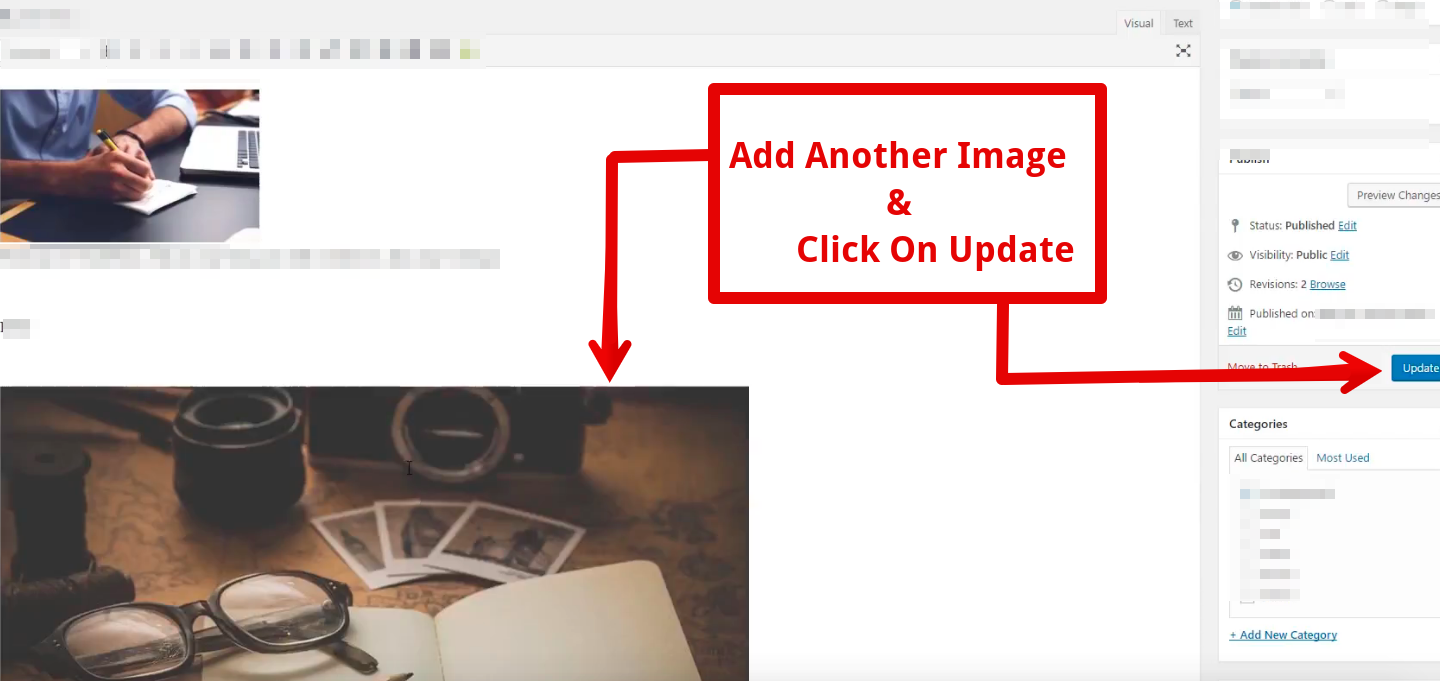
When you go back to the post, you can see multiple images:
There is no limit to how many images you want to add to a blog post. So, analyze the requirements and proceed further accordingly.
12 How To Change Featured Image
Sometimes, you may want to change the featured image of a blog post after publishing it. In that case, go to your post editor and locate Featured Image section:
Once you click on the featured image, it will take you to media library where you can find numerous images:
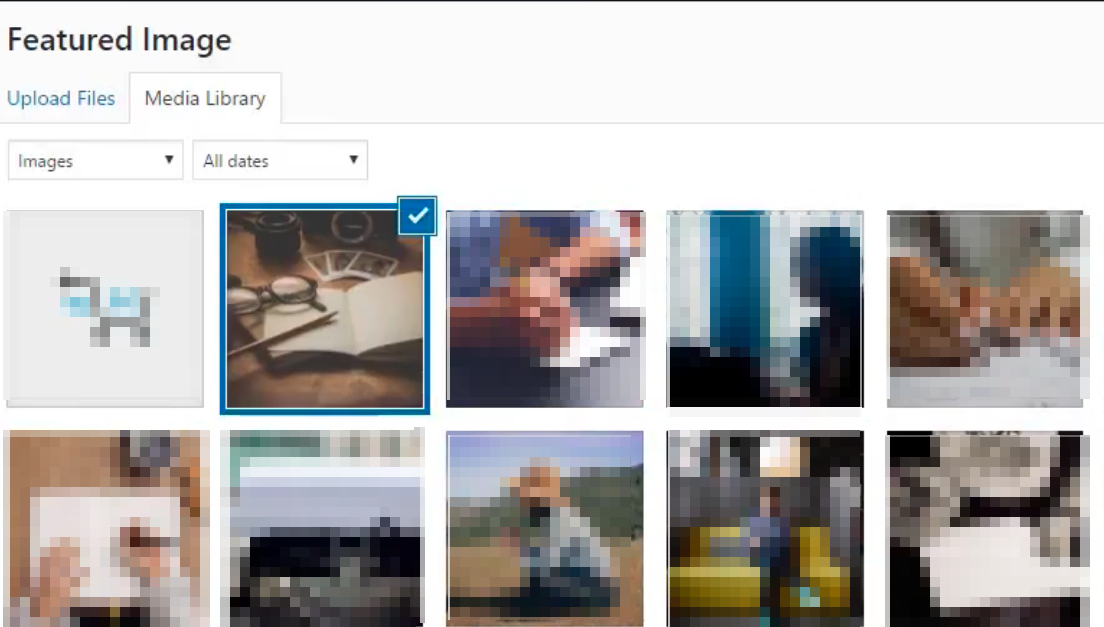
You can select any of these images as your featured image and click on Update. It’s effortless to change the featured image multiple times. Just follow these steps to avoid any problem along the way.
13 How To Attach Your Blog Image To A Different Page
You can also link your existing blog post image to another page. For that, you need to go to the blog post editor and click on the respective image, and select image editor:
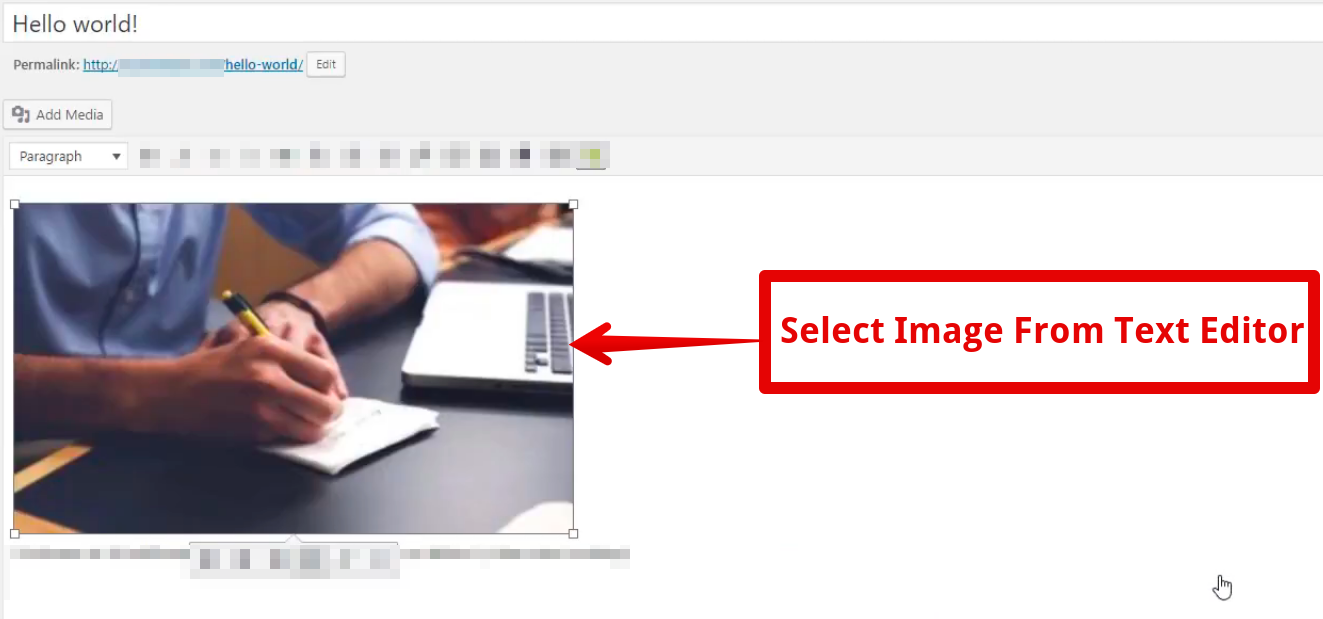
It will take you to a new window where you can see different image editing options, such as captions, alt text, Display Settings, and Advanced Options:

Go to advanced options and paste the new page URL in the Link Rel section:

Click Update to finalize the changes.
From now onwards, whenever users click on that particular image, they will be redirected to the page URL which you placed in the link rel section. It can be beneficial for those users who are into affiliate marketing.
These are some of the common image issues that you may face from time to time. Pay attention to the solutions explained in this guide to fix these errors and have a hassle-free experience whenever you upload or play around with images in WordPress.
14 How To Fix Common Image Issues In WordPress? — Video Tutorial
You can also watch this video and understand the exact procedure to fix common image issues in WordPress in a better way:
As always, thank you for reading this post. Don’t forget to share your feedback with us in the comments section.